CARING FOR YOUR RANGE
3.Be sure both tabs are in their slots, that the burner sits level and straight, and that the flash tube forms a straight line from the ignitor to the burner.
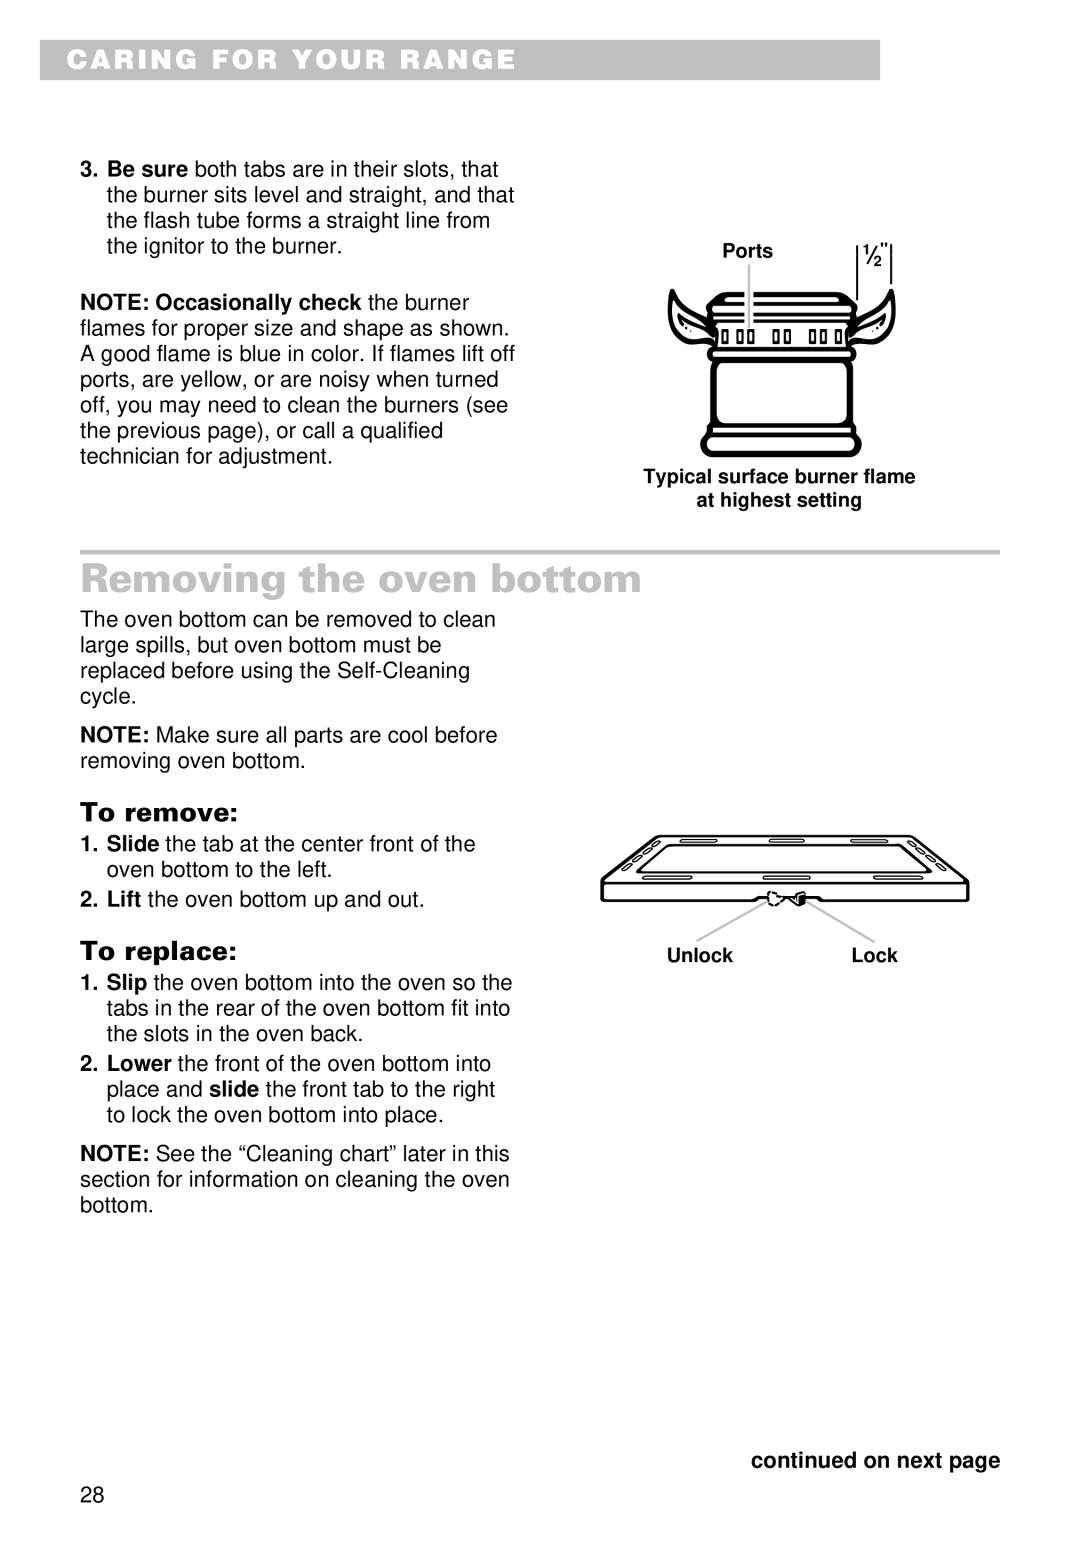
NOTE: Occasionally check the burner flames for proper size and shape as shown. A good flame is blue in color. If flames lift off ports, are yellow, or are noisy when turned off, you may need to clean the burners (see the previous page), or call a qualified technician for adjustment.
Ports |
| 1 " | |
| |||
|
|
| 2 |
|
|
| |
|
|
|
|
|
|
|
|
|
|
|
|
Typical surface burner flame
at highest setting
Removing the oven bottom
The oven bottom can be removed to clean large spills, but oven bottom must be replaced before using the
NOTE: Make sure all parts are cool before removing oven bottom.
To remove:
1. Slide the tab at the center front of the oven bottom to the left.
2. Lift the oven bottom up and out.
To replace: | Unlock | Lock |
1.Slip the oven bottom into the oven so the tabs in the rear of the oven bottom fit into the slots in the oven back.
2.Lower the front of the oven bottom into place and slide the front tab to the right to lock the oven bottom into place.
NOTE: See the “Cleaning chart” later in this section for information on cleaning the oven bottom.
continued on next page
28