2.3 Power On
Once you have completed all required connections, you may power on your PVR10HD.
▪▪ Connect one end of the power supply to the 12V 3A input ![]()
![]()
![]()
![]() on the PVR10HD ▪▪ Connect the other end of the power supply to the wall outlet
on the PVR10HD ▪▪ Connect the other end of the power supply to the wall outlet
▪▪ Turn on your TV and switch it to the mode you have connected your PVR10HD to (ie. HDMI) ▪▪ Turn on your PVR10HD and wait for the system to initialise.
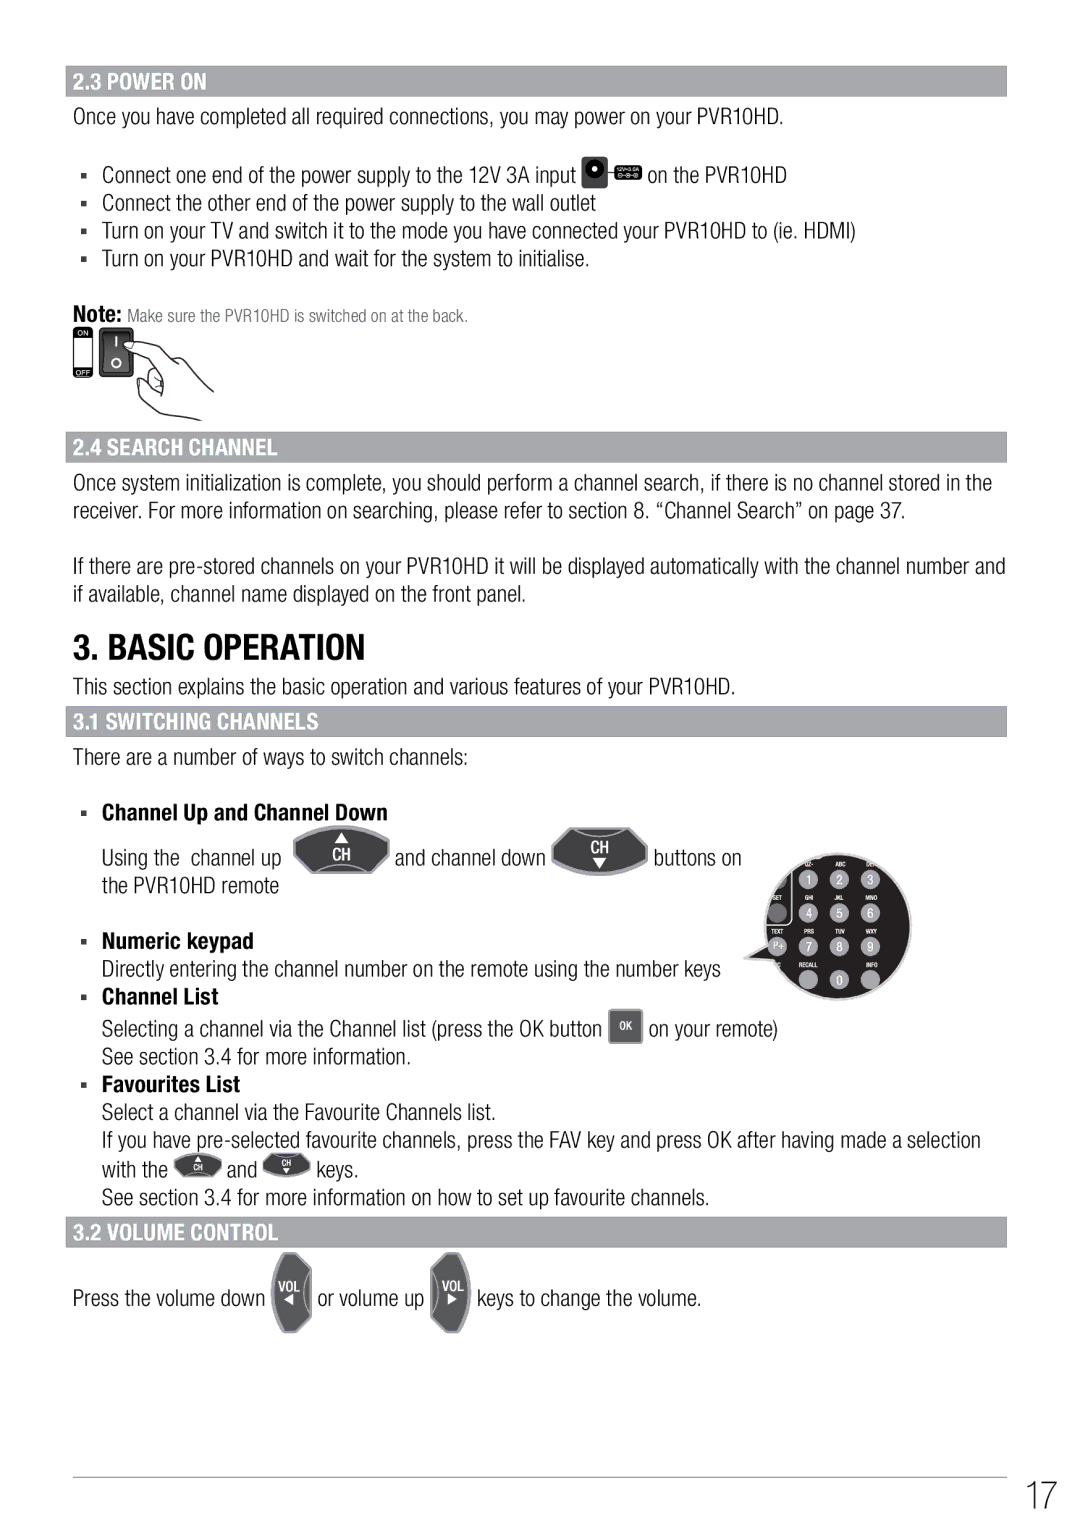
Note: Make sure the PVR10HD is switched on at the back.
2.4 Search Channel
Once system initialization is complete, you should perform a channel search, if there is no channel stored in the receiver. For more information on searching, please refer to section 8. “Channel Search” on page 37.
If there are
3. Basic Operation
This section explains the basic operation and various features of your PVR10HD.
3.1 Switching channels
There are a number of ways to switch channels:
▪▪ | Channel Up and Channel Down |
|
| ||
| Using the | channel up | and channel down | buttons on | |
| the PVR10HD remote |
|
|
| |
▪▪ | Numeric keypad |
|
|
| |
▪▪ | Directly entering the channel number on the remote using the number keys | ||||
Channel List |
|
|
| ||
| Selecting a channel via the Channel list (press the OK button | on your remote) | |||
▪▪ | See section 3.4 for more information. |
|
| ||
Favourites List |
|
|
| ||
| Select a channel via the Favourite Channels list. |
| |||
| If you have | ||||
| with the | and | keys. |
|
|
| See section 3.4 for more information on how to set up favourite channels. | ||||
3.2 Volume Control |
|
|
| ||
Press the volume down | or volume up | keys to change the volume. | |||
17
