E Series Oven Care | 32 |
|
|
Light Bulb Replacement | Bakeware Selection |
Shut off electrical power to the oven before replacing light bulb.
IMPORTANT NOTE: Allow the oven to cool sufficiently before replacing the light bulb.
The oven uses a
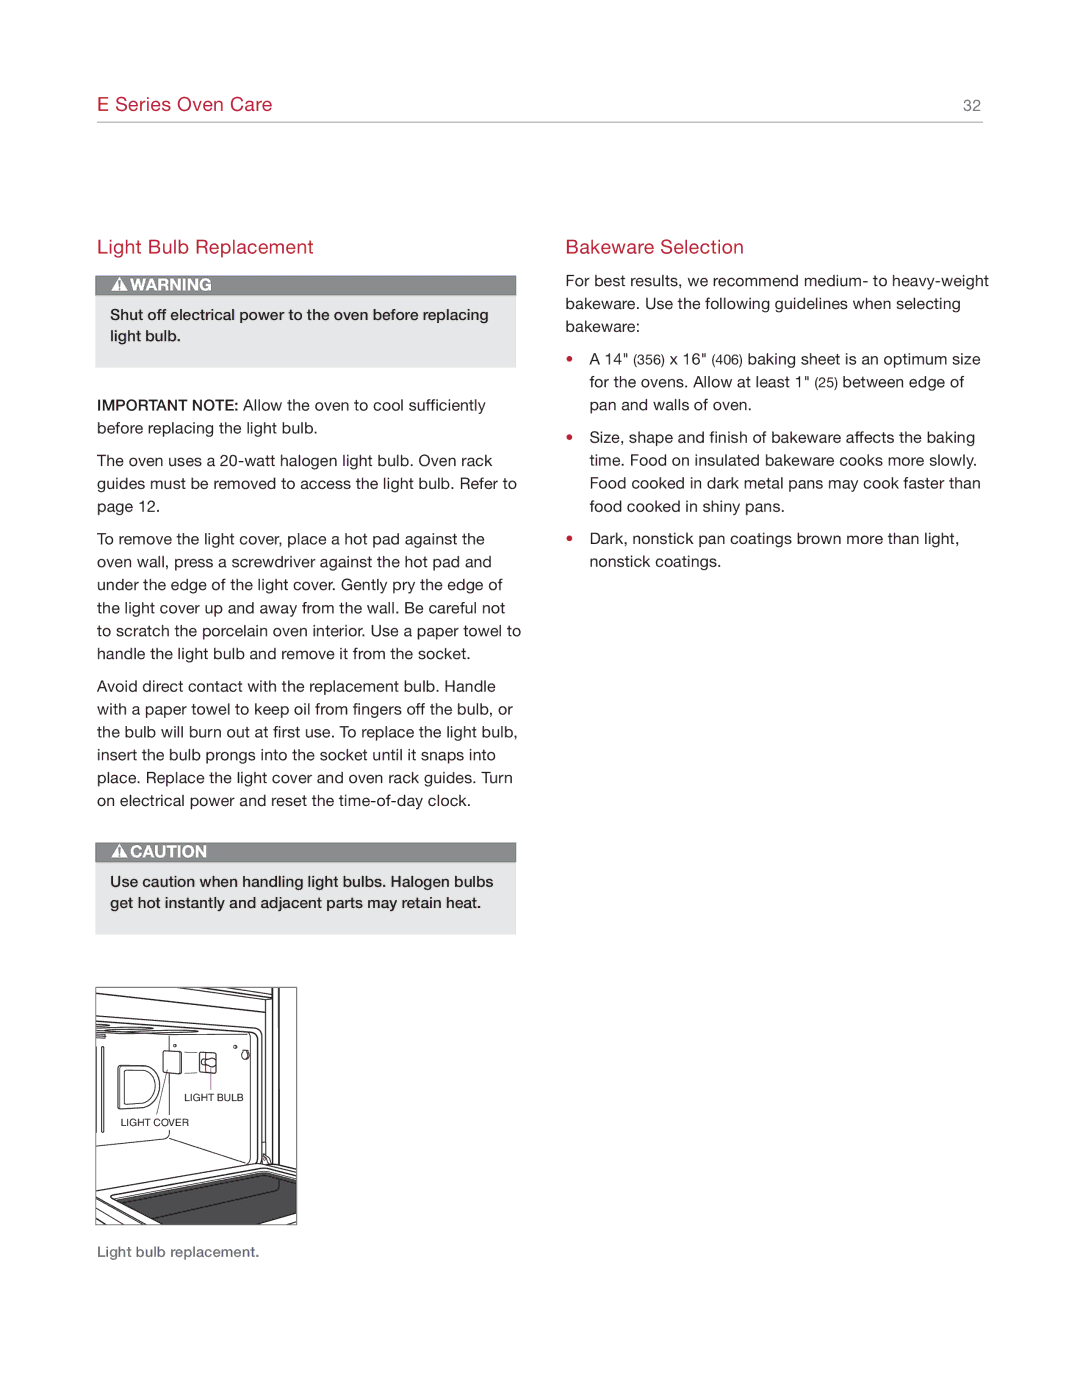
To remove the light cover, place a hot pad against the oven wall, press a screwdriver against the hot pad and under the edge of the light cover. Gently pry the edge of the light cover up and away from the wall. Be careful not to scratch the porcelain oven interior. Use a paper towel to handle the light bulb and remove it from the socket.
Avoid direct contact with the replacement bulb. Handle with a paper towel to keep oil from fingers off the bulb, or the bulb will burn out at first use. To replace the light bulb, insert the bulb prongs into the socket until it snaps into place. Replace the light cover and oven rack guides. Turn on electrical power and reset the
Use caution when handling light bulbs. Halogen bulbs get hot instantly and adjacent parts may retain heat.
LIGHT BULB |
LIGHT COVER |
For best results, we recommend medium- to
•A 14" (356) x 16" (406) baking sheet is an optimum size for the ovens. Allow at least 1" (25) between edge of pan and walls of oven.
•Size, shape and finish of bakeware affects the baking time. Food on insulated bakeware cooks more slowly. Food cooked in dark metal pans may cook faster than food cooked in shiny pans.
•Dark, nonstick pan coatings brown more than light, nonstick coatings.
Light bulb replacement.
