Setting
 Blue back
When this function is “On,” the projector produces a blue image while input signal is not detected.
 Display
This function decides whether to display
Off . . . . . . . does not show
●
●“Power off?” message
●
●“No signal” message
●”Wait a moment!” message
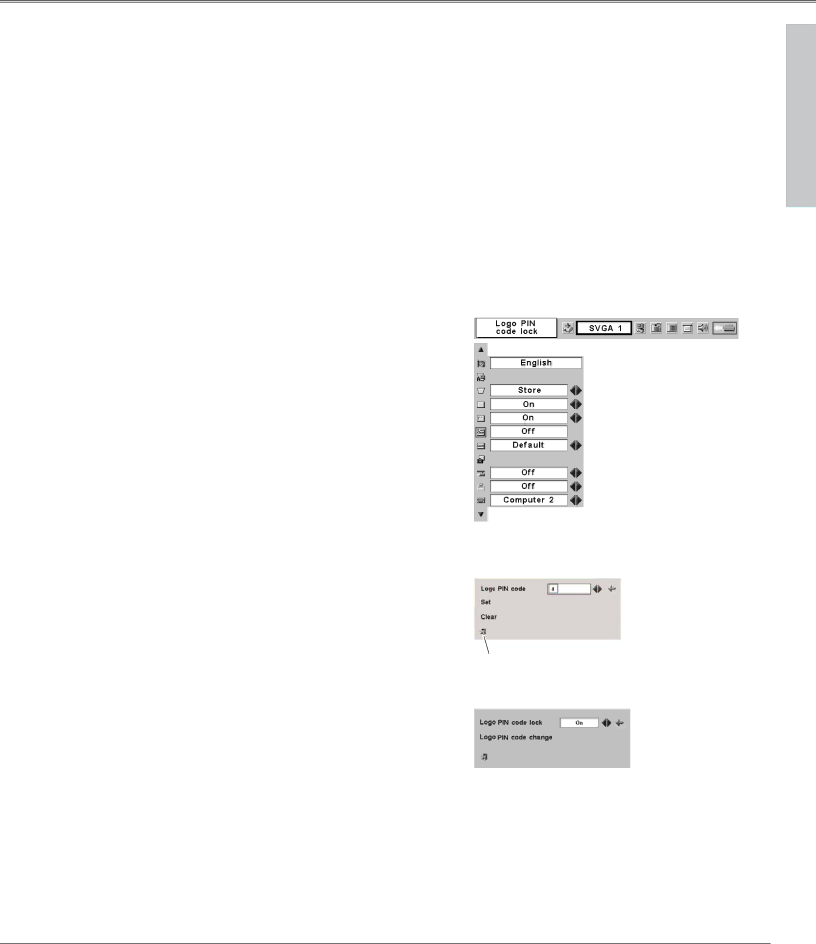
 Logo PIN code lock
This function prevents an unauthorized person from changing the Logo setting.
Off . . . . .the Logo setting can be changed freely from the Logo menu. (p44)
On . . . . . .the Logo setting cannot be changed without the Logo PIN code.
If you want to change the Logo PIN code lock setting, enter a Logo PIN code along the following steps. The initial Logo PIN code is set "4321" at the factory.
Enter a Logo PIN code
Select a number by pressing the Point 7 8 button and fix the number with the SET button. The number will change to "✳". If you fixed a wrong number, move the pointer to "Set" or "Clear" once by pressing the Point d button, then return to "Logo PIN code". Enter the correct number again.
Repeat this step to complete entering a
When the
If you entered a wrong Logo PIN code, "Logo PIN code" and the number (✳✳✳✳) will turn red and disappear. Enter a correct Logo PIN code all over again.
Change the Logo PIN code
Logo PIN code can be changed to your desired
Be sure to note the new Logo PIN code and keep it at hand.
✔Note:
If you forget your Logo PIN code and unable to change it, the Logo P IN code can be reset to the factory default setting (4321) according to the following procedures. When you reset the Logo PIN code, the PIN code and Key lock will be reset, as well.
1.Disconnect the AC Power Cord from the AC outlet.
2.As pressing the SET button on the projector, connect the AC Power Cord into an
AC outlet again. Keep pressing the SET button until the POWER indicator lights. The Logo PIN code will be returned to the factory default setting while the Logo PIN code lock state will remain the same as previous set state.
Logo PIN code lock
Logo PIN code lock Dialog Box
![]() Pointer
Pointer
Quit
After a correct Logo PIN code is entered, the following dialog box will appear.
Select On/OFF by pressing the Point 7 8 button or change the Logo PIN code.
Setting
43