Using Web Management
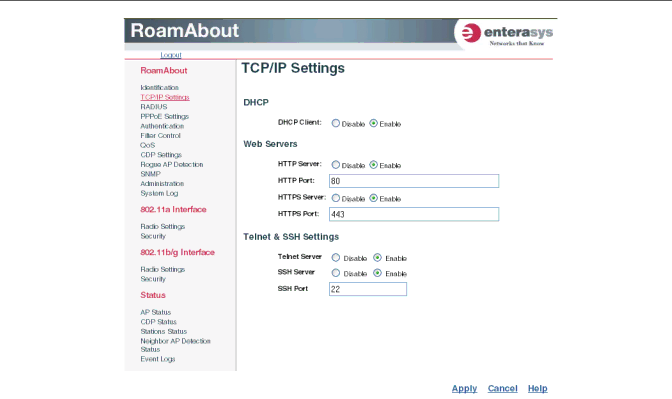
b.Click the DHCP Client: Disable radio button. An IP Address section appears on the page.
c.Specify IP address, Subnet Mask, Default Gateway, and Primary and Secondary DNS.
d.Click Apply at the bottom of the page.
e.Type the IP address that you specified for the access point in your browser’s address field. For example, enter http://10.2.101.22/.
The Login window appears.
f.Enter the username admin and the password password, and click LOGIN.
g.Click Administration from the menu on the left of the page. The Administration page appears.
h.Click Reset at the bottom of the page.
The access point prompts you to confirm that you want to reboot the system.
i.Click OK.
The access point reboots, and the Login window appears.
j.Enter the username admin and the password password, and click LOGIN.
7.To set the username and password, perform the following steps:
a.Click Administration from the menu on the left of the page. The Administration page appears.
b.Specify a new username in the Username field.