7 Using HP Photosmart Express
With HP Photosmart Express, you can select pictures in your camera to print automatically (see “Marking images for printing” on page 35), to buy prints online (see “Buying prints online” on page 36), or to send to custom destinations (see “Sharing images” on page 36) the next time you connect the camera to your computer or printer.
You must have the HP Photosmart Software installed on your computer to use some features in the ![]()
![]()
![]() Photosmart Express Menu. For information about installing this software, see “Install the software” on page 8.
Photosmart Express Menu. For information about installing this software, see “Install the software” on page 8.
![]() NOTE: Available online services vary by country or region.
NOTE: Available online services vary by country or region.
Using the Photosmart Express Menu
To display the 

 Photosmart Express Menu:
1.Slide ![]()
![]()
![]() to
to ![]() and press
and press ![]() .
.
2.Use ![]() to highlight
to highlight ![]()
![]()
![]() Photosmart Express..., then press
Photosmart Express..., then press ![]() .
.
3.Use ![]() to highlight a menu option, then press
to highlight a menu option, then press ![]() .
.
Buy Prints
![]() NOTE: The features in the
NOTE: The features in the ![]()
![]()
![]() Photosmart Express Menu are available only for pictures. They are not available for video clips.
Photosmart Express Menu are available only for pictures. They are not available for video clips.
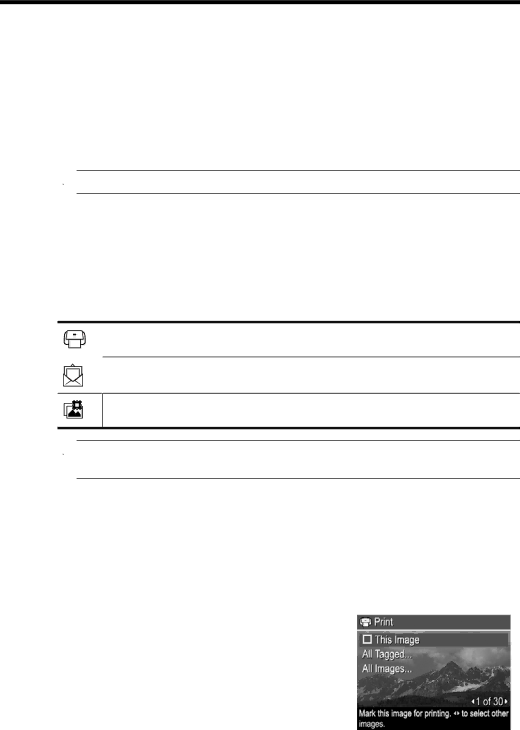
Marking images for printing
Marked images are automatically printed when you connect the camera to a PictBridge- certified printer or a computer with the HP Photosmart Software installed. You can mark individual images, all images, or tagged images (see “Tagging images” on page 24).
1.While in the ![]()
![]()
![]() Photosmart Express Menu, use
Photosmart Express Menu, use ![]() to highlight
to highlight ![]() Print, then press
Print, then press ![]() .
.
2.In the ![]() Print menu, highlight an option, then press
Print menu, highlight an option, then press ![]() .
.
•This ![]()
![]() .
.
•All ![]() . To specify the
. To specify the
number of copies to print, use ![]() , then
, then
Using HP Photosmart Express | 35 |