Breville Complete Guide to Blender Operation and Blade Assembly Insights

Page 6

Operating your Breville ikon Blender continued

Step 10.

For ingredients that require short bursts of power, select the ‘PULSE’ function. The ‘PULSE’ button will illuminate and remain illuminated while the button is pushed. When this function is selected, the LCD timer screen will illuminate and count upwards in one second increments during pulsing. Press the ‘PULSE’ button in short bursts until blending is complete.

Use the ‘PULSE’ button when the food that is being processed is too thick or coarse to circulate within the blender pitcher.

Note

Step 11.

At the end of use, always make sure the Breville ikon Blender is turned off by pressing the ‘Power’ button on the control panel and then unplug the cord. Make sure the motor and blades have completely stopped before attempting to move the appliance, or when the Breville ikon Blender is not in use and before disassembling, cleaning and storing.

During the blending process, ingredients may stick to the sides of the blender pitcher. To push the food back onto the blades, press the ‘Power’ button on the control panel and remove the power cord. Remove the lid and use a plastic spatula to scrape down the sides of the pitcher. Replace the lid before recommencing blending.

If any moisture or liquid appears on top of the motor base during blending, press the ‘Power’ button on the control panel, switch off at the power outlet and remove the power plug. Remove the blender pitcher. Wipe the motor base immediately with a dry cloth or paper towel to absorb the liquid. Check that the blender pitcher is correctly assembled.

Note

Disassembling your blender for cleaning, care and storage

Step 1.

Always make sure the Breville ikon Blender is off by pressing the ‘Power’ button on the control panel. Then turn off at the power outlet and unplug the power cord.

Step 2.

Remove the blender pitcher from the motor base by grabbing the handle and lifting the jug in an upward direction.

Step 3.

Remove the blade assembly by turning the blender pitcher over and twisting the 1/4 turn Blade Removal System clockwise for 1/4 of a turn to unlock (see Fig 1), then lift upwards and away from the base of the blender jug. The circular plastic surround attached to the base of the blender jug is not removable.

Step 4.

Remove the silicon seal from the blade assembly

The Breville ikon Blender features a 1/4 turn Blade Removal System for the easy removal of the blade for cleaning.

Note

Fig 1

10

11

Image 6
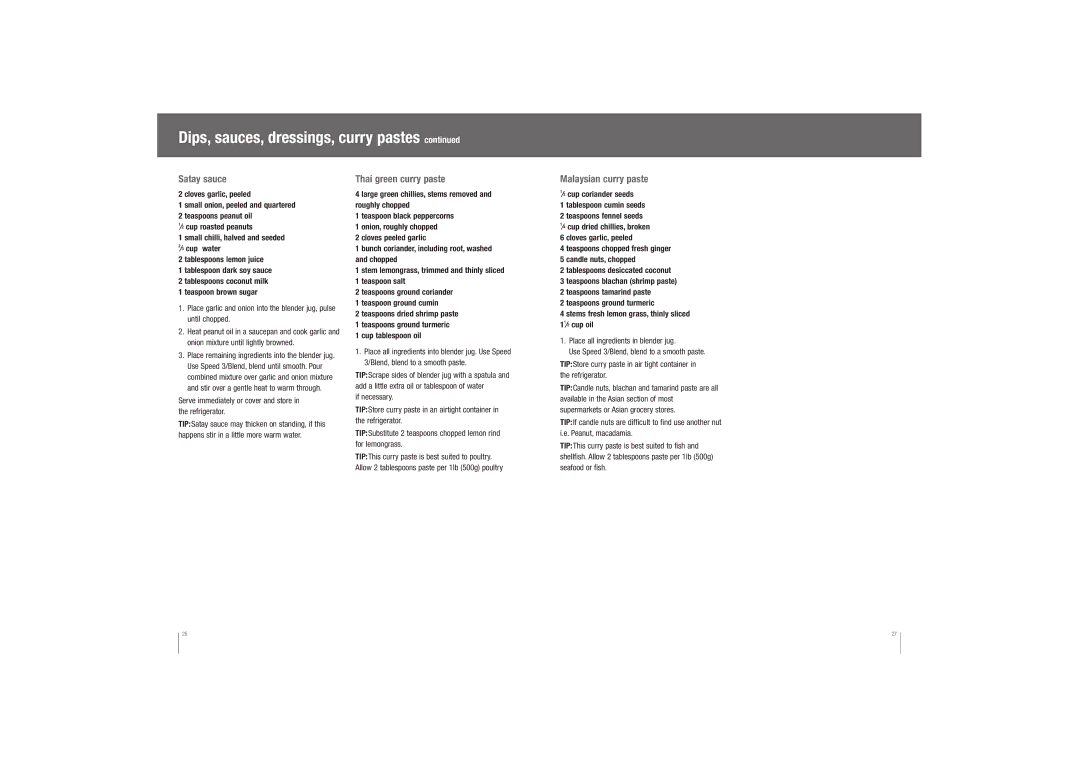
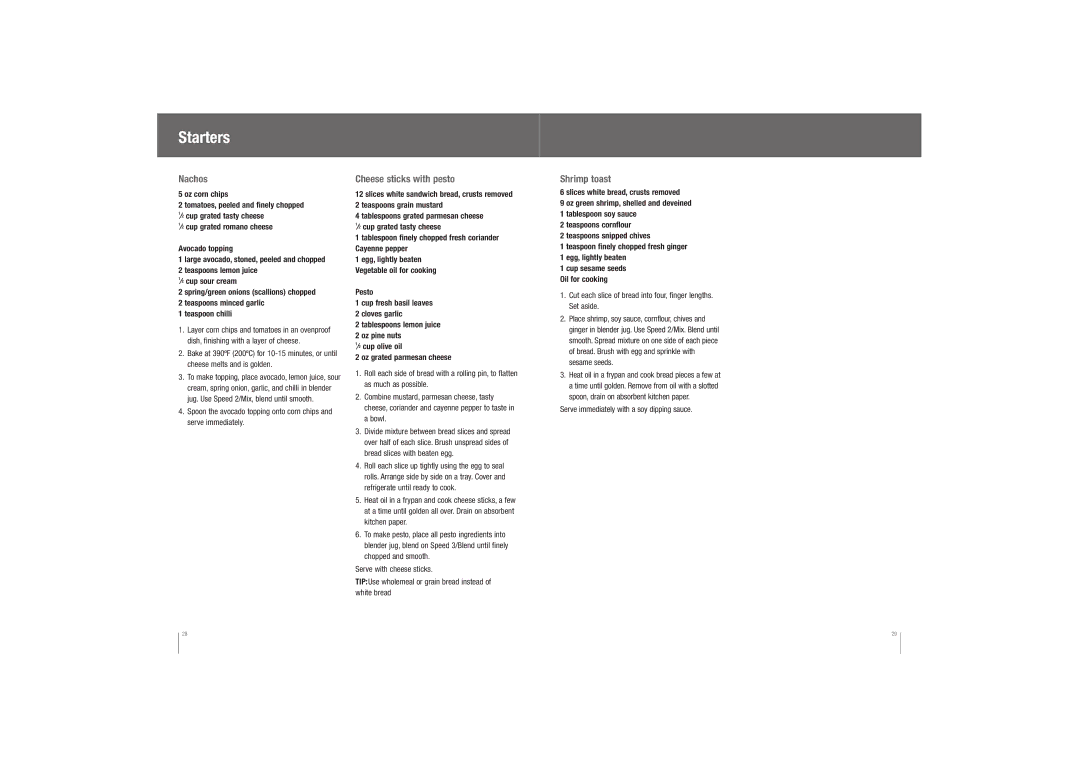
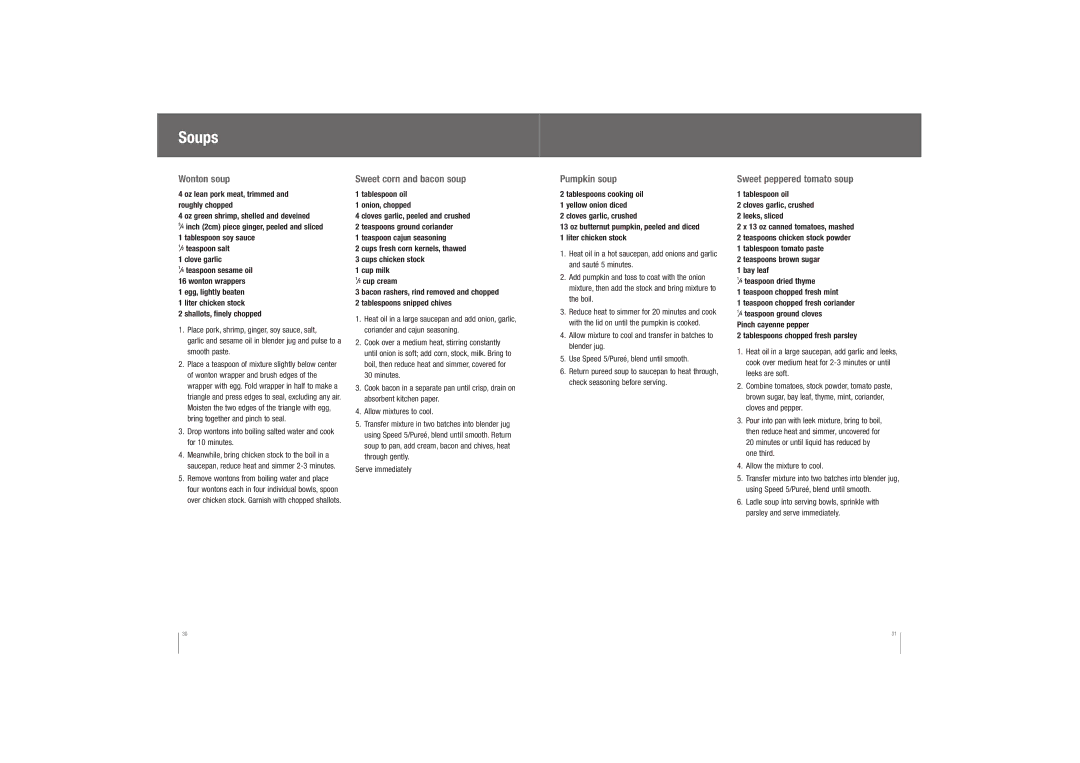
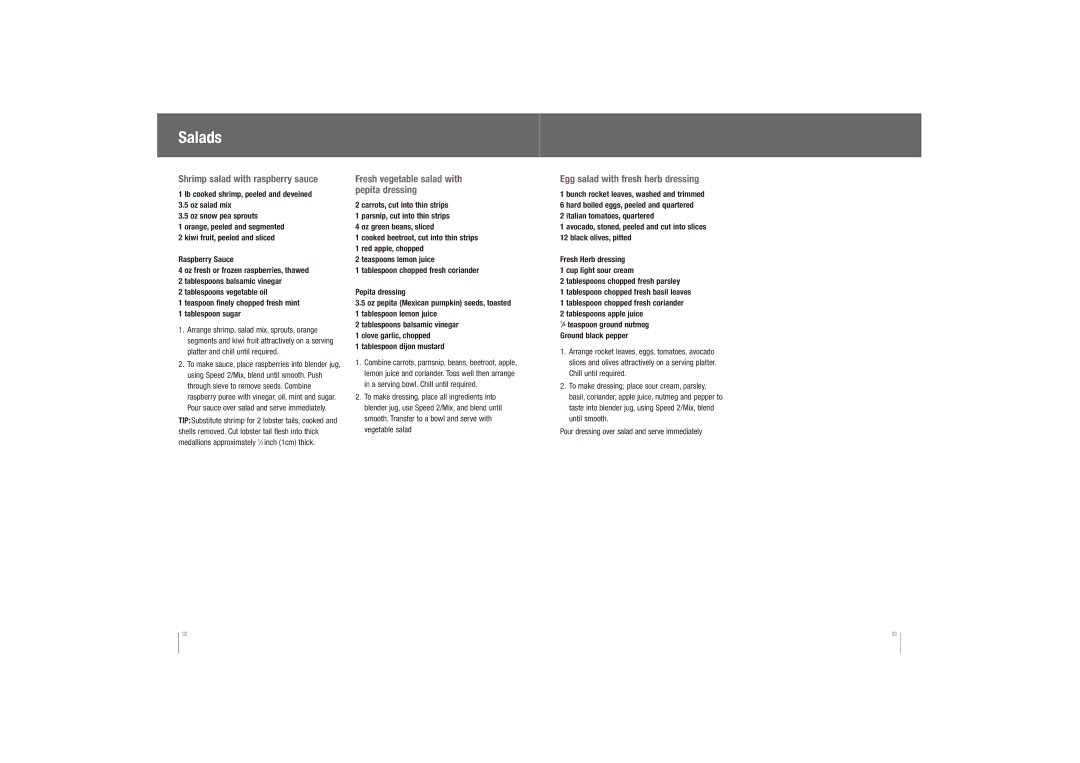
Contents Ikon 600 Blender Contents Congratulations Breville recommends safety first Know your Breville ikon BlenderWhat makes this blender superior? Before first useAssembling and attaching the blender Step Operating your Breville ikon Blender Remove the silicon seal from the blade assembly Cleaning the motor base Care and cleaningCleaning Step Removing stubborn or strong food stains and odorsTips on how to best use your Breville ikon Blender Don’tLid Suggested uses for your Breville ikon Blender Food Preparation & Usage Quantity Function TimeOne year limited warranty Trouble shooting WarrantyTrouble shooting chart Problem SolutionRecipes Contents Dips, sauces, dressings, curry pastes Avocado dressing Smoked salmon patéMayonnaise Herb dressingMalaysian curry paste Satay sauceThai green curry paste Serve immediately or cover and store in the refrigeratorCheese sticks with pesto StartersNachos Shrimp toastSweet corn and bacon soup SoupsWonton soup Pumpkin soupFresh vegetable salad with pepita dressing SaladsShrimp salad with raspberry sauce Egg salad with fresh herb dressingHerbed bread stuffing Main mealsCrispy batter for fish Thai fish cakesFish Bites with egg and lemon sauce Lamb and tabbouleh pita pocketsPlace stock into a large saucepan, bring to the boil Chilled cheesecake Tandoori style fishLamburgers Mixed berry crepesCocktails Non alcoholic drinks Smoothies and milkshakes Meals for baby Meals for Toddlers Mélangeur ikon Félicitations Table des MatièresBreville vous recommande la sécurité avant tout Lisez toutes les instructionsUtilisez toujours l’appareil sur une surface sèche et plane Pourquoi ce mélangeur est-il supérieur? Avant la première utilisationMontage et fixation du mélangeur Étape Le fonctionnement de votre mélangeur ikon de Breville suite Retirez le joint en silicone des lames Nettoyage du socle du moteur ’entretien et nettoyageRemontage du récipient après Le nettoyage Élimination des taches et des odeurs tenacesFaire ÉviterProblème Solution Guide de dépannageGarantie Garantie limitée d’un anTrempette à la ricotta et aux olives Table des matiéresTrempette au pesto Trempettes, sauces, vinaigrettes et pâte de cariTrempettes, sauces, vinaigrettes et pâte de cari suite Pâte de cari de la Malaisie Sauce satayPâte de cari vert à la thaïlandaise Servez immédiatement ou couvrez et rangez au réfrigérateurCanapé aux crevettes Amuse-gueulesBâtonnets au fromage et au pesto Servez immédiatement avec une sauce soya pour trempetteSoupe à la citrouille Soupe wontonSoupe au maïs sucré et au bacon Soupe aux tomates sucrée et poivréeSalade aux oeufs avec vinaigrette aux fines herbes SaladesSalade de crevettes avec vinaigrette à la framboise Bol et servez avec la salade de légumesFricadelles de poisson thaï Plats principauxFarce au pain et aux fines herbes Gigot d’agneau au romarin et au parmesanPita à l’agneau et au taboulé Plats principaux suiteBouchées de poisson avec sauce aux oeufs et au citron Oeuf Jaune d’oeuf ⁄4 t de jus de citronFricadelles d’agneau Plats principaux suite DessertsPoisson tandoori Gâteau au fromage réfrigéréCocktails Boissons non alcoolisées Boisson frappée énergétique Boisson fouettée à la menthe et aux agrumesBoisson fouettée aux bananes Boisson fouettée à la mangueBoissons fouettées et laits frappés suite Aliments de bébé Poulet crémeux à l’abricot Aliments pour tout-petitsPoisson rapide Musli de bébéCentrode Servicio de Atencion al Clitente Breville Felicidades ContenidoLea todas las instrucciones Guarde estas instruccionesArmado y ajuste de la licuadora Paso Qué es lo que hace que esta licuadora sea superior?Antes del primer uso El futuro del licuadoFuncionamiento de su Breville ikon Blender continuación Funcionamiento de su Breville ikon Blender continuación Retire el sello de siliconas del ensamblaje de las cuchillasLimpieza de la base del motor Cuidado y limpiezaRearmado de la jarra de su licuadora Después de la limpieza AlmacenamientoLo que Sí debe hacer Lo que No debe hacerAlimentos Preparación y uso Cantidad Función Tiempo Tabla de resolución de problemas Problema SoluciónGarantía Garantía limitada de un añoSalsa para untar de ricota y aceitunas ContenidosSalsa para untar de pesto Taza de hojas frescas de albahacaAderezo de aguacate Paté de salmón ahumadoMayonesa Aderezo de hierbasPasta malaya al curry Salsa de satayPasta tailandesa verde al curry Dientes de ajo, peladosTostadas con camarones EntradasPalitos de queso con pesto Cucharaditas de jugo de limón ⁄2 taza de crema agriaSopa de elote y tocino SopasSopa Montón Sopa de calabazaComidas principales EnsaladasEnsalada de camarones con salsa de frambuesa Oz de mezcla para ensaladaPasteles tailandeses de pescado Comidas principalesRelleno de pan aromatizado con hierbas Filetes de cordero rebozados en queso Parmesano al romeroCordero y pan árabe Comidas principales continuaciónBocaditos de pescado con huevo y salsa de limón Coloque el caldo en una olla y deje hervirHamburguesas de cordero Comidas principales continuación Antojitos dulcesPescado al estilo Tandoori Tarta de queso heladaSangría helada CóctelesDaiquiris Piña coladaBebidas sin alcohol Batidos y licuados Comidas para bebés Comidas para niños pequeños 138 139