TROUBLESHOOTING
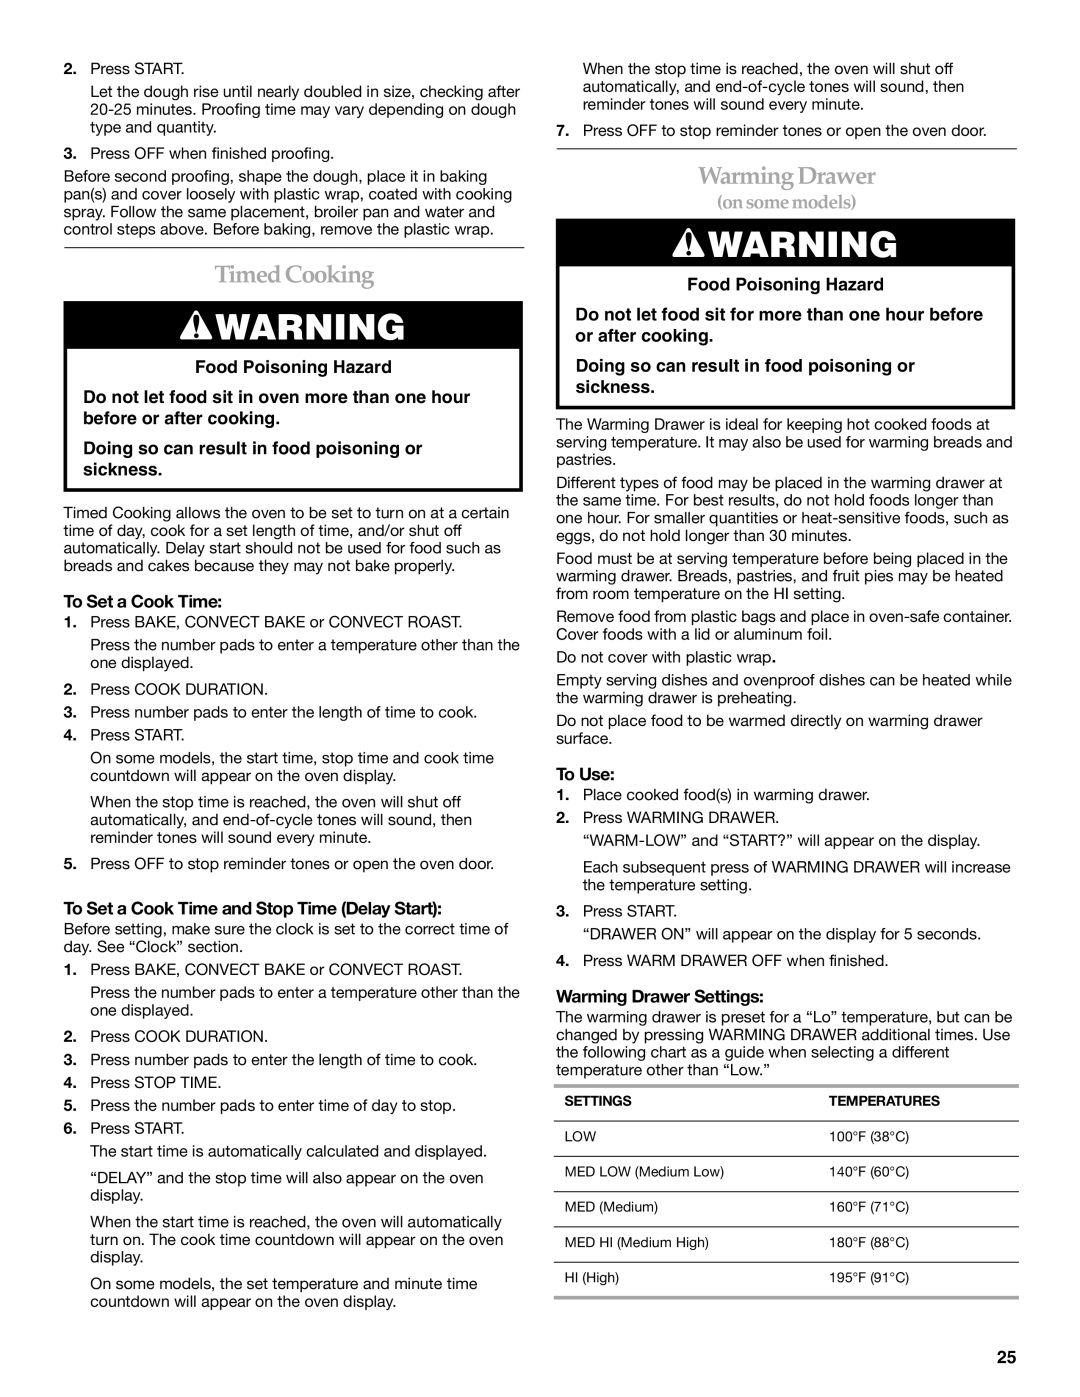
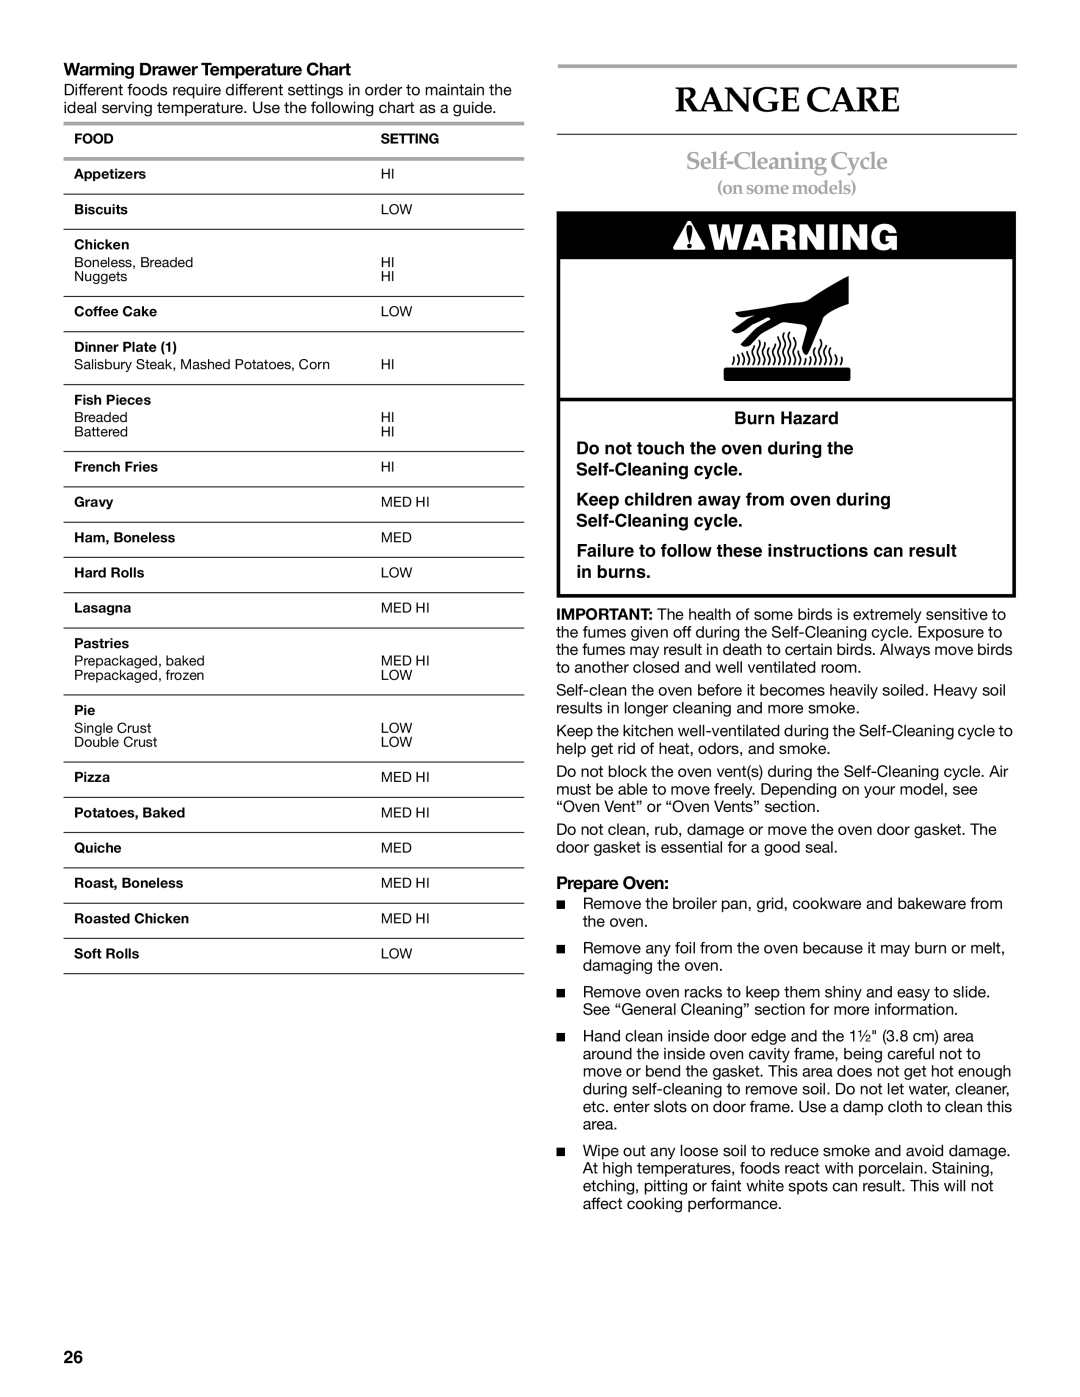
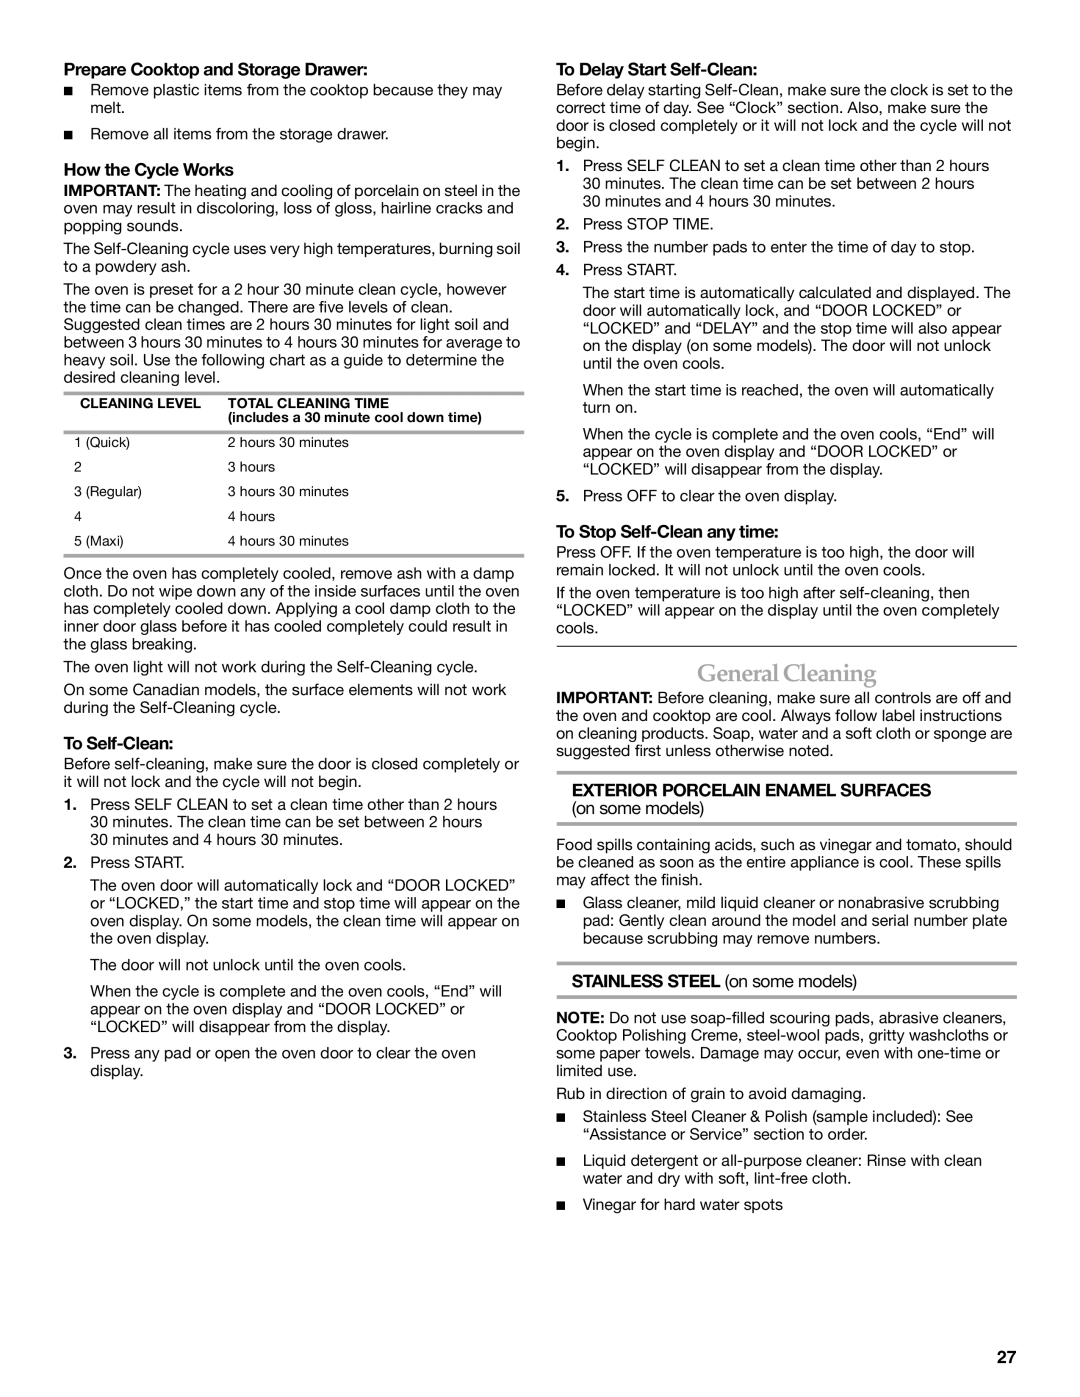
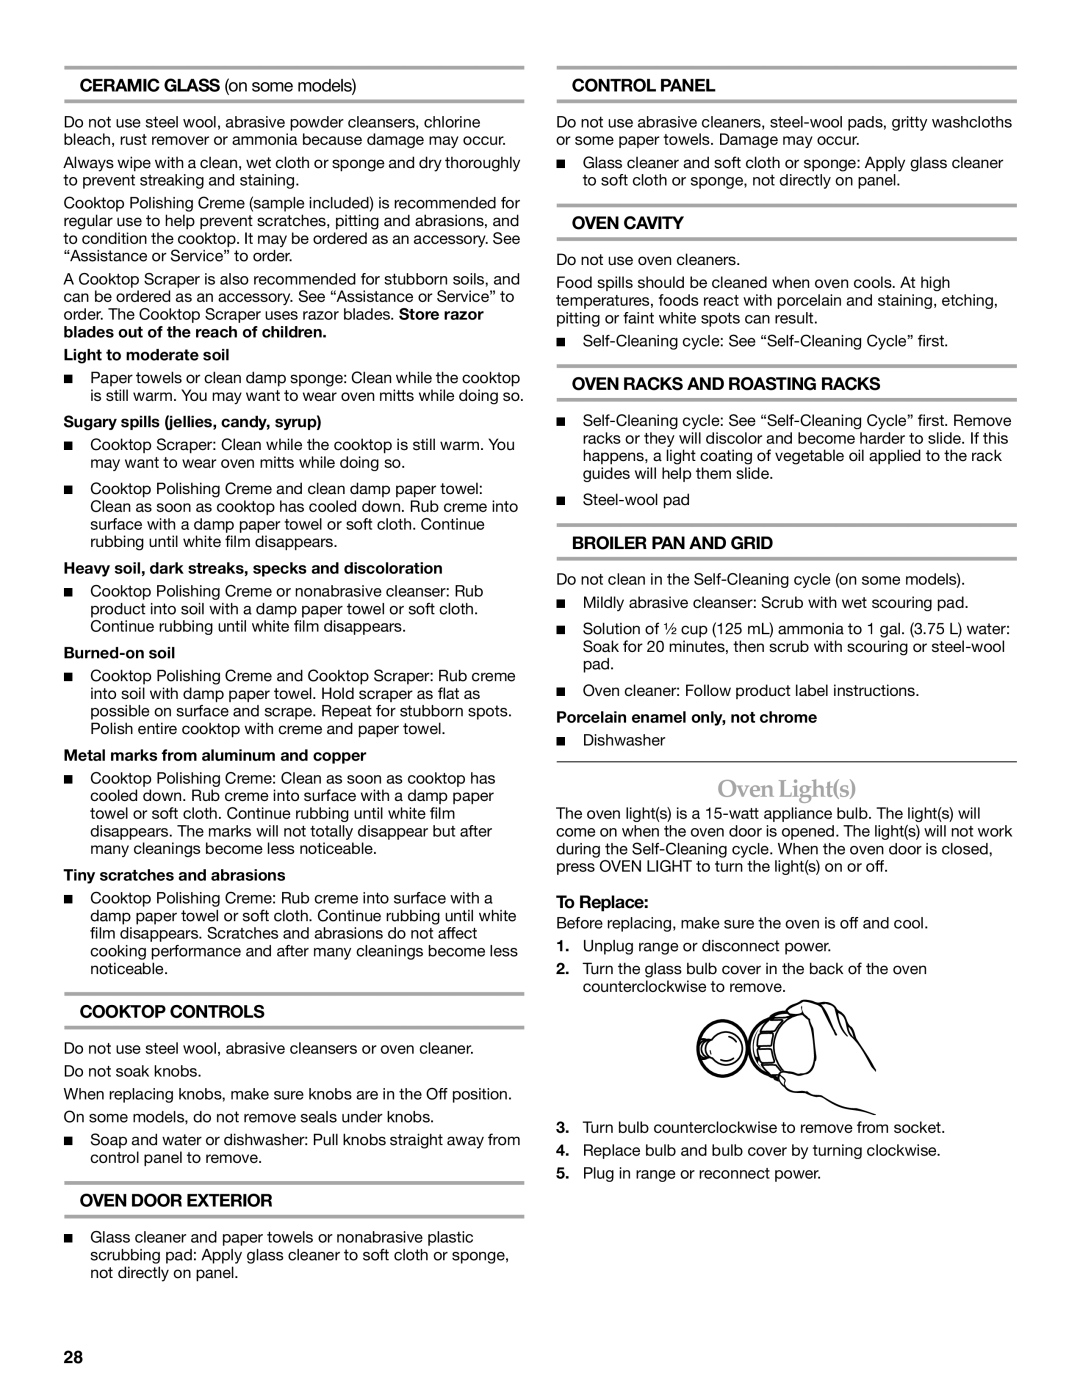
Try the solutions suggested here first in order to avoid the cost of an unnecessary service call.
Nothing will operate
■Is the power supply cord unplugged? Plug into a grounded outlet.
■On some models, does the cooling fan run during BAKE, BROIL or CLEAN? It is normal for the fan to automatically run when the oven is in use. This helps cool the electronic control.
■Has a household fuse blown, or has a circuit breaker tripped? Replace the fuse or reset the circuit.
Cooktop will not operate
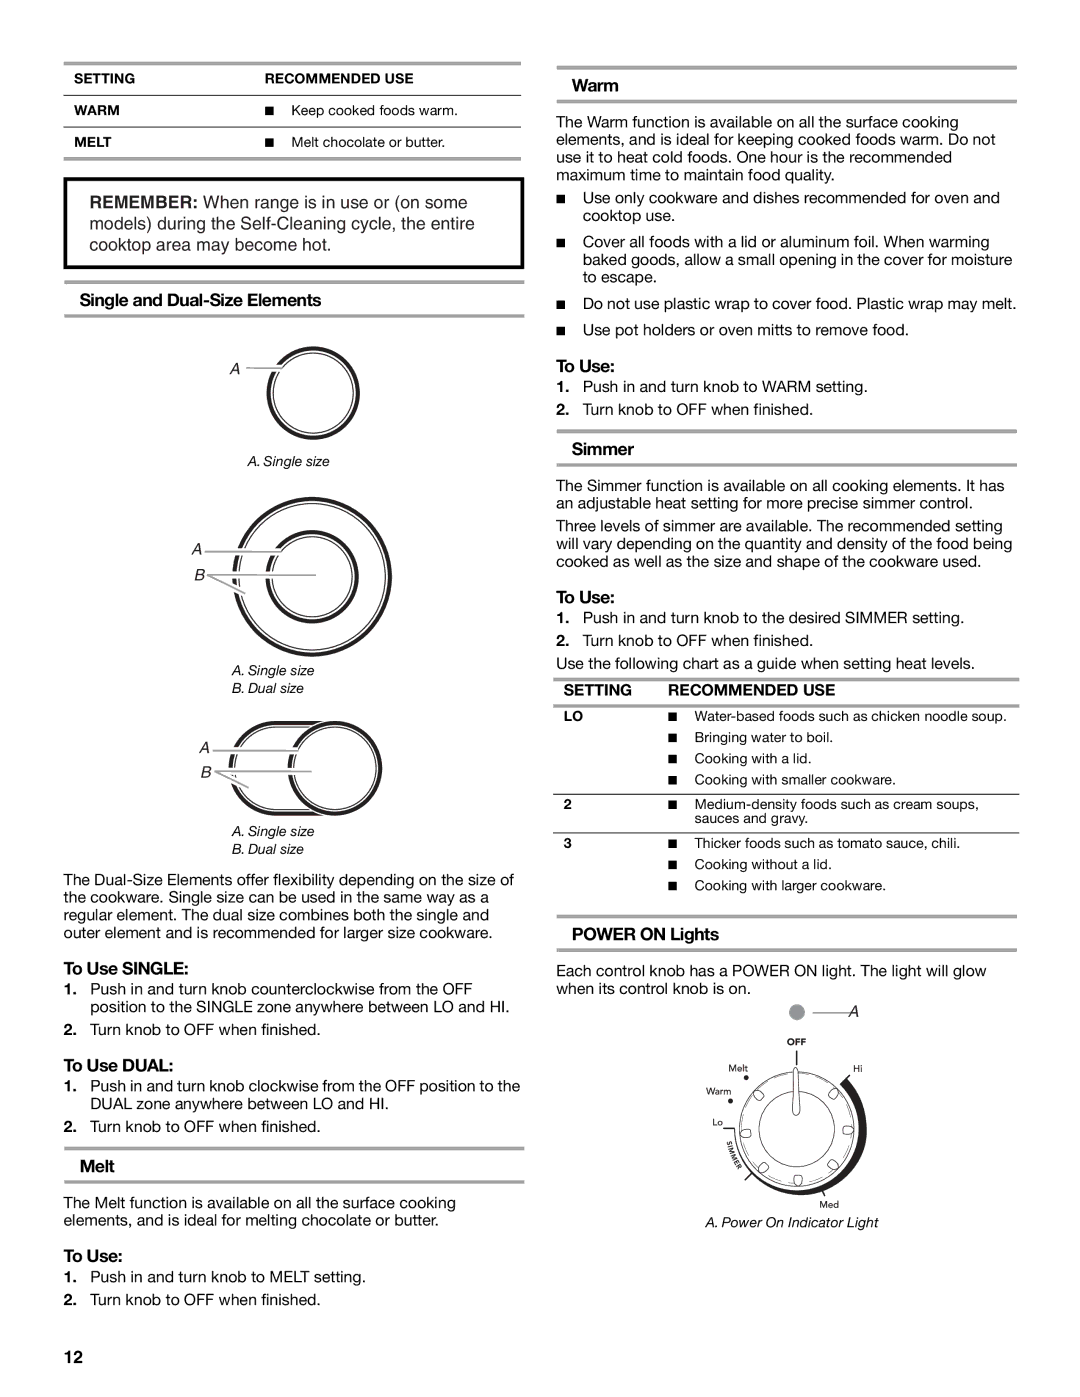
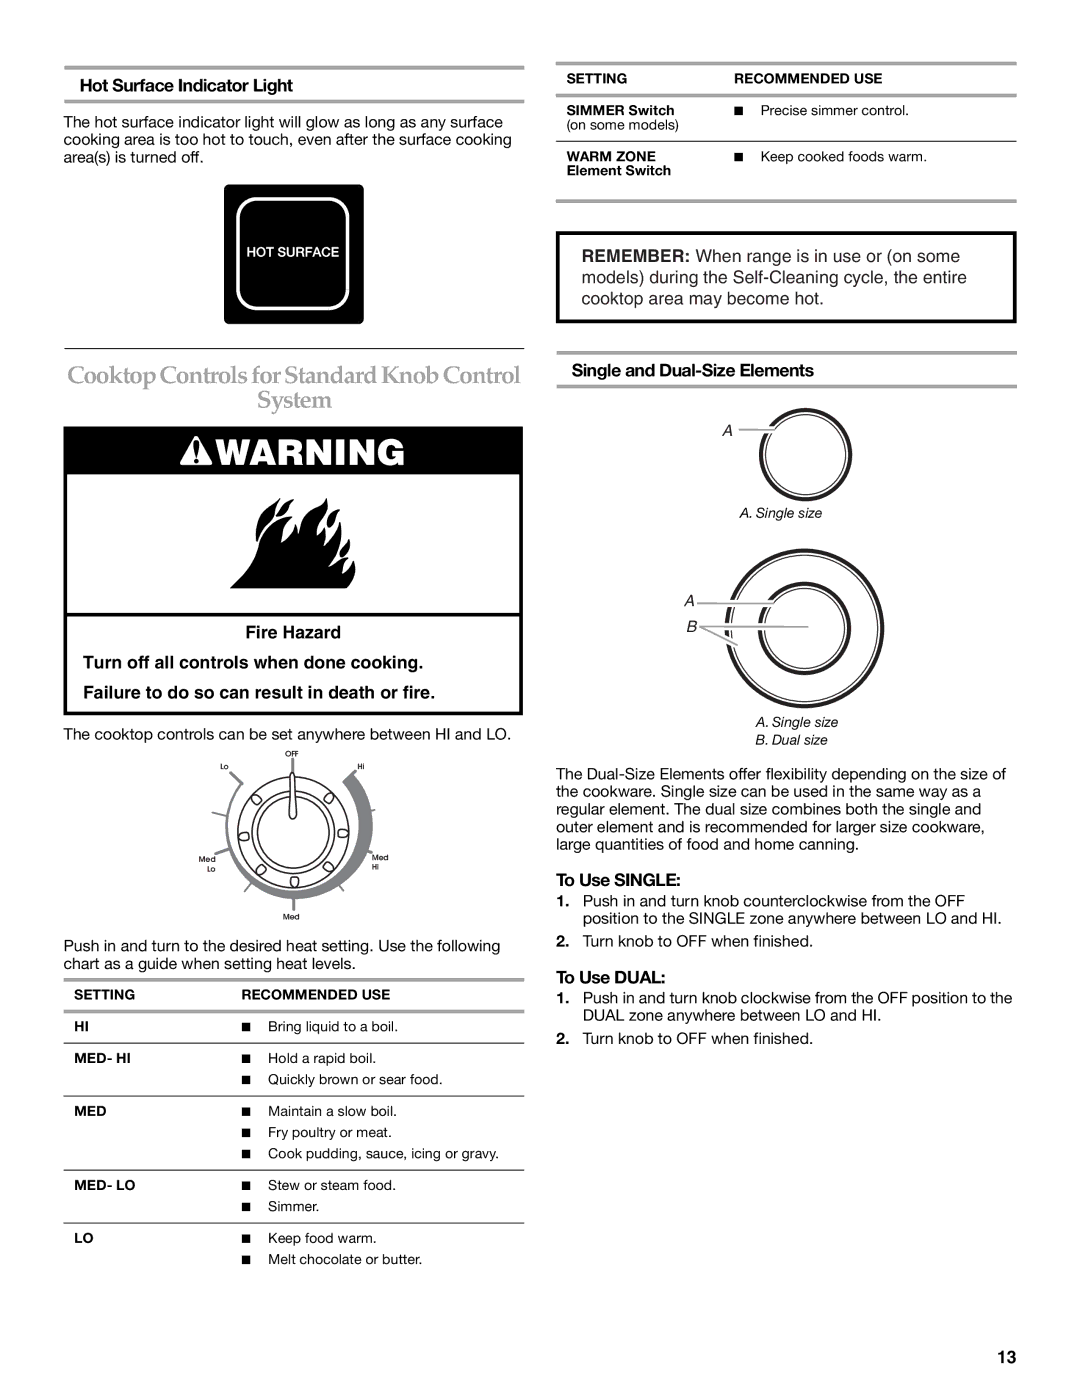
■Is the control knob set correctly? Push in knob before turning to a setting.
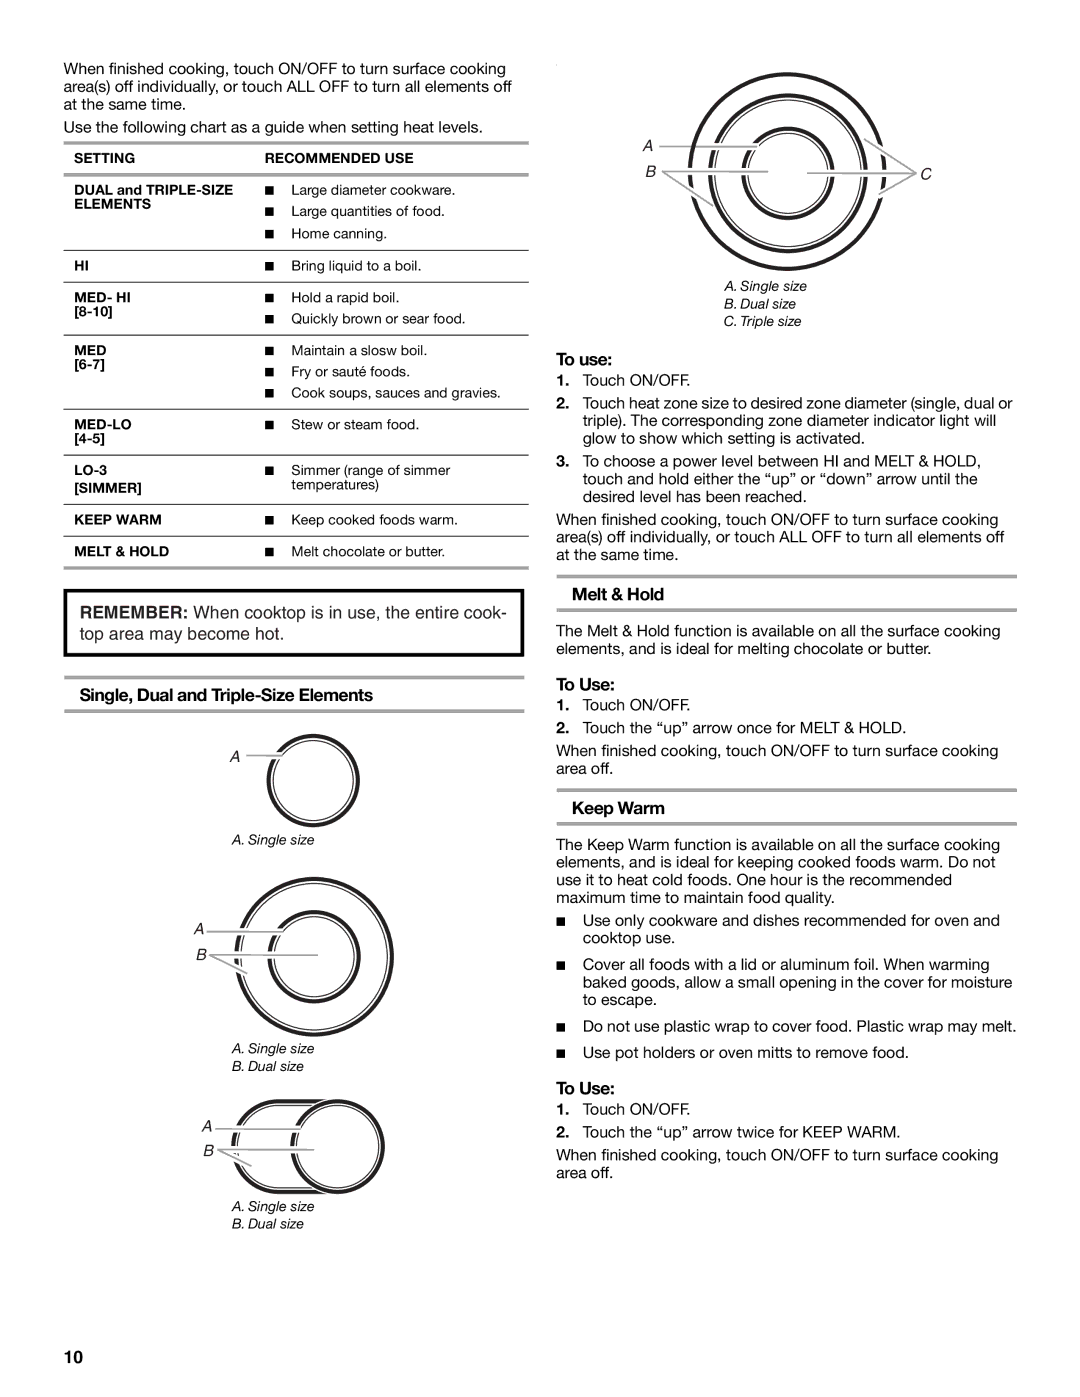
■On some ceramic glass models, is the Cooktop Control Lock set? See “ALL OFF/Control Lock” in “Cooktop Controls for Electronic Touch Activated System” section.
Display shows messages
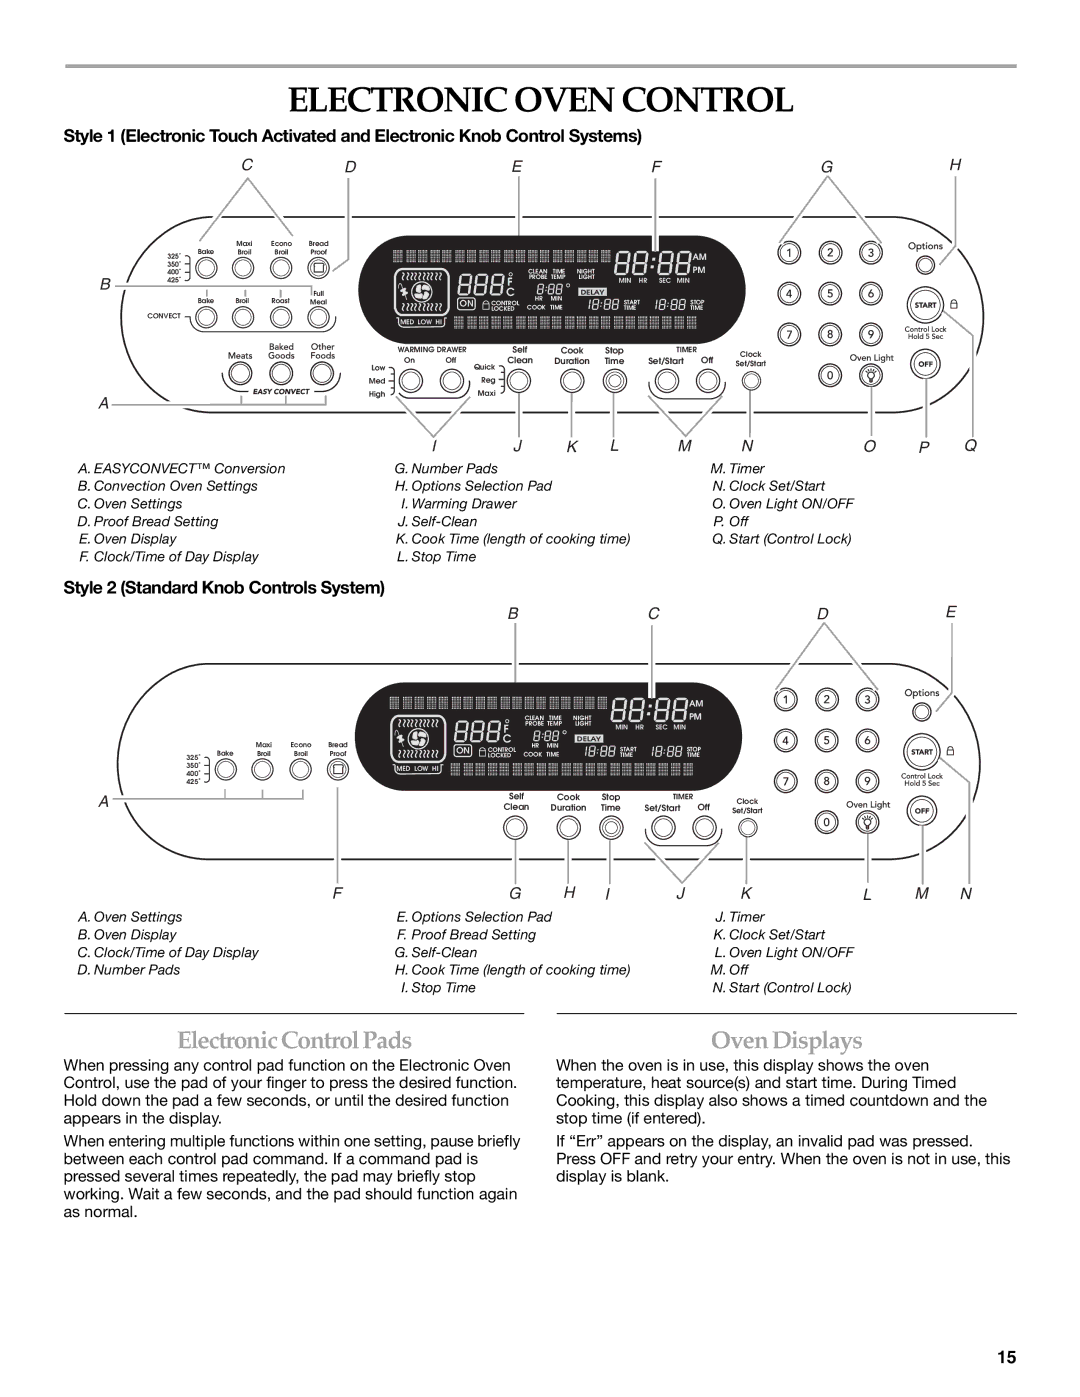
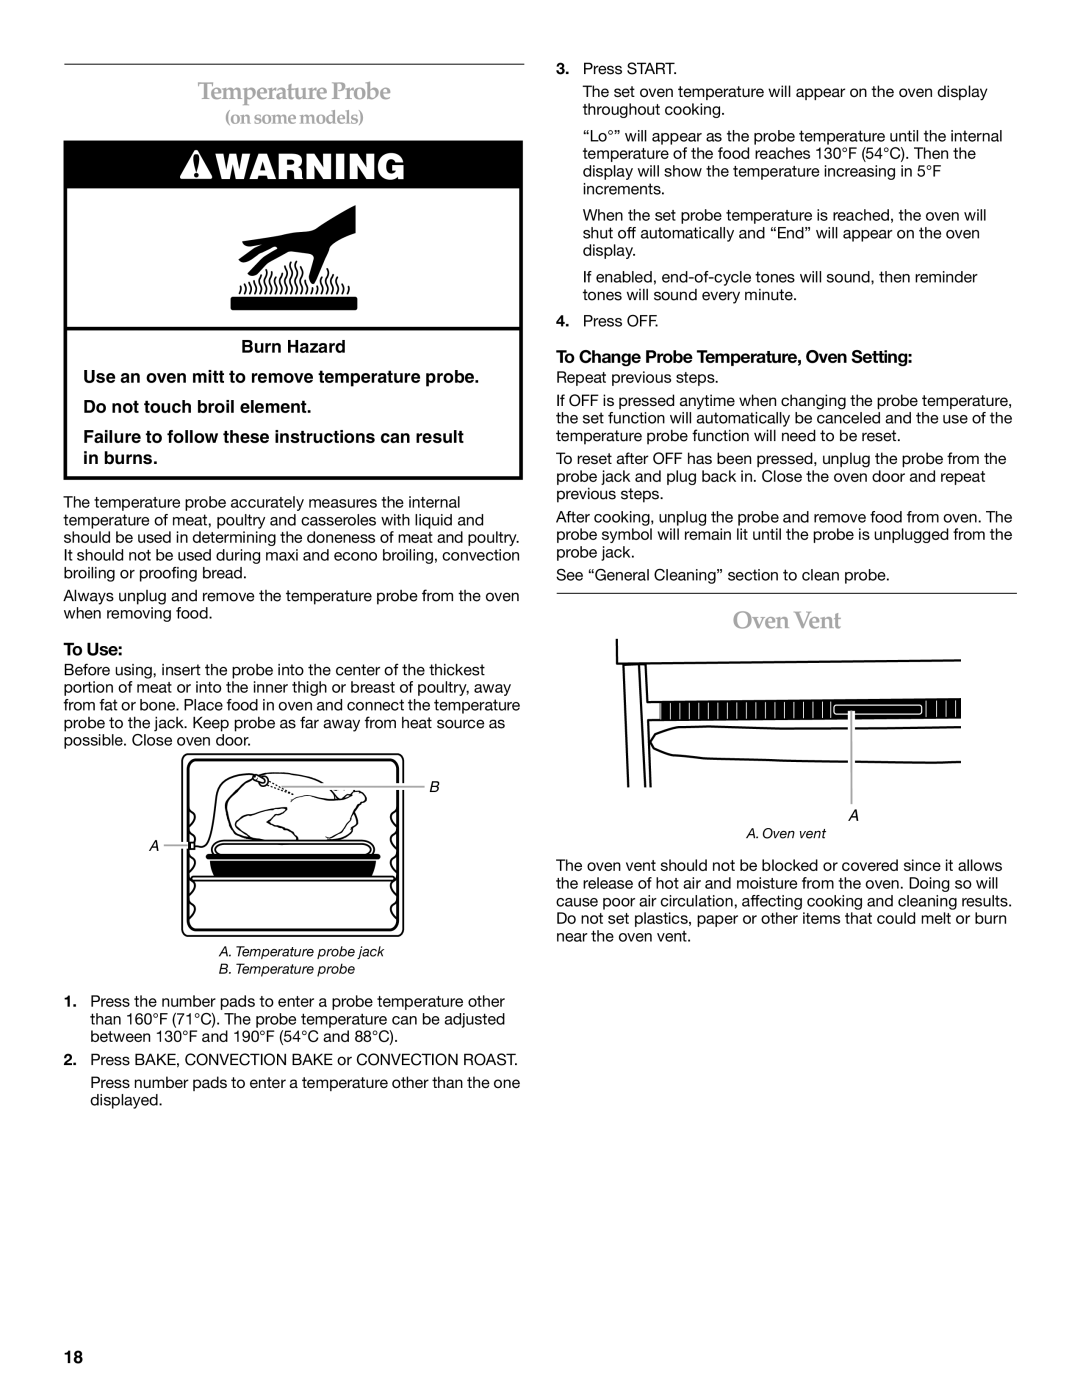
■Is the display showing “SET CLOCK”? There has been a power failure. Clear the display. See “Oven Displays” section. On some models, reset the clock, if needed. See “Clock/ Timer Display” section.
■Is the display showing a letter followed by a number? Press OFF to clear the display. See “Oven Displays” section. If it reappears, call for service. See “Assistance or Service” section.
Excessive heat around cookware on cooktop
■Is the cookware the proper size? Use cookware about the same size as the surface cooking area, element or surface burner. Cookware should not extend more than ½" (1.25 cm) outside the cooking area.
Hot surface indicator light stays on
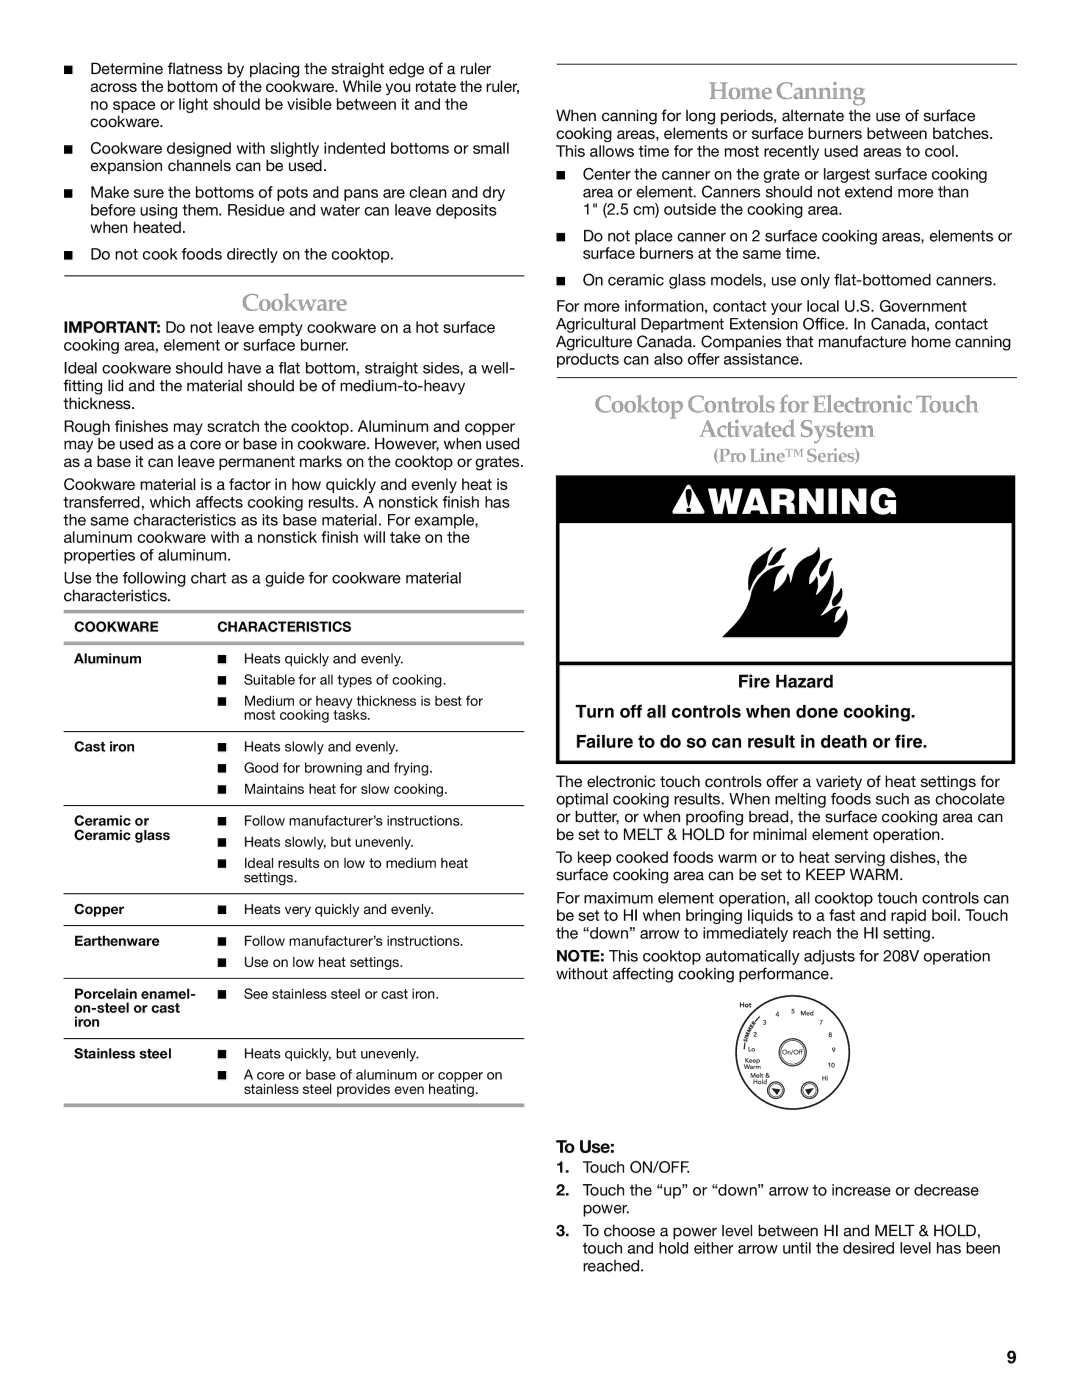
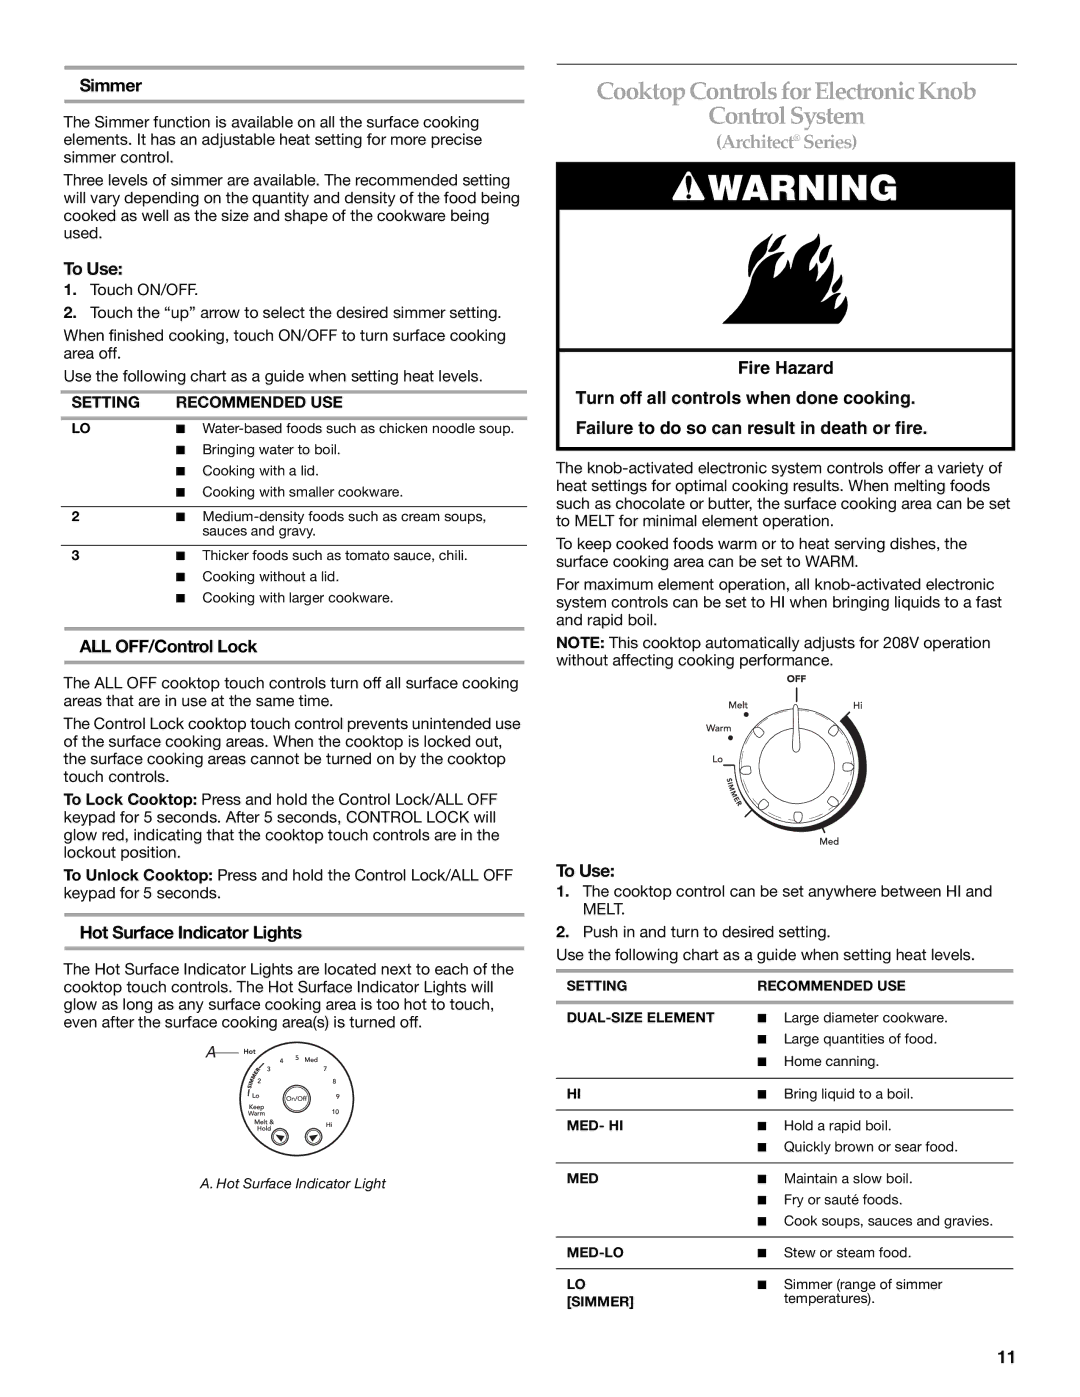
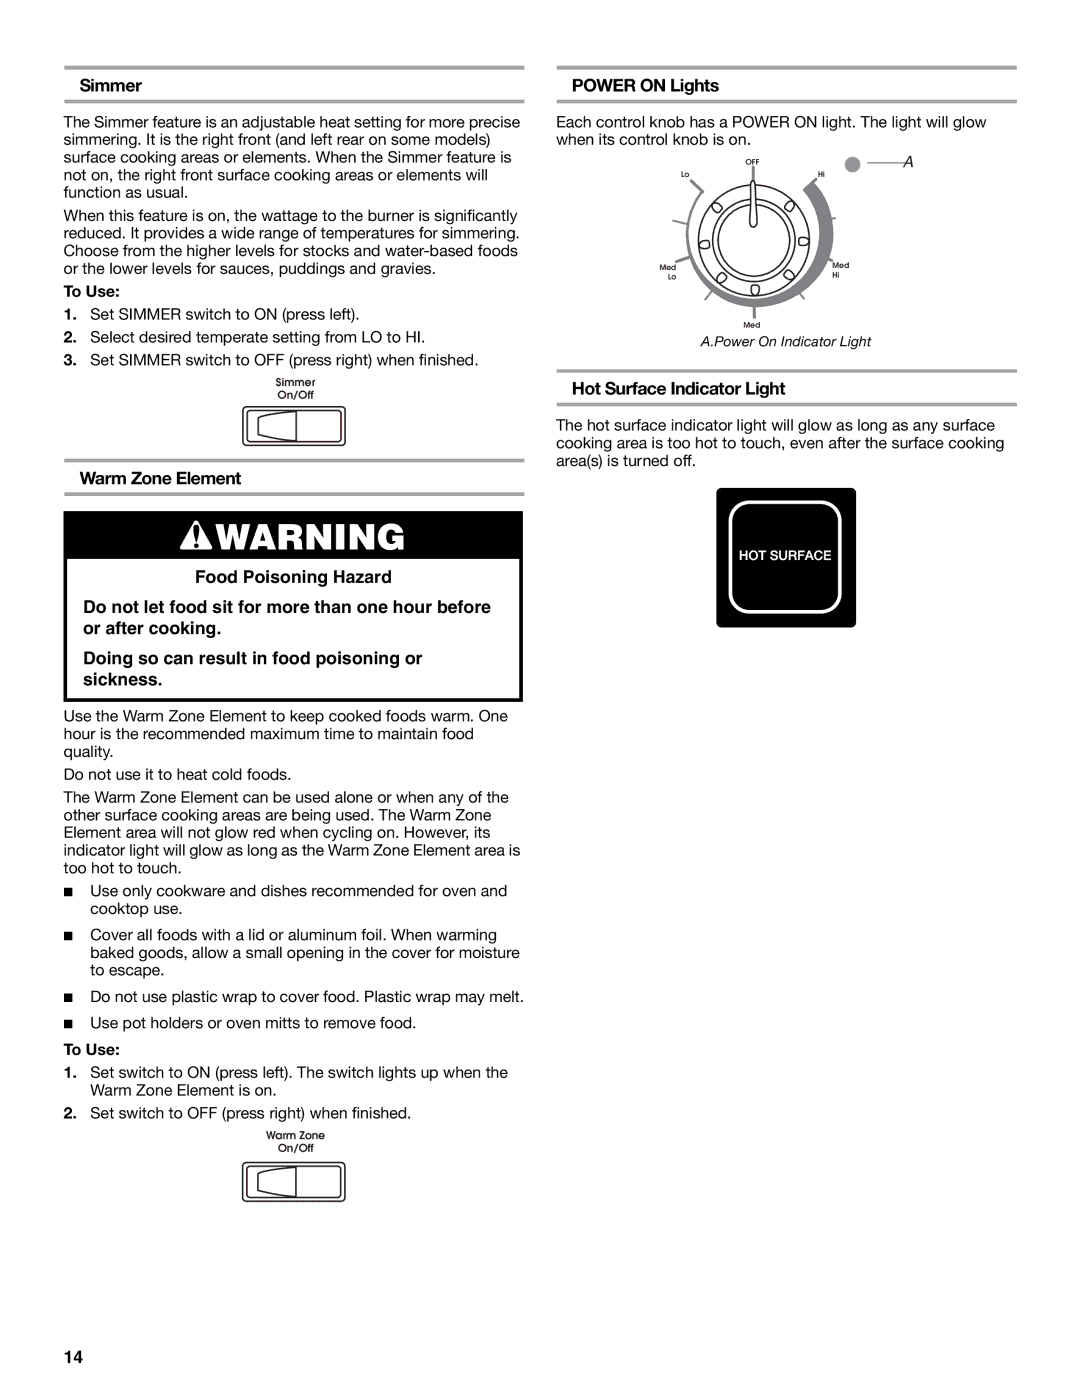
■Does the hot surface indicator light stay on after controls have been turned off? See “Hot Surface Indicator Lights” in “Cooktop Controls for Electronic Touch Activated System,” “Cooktop Controls for Electronic Knob Control System” or “Cooktop Controls for Standard Knob Control System” section, depending on your model.
Cooktop cooking results not what expected
■Is the proper cookware being used? See “Cookware” section.
■Is the control knob or element controls set to the proper heat level? See “Cooktop Controls for Electronic Touch Activated System,” “Cooktop Controls for Electronic Knob Control System” or “Cooktop Controls for Standard Knob Control System” section, depending on your model.
■Is the appliance level? Level the appliance. See the Installation Instructions.
Oven will not operate
■Is the electronic oven control set correctly? See “Electronic Oven Control” section.
■Has a delay start been set? See “Timed Cooking” section.
■On some models, is the Control Lock set? See “Control Lock” section.
■On some models, is the Sabbath Mode set? See “Sabbath Mode” section.
Oven temperature too high or too low
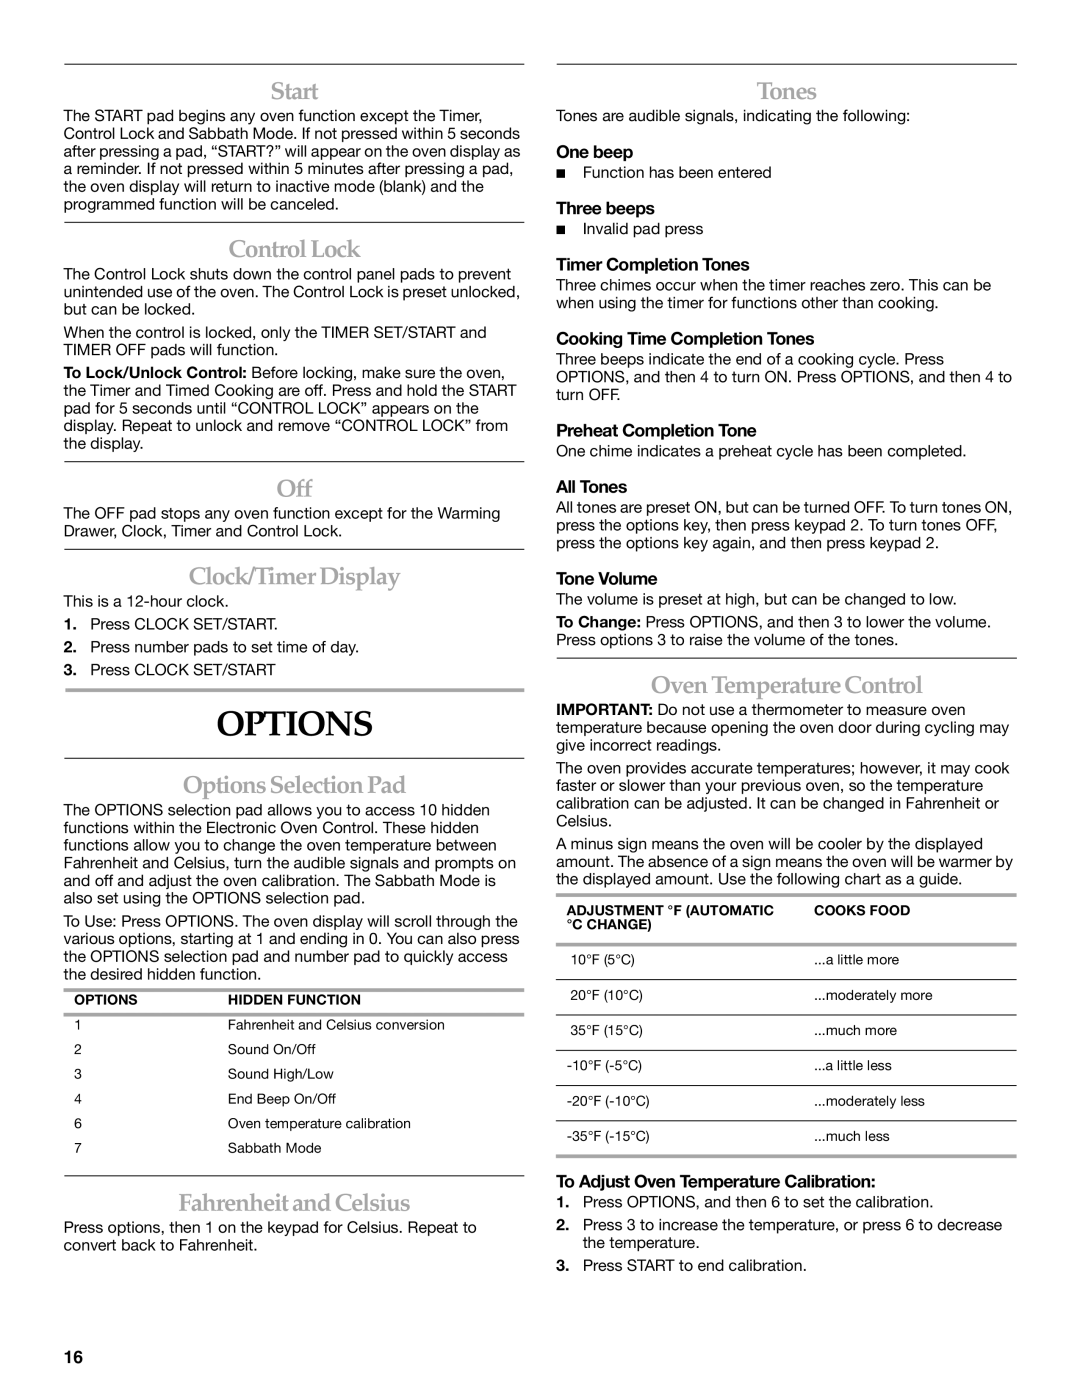
■Does the oven temperature calibration need adjustment? See “Oven Temperature Control” section.
Self-Cleaning cycle will not operate
■Is the oven door open? Close the oven door all the way.
■Has the function been entered? See
■On some models, has a delay start
■Has a delay start been set? See “Timed Cooking” section.
Oven cooking results not what expected
■Is the appliance level? Level the appliance. See the Installation Instructions.
■Is the proper temperature set?
■Is the proper oven temperature calibration set? See “Oven Temperature Control” section.
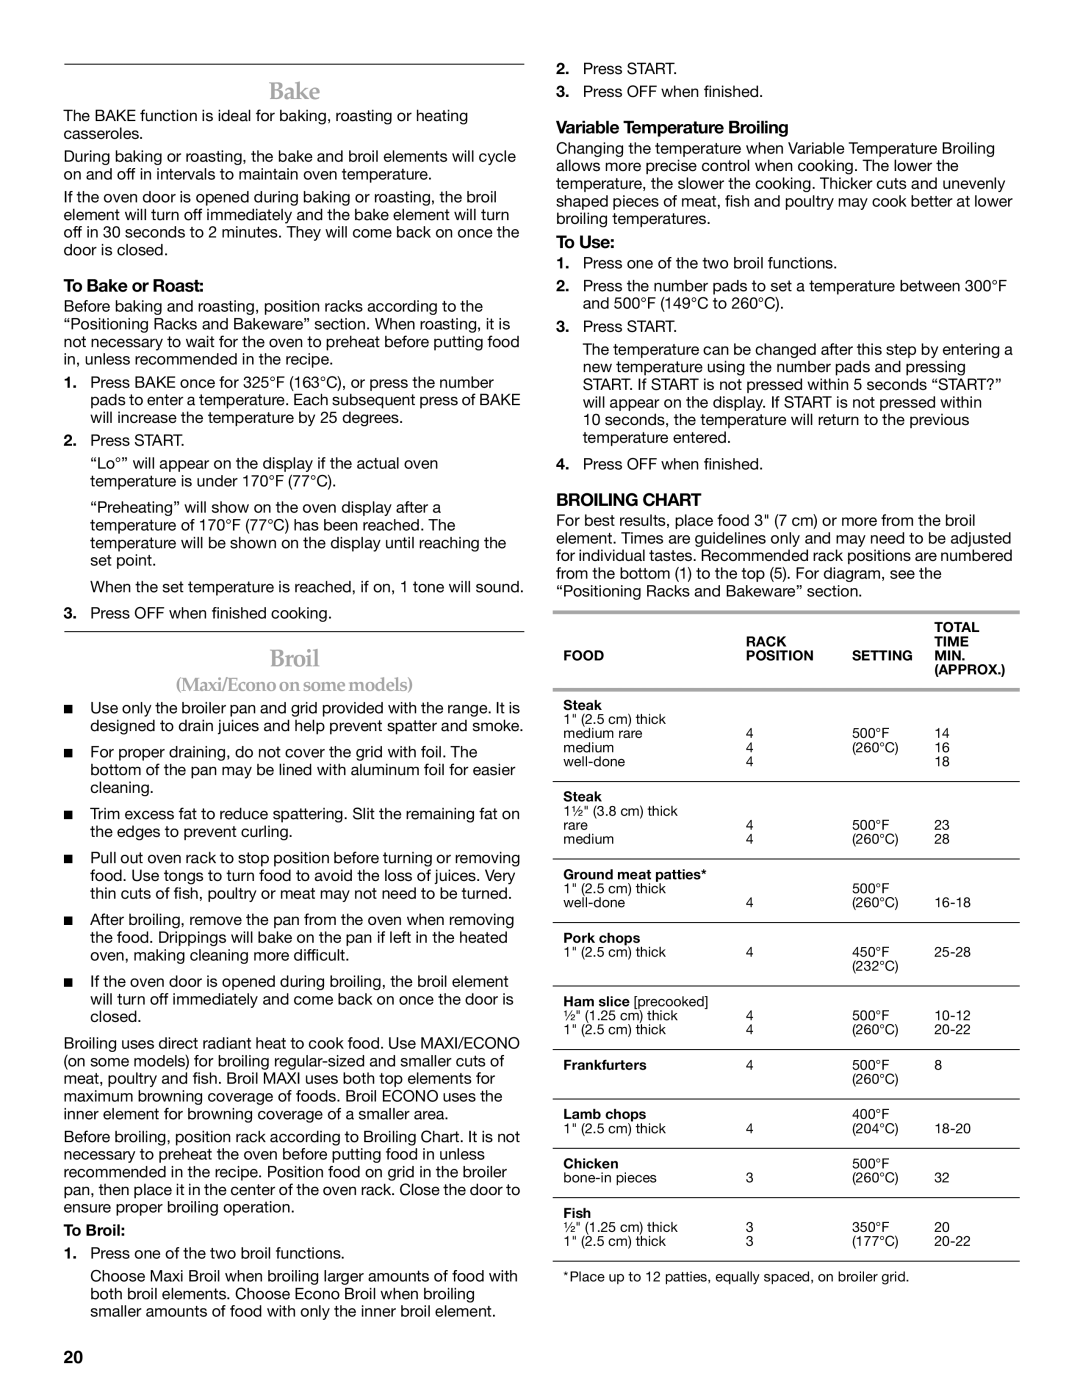
■Was the oven preheated? See “Bake,” “Convection Bake,” “Convection Roast” or “Convection Broil” section.
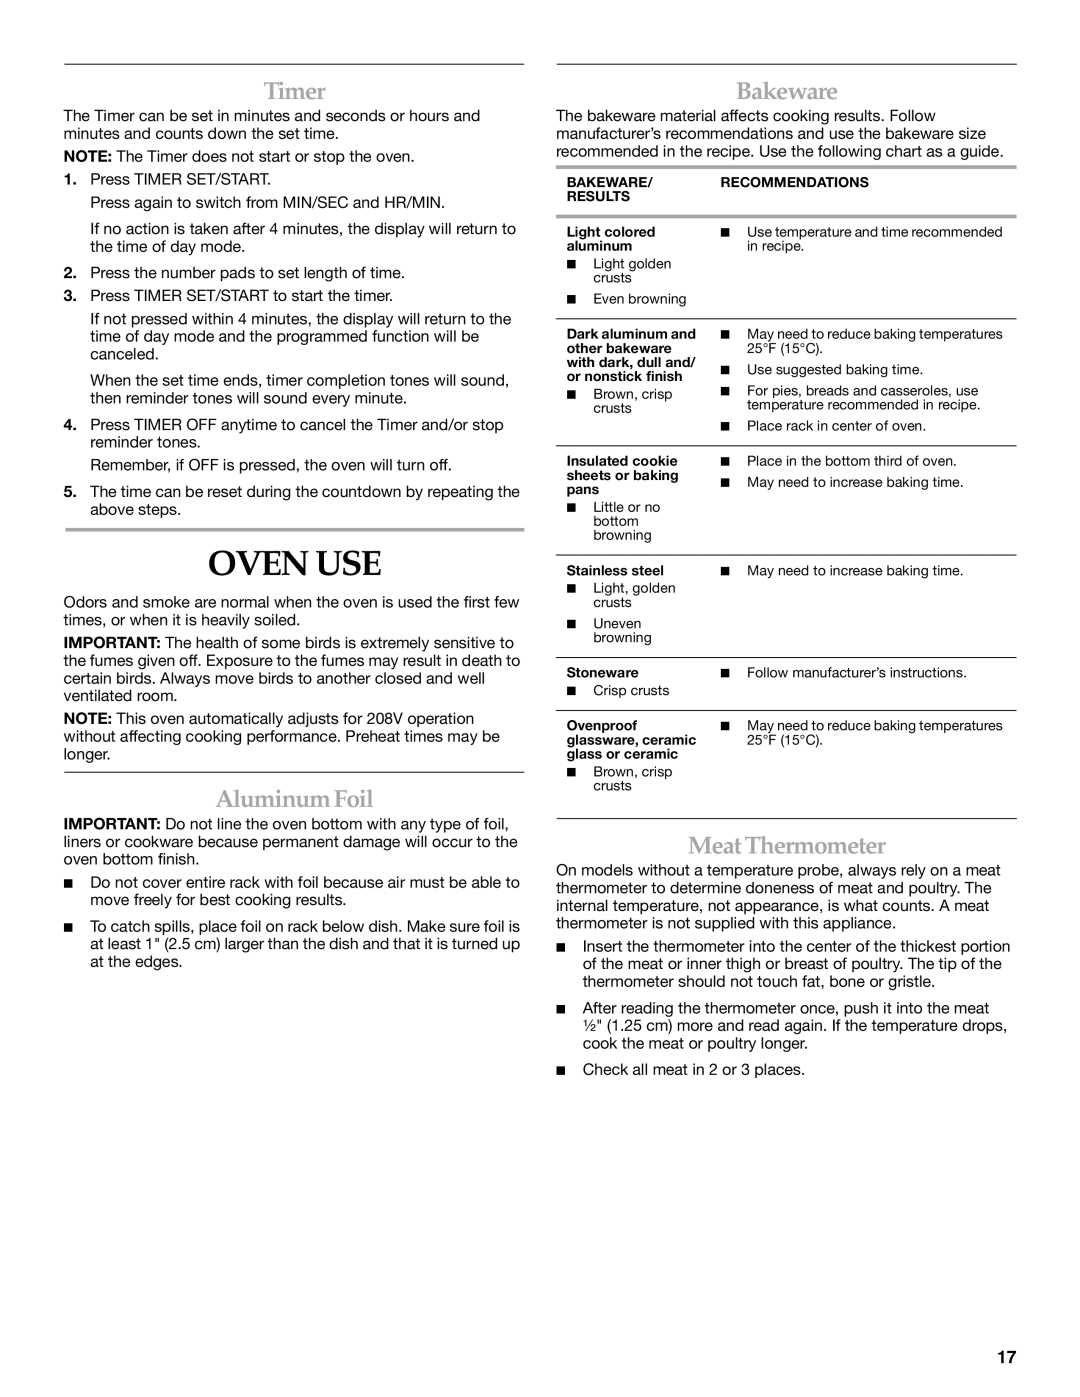
■Is the proper bakeware being used? See “Bakeware” section.
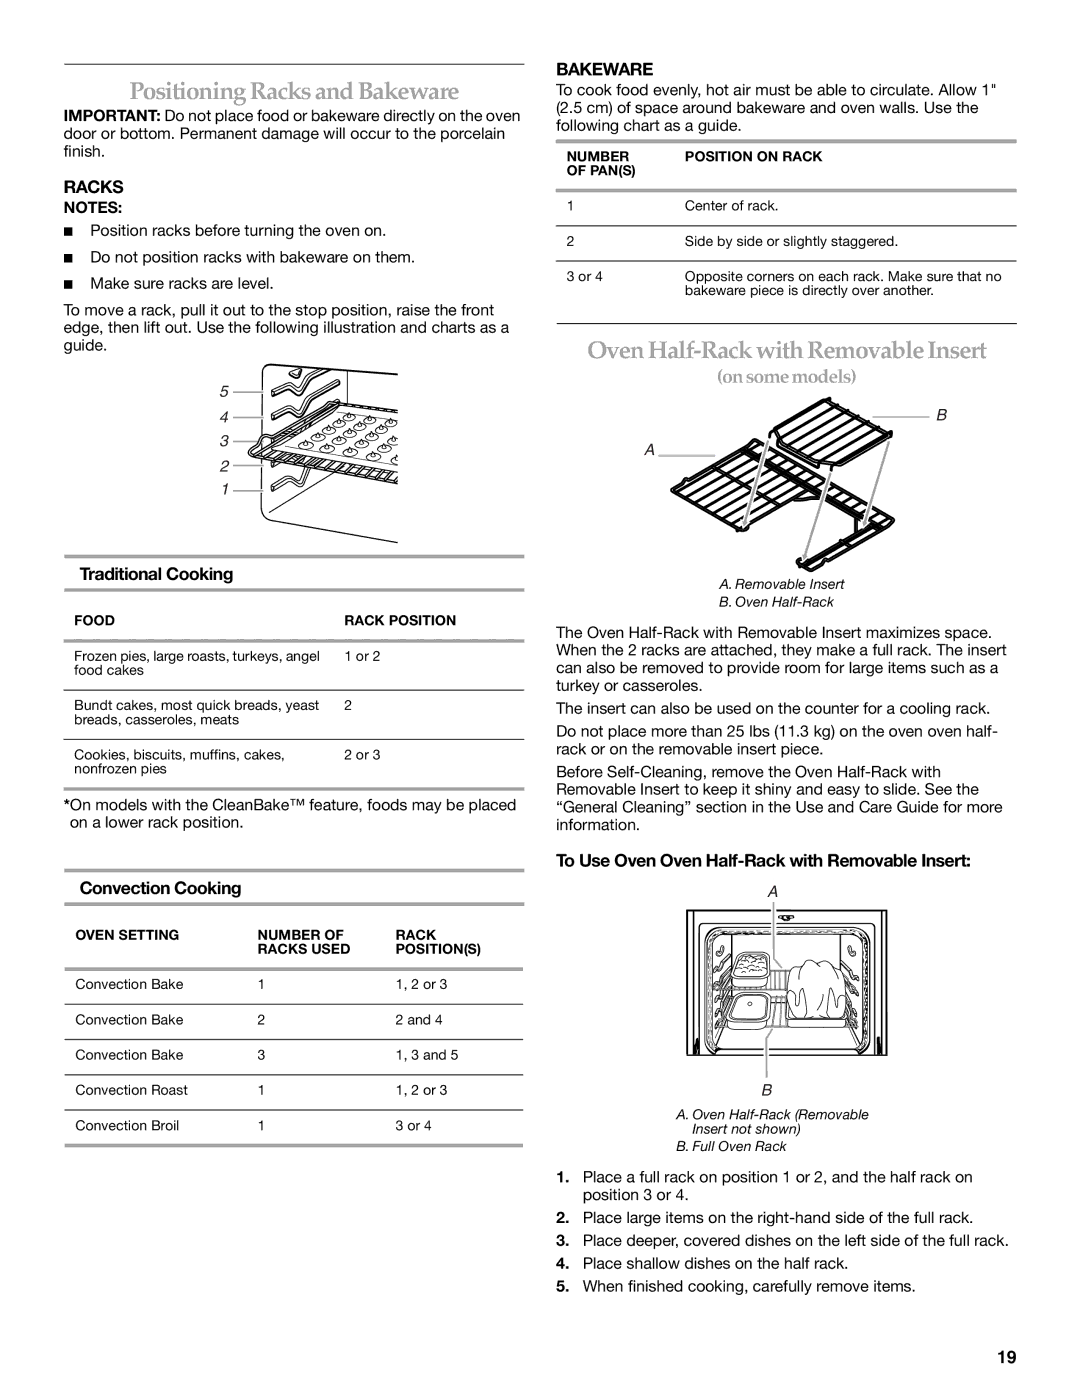
■Are the racks positioned properly? See “Positioning Racks and Bakeware” section.
■Is there proper air circulation around bakeware? See “Positioning Racks and Bakeware” section.
■Is the batter evenly distributed in the pan? Check to make sure batter is level in the pan.
■Is the proper length of time being used? Adjust cooking time.
■Has the oven door been opened while cooking? Oven peeking releases oven heat and can result in longer cooking times.
■Are baked items too brown on the bottom? Move rack to higher position in the oven.
■Are pie crust edges browning early? Use aluminum foil to cover the edge of the crust and/or reduce baking temperature.
30
