Equipment
Four 1 1/4-inch No. 8 self-tapping screws come with the system for mounting the unit on a wall. Regardless of the mounting surface, you will need a long-shafted screwdriver for your installation. However, the construction of the wall you have selected for mounting the control unit determines if you will need additional or substituted items for mounting.
If the mounting surface is: | You will need: |
| |
Concrete | Four 1 1/4-inch No. 8 masonry anchors |
Brick | |
Concrete block | |
| |
Plaster | Four 3/16-inch toggle bolts |
Plasterboard | |
| |
Plywood | Screws supplied and one 9/64-inch drill bit |
Sheet metal | |
In addition to the screwdriver and hardware mentioned, you also need:
●Pencil or other sharp-pointed marker
●Notepaper
●Tape measure
●Power drill (or hand drill)
●Appropriate drill bits
Removing Control Unit Covers
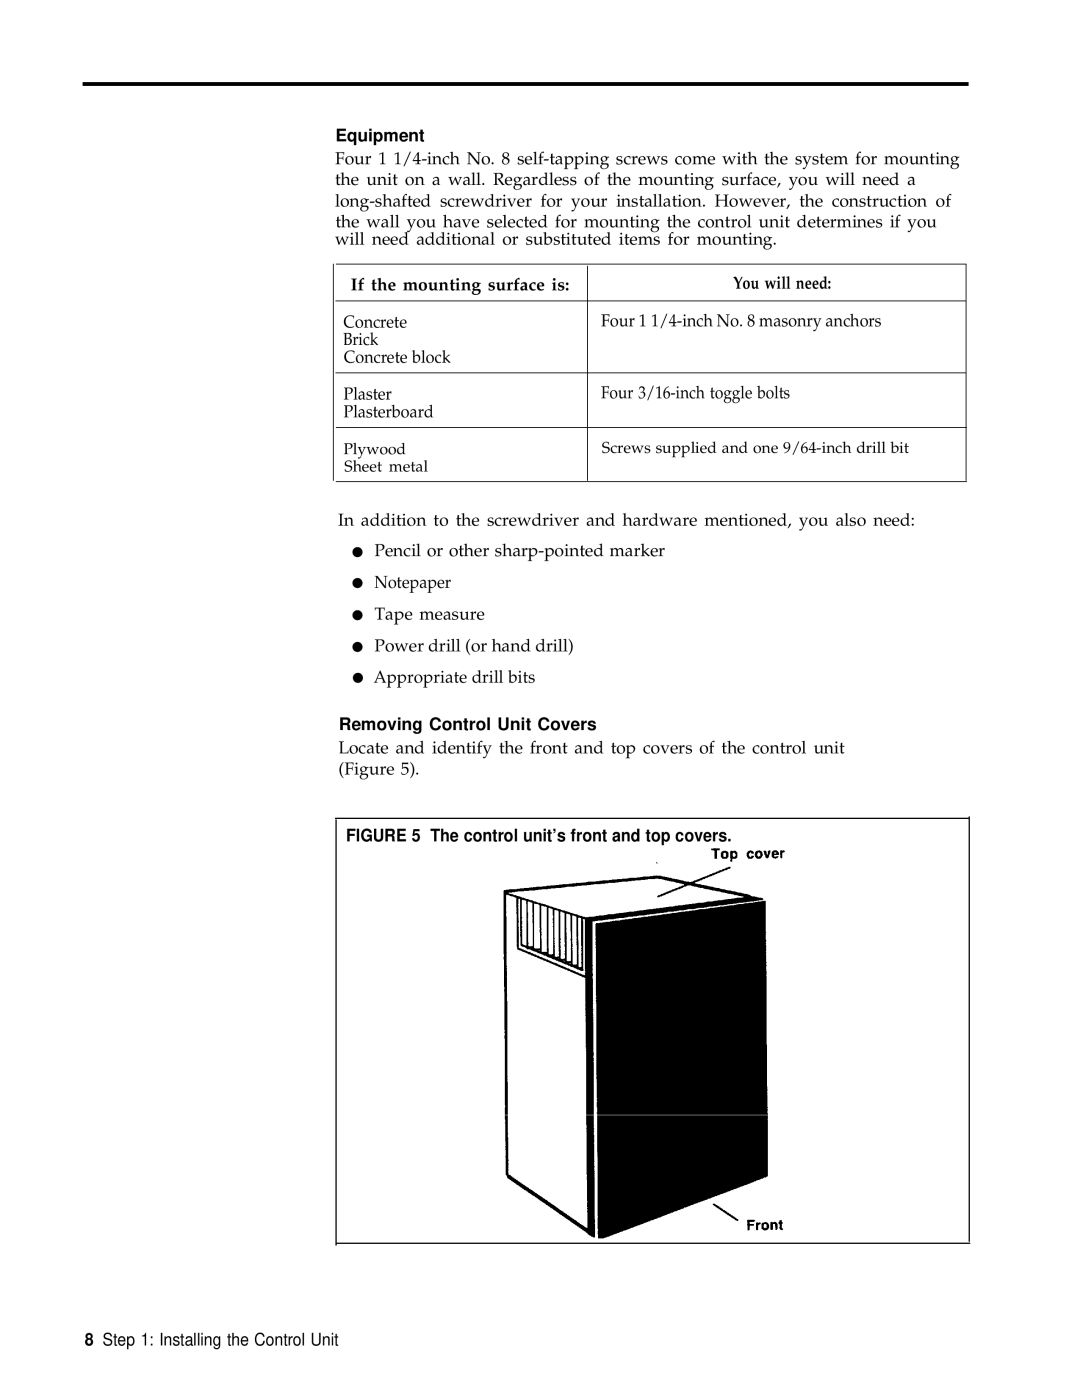
Locate and identify the front and top covers of the control unit (Figure 5).
FIGURE 5 The control unit’s front and top covers.
8Step 1: Installing the Control Unit