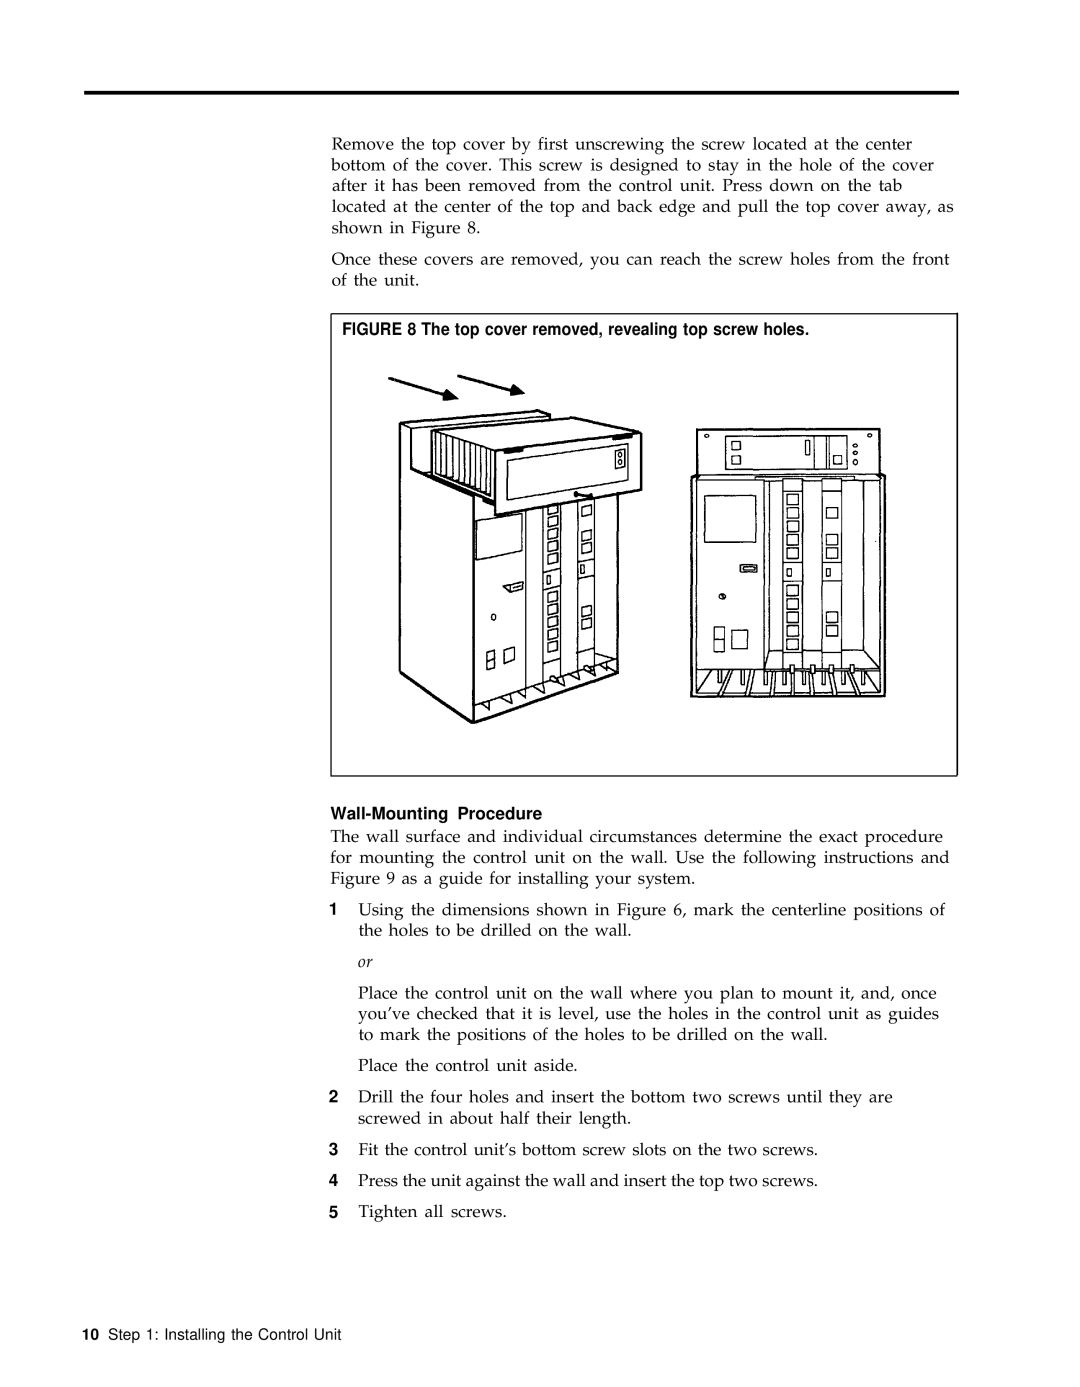
Remove the top cover by first unscrewing the screw located at the center bottom of the cover. This screw is designed to stay in the hole of the cover after it has been removed from the control unit. Press down on the tab located at the center of the top and back edge and pull the top cover away, as shown in Figure 8.
Once these covers are removed, you can reach the screw holes from the front of the unit.
FIGURE 8 The top cover removed, revealing top screw holes.
Wall-Mounting Procedure
The wall surface and individual circumstances determine the exact procedure for mounting the control unit on the wall. Use the following instructions and Figure 9 as a guide for installing your system.
1Using the dimensions shown in Figure 6, mark the centerline positions of the holes to be drilled on the wall.
or
Place the control unit on the wall where you plan to mount it, and, once you’ve checked that it is level, use the holes in the control unit as guides to mark the positions of the holes to be drilled on the wall.
Place the control unit aside.
2Drill the four holes and insert the bottom two screws until they are screwed in about half their length.
3Fit the control unit’s bottom screw slots on the two screws.
4Press the unit against the wall and insert the top two screws.
5Tighten all screws.