10CHAPTER 2: INSTALLING THE WIRELESS CLIENT
with a
1For the driver software, prepare a diskette labeled Drivers.
For the rest of the software, label diskettes numerically (Disk 1, Disk 2, Disk 3...).
2Put the 3Com CD in the
3In the 3Com 11 Mbps Wireless LAN menu, click Tools and Utilities.
4In the Tools and Utilities menu, click Create Installation Diskettes.
5In the Disk Factory window, click Next.
6Select the software you want to transfer to diskette. The Disk Factory displays the number of diskettes that will be required. Make sure you have that number of diskettes.
7Select the action (for example, Create and Verify Disks), specify the destination location, and click Next.
Follow the prompts on the screen.
If you are installing the drivers manually, use the Drivers diskette when the setup wizard for your operating system prompts for drivers supplied by the manufacturer.
When you are ready to install the application software from diskette, put 3Com 11 Mbps Wireless LAN Application Disk 1 in the floppy drive and run the setup.exe program.
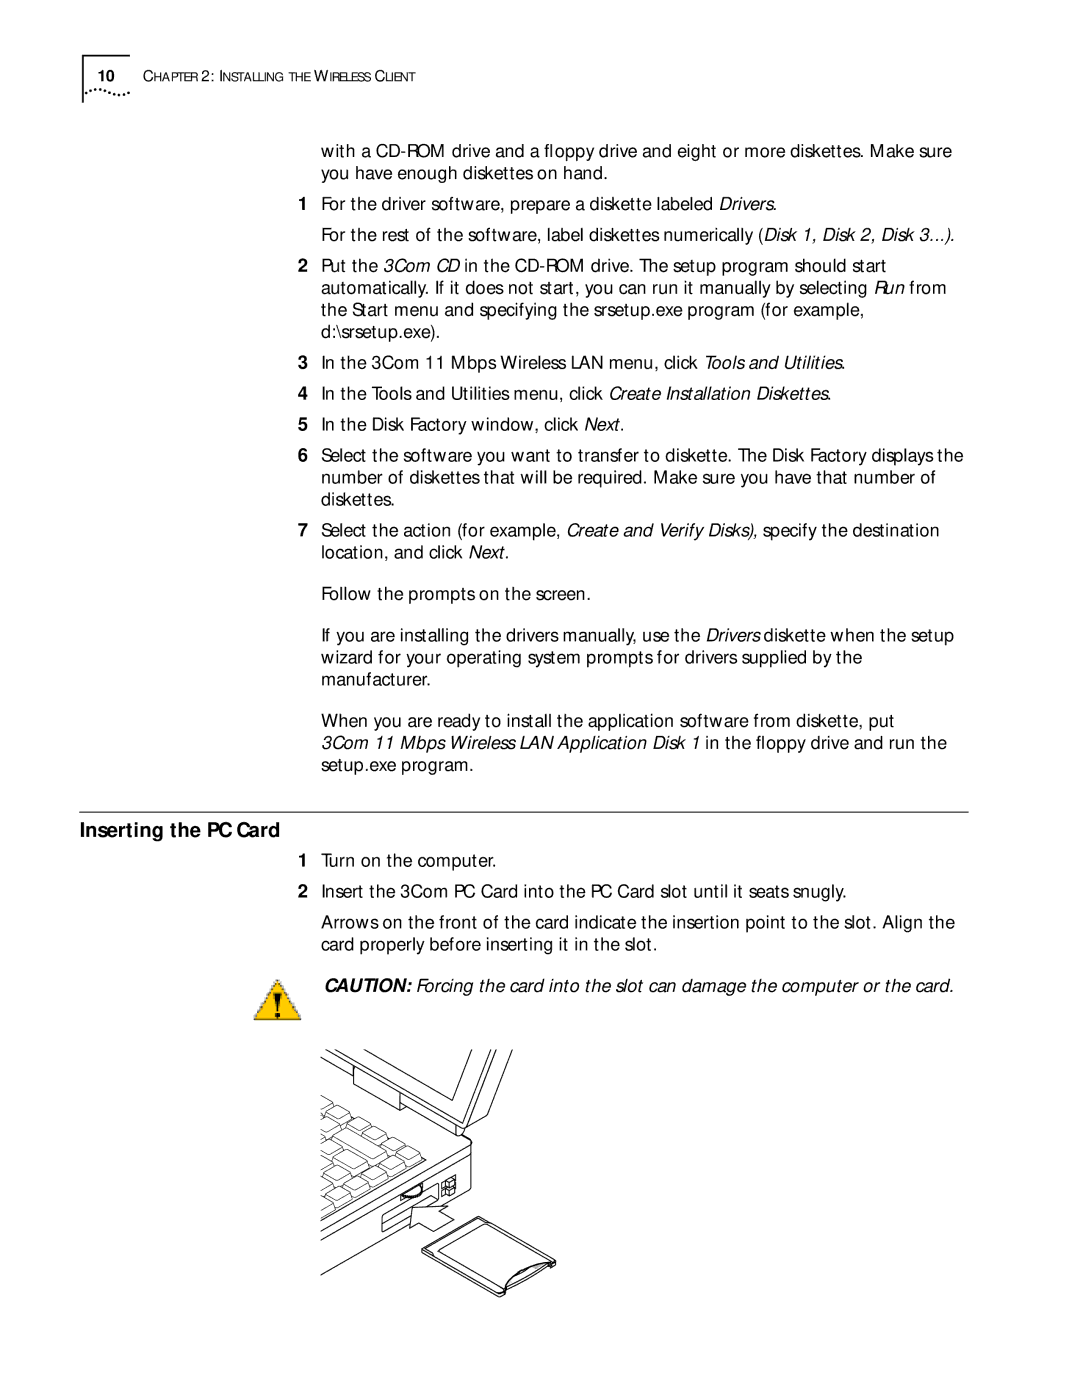
Inserting the PC Card
1Turn on the computer.
2Insert the 3Com PC Card into the PC Card slot until it seats snugly.
Arrows on the front of the card indicate the insertion point to the slot. Align the card properly before inserting it in the slot.
CAUTION: Forcing the card into the slot can damage the computer or the card.