
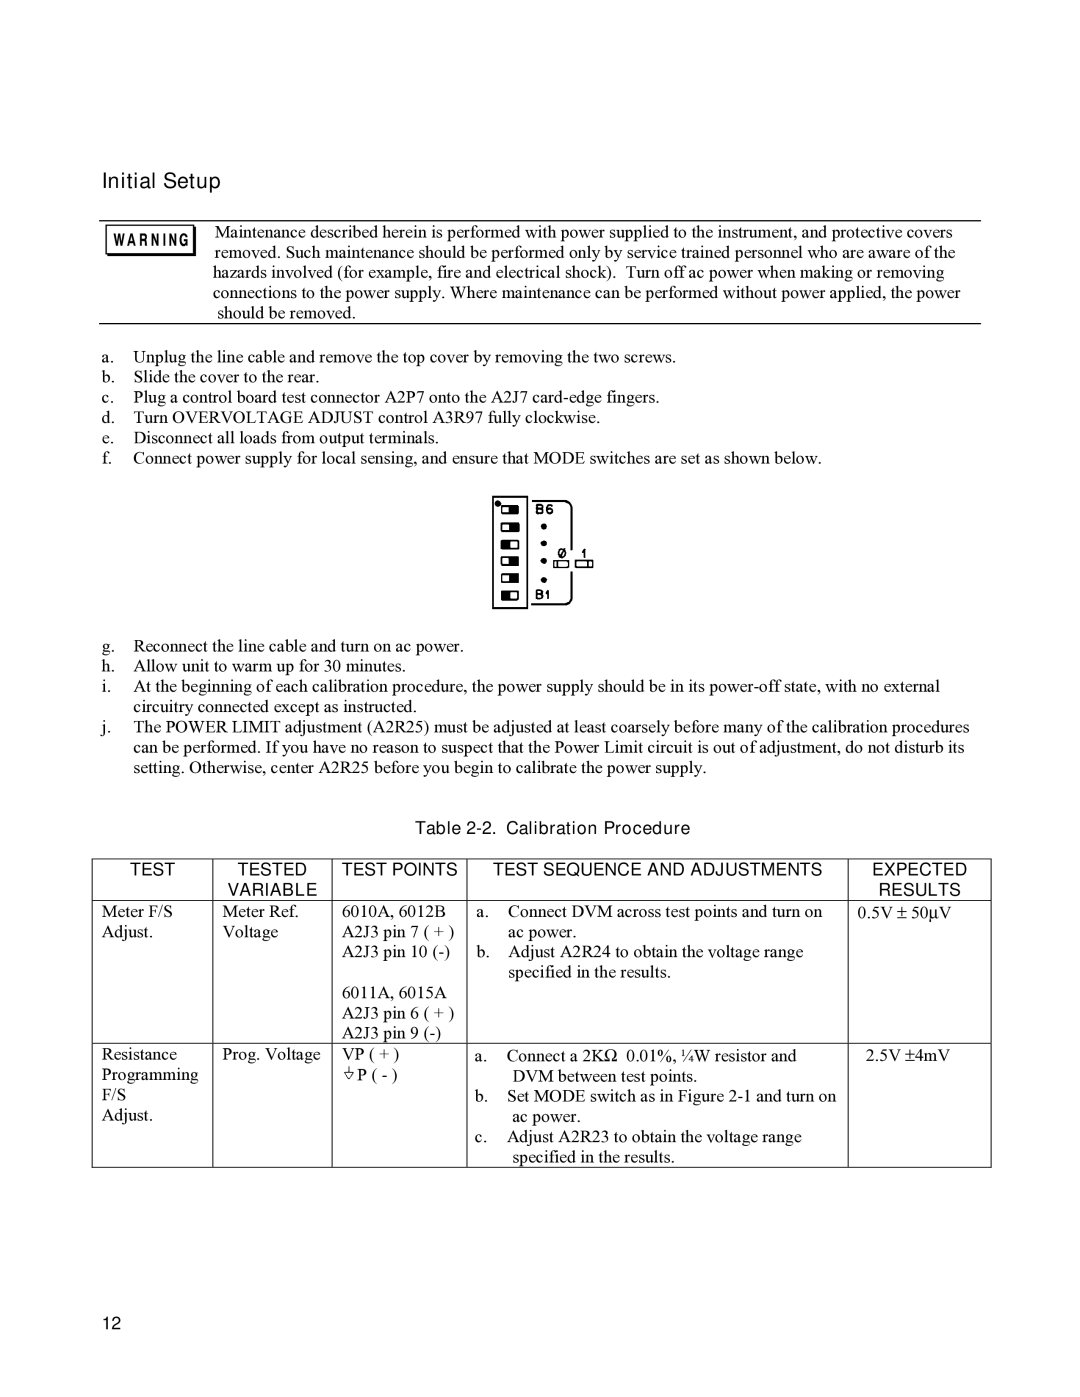
6015A, 6012B, 6011A, 6010a specifications
Agilent Technologies, a leader in the field of measurement and analysis, offers a suite of instruments within its 6010 and 6011 series, specifically the 6010A, 6011A, 6012B, and 6015A models. These devices are designed to meet the needs of various industries, including healthcare, environmental monitoring, and materials testing.The Agilent 6010A is a high-performance spectrometer known for its precision and versatility. It utilizes advanced optical technologies to provide exceptional wavelength accuracy and resolution. This model is particularly useful in laboratories where reliable data is critical, offering a wide spectral range and effective noise reduction features. Its user-friendly interface simplifies complex analyses, making it suitable for both seasoned professionals and newcomers.
Following closely, the Agilent 6011A is recognized for its robust capabilities in laboratory environments. This device incorporates advanced signal processing techniques, enabling high-throughput measurements without compromising on quality. The 6011A is ideal for real-time monitoring applications, ensuring that users can make informed decisions based on accurate, timely data. Its comprehensive software suite is designed to enhance data analysis, allowing for seamless integration with existing laboratory workflows.
The 6012B variant enhances the functionality further by introducing additional features tailored for specific applications. With a focus on flexibility, the 6012B supports multiple measurement modes, including direct and differential detection. This model excels in complex measurements, allowing for greater analytical depth and insights. The built-in calibration options ensure consistent performance, making it a reliable choice for various research and development tasks.
Lastly, the Agilent 6015A model stands out with its leading-edge technology, designed for the most demanding applications. It boasts enhanced sensitivity and an improved dynamic range, making it perfect for trace analysis in challenging environmental samples. The 6015A’s advanced reporting tools provide detailed analytics, helping scientists and researchers interpret results efficiently. Its compact design also makes it suitable for laboratory spaces with limited room, without sacrificing performance.
Together, these models showcase Agilent Technologies' commitment to delivering high-quality, innovative solutions that empower users to achieve their analytical goals effectively and efficiently. Whether in a research, clinical, or industrial setting, the 6010A, 6011A, 6012B, and 6015A continue to set standards in precision instrumentation.