
N5700 specifications
Agilent Technologies, now part of Keysight Technologies, is renowned for its innovative solutions in electronic measurement and instrumentation. Among its impressive portfolio, the Agilent N5700 series of power supplies stands out, providing precision, reliability, and versatility for a range of applications in test and measurement.The N5700 series features multiple models, each designed to meet the varying power requirements of test systems and electronic devices. One of its key characteristics is its adjustable output voltage and current, allowing users to set parameters according to specific test needs. With outputs ranging from 0 to 60 V and up to 6 A, the N5700 series caters to both low and high-power applications effectively.
A notable technology integrated into the N5700 series is its advanced measurement capabilities. The built-in voltmeter and ammeter enable real-time monitoring of output voltage and current, ensuring precise control over the power supplied to the device under test. This feature is particularly advantageous in troubleshooting and optimization scenarios, providing engineers with immediate feedback on performance.
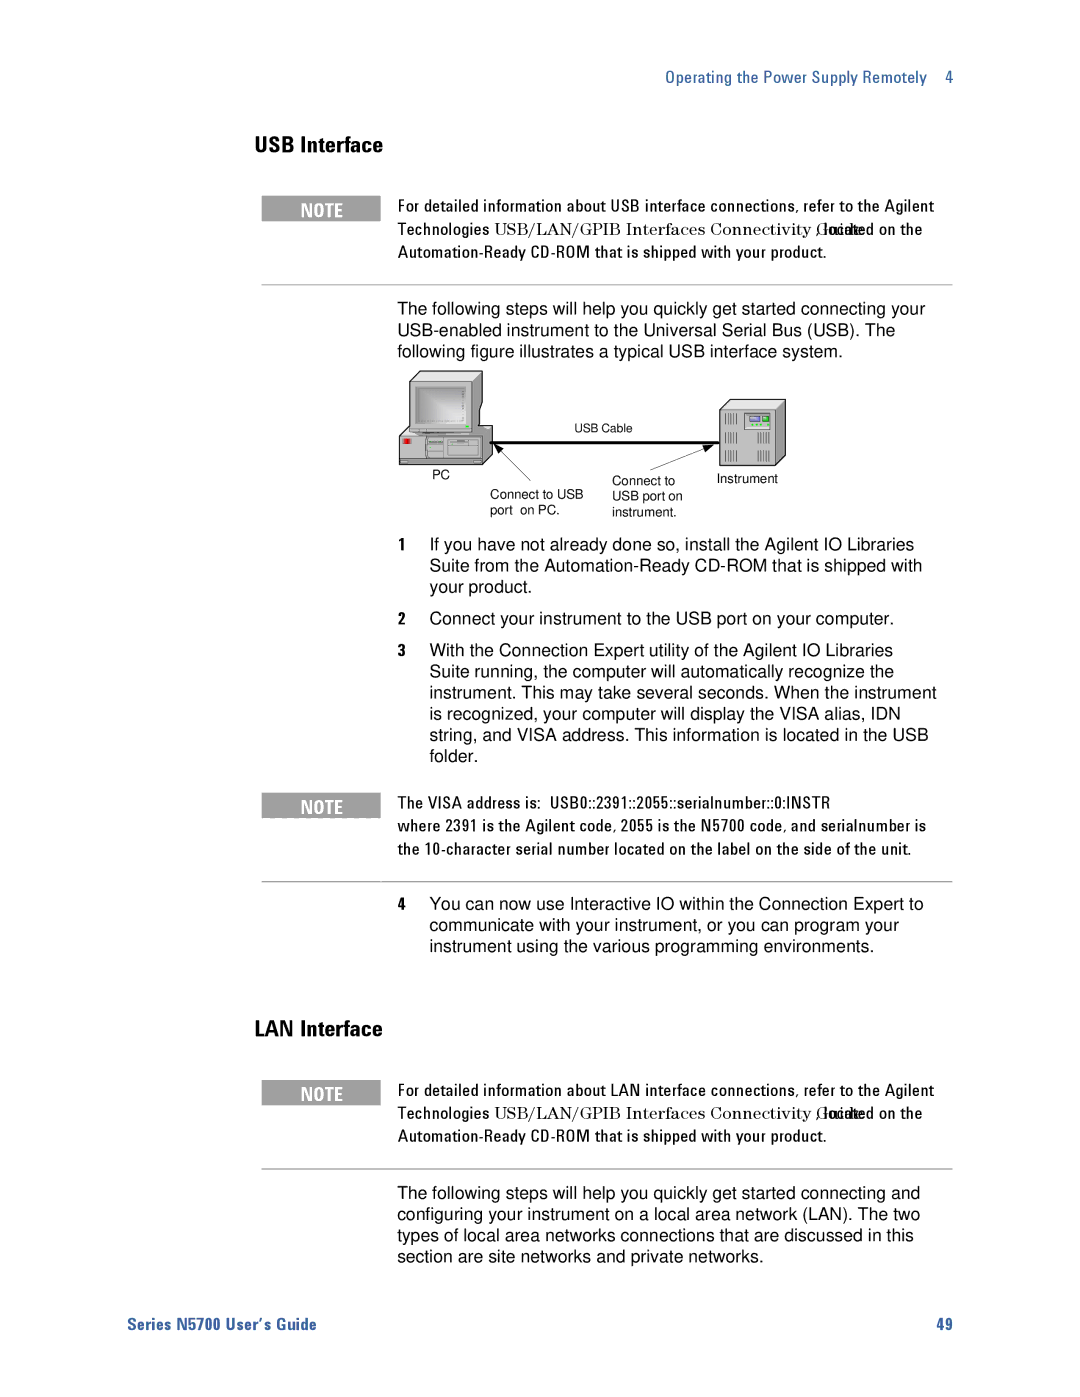
The N5700 also embraces the latest in power supply control technology with its intuitive user interface. The front panel incorporates a clear display and simple navigation controls, allowing users to program settings easily and access functions without extensive training. Additionally, remote programming capabilities via GPIB, USB, or LAN facilitate integration into automated test setups, enhancing productivity and efficiency.
Thermal management is another hallmark of the N5700 series. Its design ensures effective heat dissipation, enabling reliable operation even under demanding conditions. This robustness is critical in environments where consistent performance is essential, such as in research laboratories and manufacturing facilities.
Furthermore, safety features are thoughtfully included in the N5700 series, such as overvoltage protection, overcurrent protection, and short-circuit protection. These elements assure users that their devices and test setups remain secure during testing, minimizing the risk of damage.
In summary, the Agilent N5700 series power supplies encapsulate the fusion of precision, advanced measurement technology, user-friendly design, thermal management, and robust safety features. This combination makes them an invaluable tool for engineers and researchers engaged in electronic testing and development across various industries. With its versatility and reliability, the N5700 series continues to play a pivotal role in advancing electronic measurement methodologies.