AT-9400 Series Gigabit Ethernet Switches Installation Guide
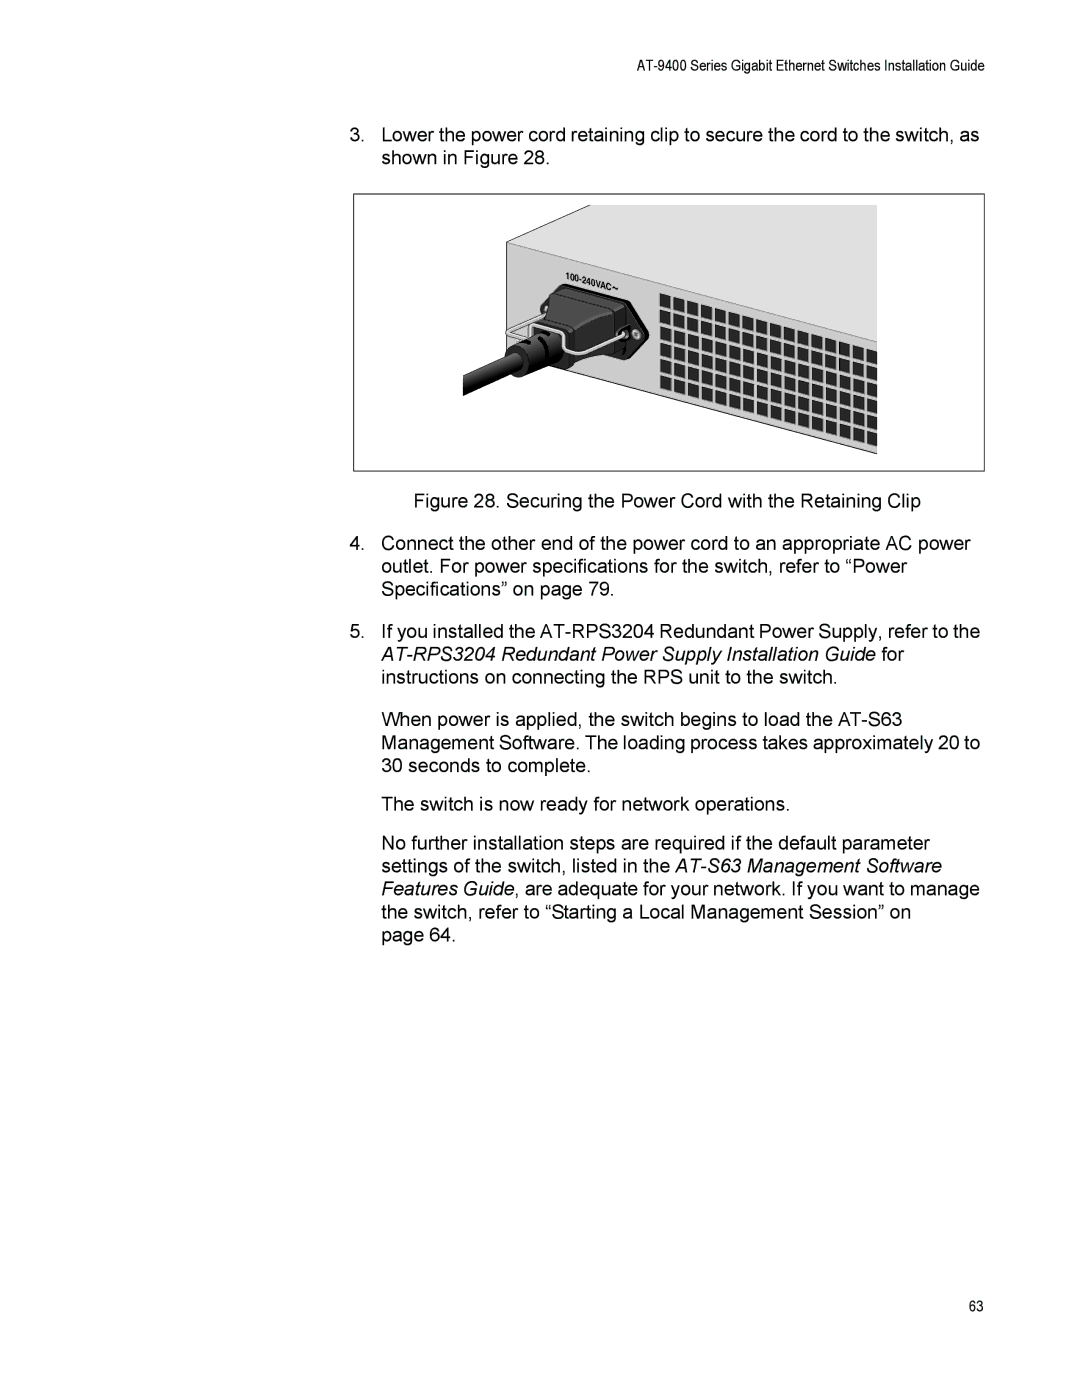
3.Lower the power cord retaining clip to secure the cord to the switch, as shown in Figure 28.
100- |
|
240VAC | ~ |
|
Figure 28. Securing the Power Cord with the Retaining Clip
4.Connect the other end of the power cord to an appropriate AC power outlet. For power specifications for the switch, refer to “Power Specifications” on page 79.
5.If you installed the AT-RPS3204 Redundant Power Supply, refer to the AT-RPS3204 Redundant Power Supply Installation Guide for instructions on connecting the RPS unit to the switch.
When power is applied, the switch begins to load the AT-S63 Management Software. The loading process takes approximately 20 to 30 seconds to complete.
The switch is now ready for network operations.
No further installation steps are required if the default parameter settings of the switch, listed in the AT-S63 Management Software Features Guide, are adequate for your network. If you want to manage the switch, refer to “Starting a Local Management Session” on
page 64.
63
