OTHER WILD! FEATURES
TUTORIALS
RollerCoaster Tycoon 3: Wild! includes tutorials for several of the new features, including how to construct Animal Enclosures, Wild Coasters, and Safari Transports; how to con- duct Animal Care; and how to customize Lion and Tiger Shows. The tutorials can be found in the main menus of the game.
HIRING THE ANIMAL KEEPER
The Animal Keeper is an employee added to the list of staff members available in Wild! and has employee options similar to other staff members and is needed for looking after the care and feeding of animals in your park. When an animal house is added, one keep- er is automatically hired. But as the population for an animal enclosure grows, additional animal keepers may be required to keep the animals healthy.
Note: Animal Keepers are not required for the lion show, the tiger show, the elephant transport ride, the insect, reptile, or nocturnal animal houses or any animals appearing in your park from other expansion packs.
USING THE CONTROL KEY TO BUILD ELEVATED SCENERY AND STRUCTURES
A new and improved method for building elevated portions buildings and scenery (such as roofs) can now be accomplished using the Control key. Use the following steps to learn how to do this.
After you’ve built the walls of a structure, build the roofline attached to the top of the wall. This is accomplished in the same way as with RollerCoaster Tycoon 3, where you first select a roof piece from the scenery structures menu, and then position the pointer where you want to place the roof piece, hold the Shift key and nudge the mouse up until the piece is positioned correctly. Now click to place it there. To add another roof piece at the same height, move the pointer so it touches the previously placed
you are placing any additional scenery items in your park and hold down the Control key, it will be placed at that height. This is particularly useful for building large expanses of roof and platforms.
CREATING WATERFALLS
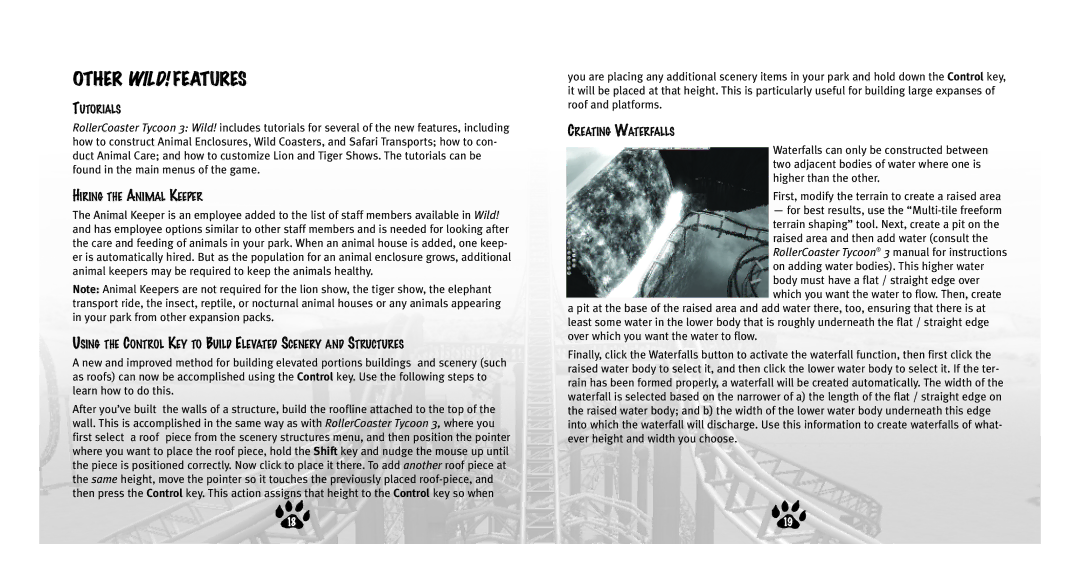
Waterfalls can only be constructed between two adjacent bodies of water where one is higher than the other.
First, modify the terrain to create a raised area
—for best results, use the
a pit at the base of the raised area and add water there, too, ensuring that there is at least some water in the lower body that is roughly underneath the flat / straight edge over which you want the water to flow.
Finally, click the Waterfalls button to activate the waterfall function, then first click the raised water body to select it, and then click the lower water body to select it. If the ter- rain has been formed properly, a waterfall will be created automatically. The width of the waterfall is selected based on the narrower of a) the length of the flat / straight edge on the raised water body; and b) the width of the lower water body underneath this edge into which the waterfall will discharge. Use this information to create waterfalls of what- ever height and width you choose.
j18 | j19 |
