are filled in automatically by the FastStream but you may change these parameters if you wish.
9Click Next.
10The Virtual Tape Library Setup page appears. If the new configuration is the way you want it, click on Commit.
If you wish to change anything, click on Cancel. Return to the Monitor VTL page by clicking on the VTL menu item on the
11In the warning box, verify that you want to add the VTL by clicking on Yes. Clicking on No ends the procedure without making a change.
12The VTL Setup page appears.
•Click on Done if you do not want to create another VTL. The Monitor VTL page appears.
•Click on Configure Another to create another VTL. The Virtual Tape Library Setup page appears.
Use Hot Spare devices
If a member of a virtual device becomes degraded or faulted, you lose some redundancy in your VTL until a new member is rebuilt into the VTL. However, Hot Spare devices may be designated as replacements for faulted devices without intervention by you or a host.
Note
JBOD and RAID Level 0 groups do not provide redundancy, making Hot Spare devices unnecessary.
The ATTO FastStream VT 5300 replaces degraded or faulted virtual devices in VTL without intervention by you or a host if you set up a pool of Hot Spare devices of different sizes appropriate for your VTL.
Note
Block devices in the Hot Spare pool should be of appropriate size to the RAID Group so that smaller block devices are not replaced by much larger Hot Spare devices.
When the ATTO FastStream VT 5300 detects a faulted device, the Controller searches the Hot Spare pool for the smallest block device of sufficient size to substitute for the faulted drive.
The FastStream VT 5300 replaces the faulted device with the device from the Hot Spare pool.
The FastStream VT 5300 begins an automatic rebuild of the VTL.
Note
Hot Spares may be set up by the FastStream VT 5300 automatically depending on your choices during initial setup.
1If you are not already in the FastStream GUI, type the IP address of your appliance, as found in Use the FastStream VT 5300 GUI on page 23, in a standard browser, click Enter Here and type in your username and password.
2The Monitor VTL page appears. On the left hand side menu, click on Manage.
3On the splash page, click on the FastStream arrow.
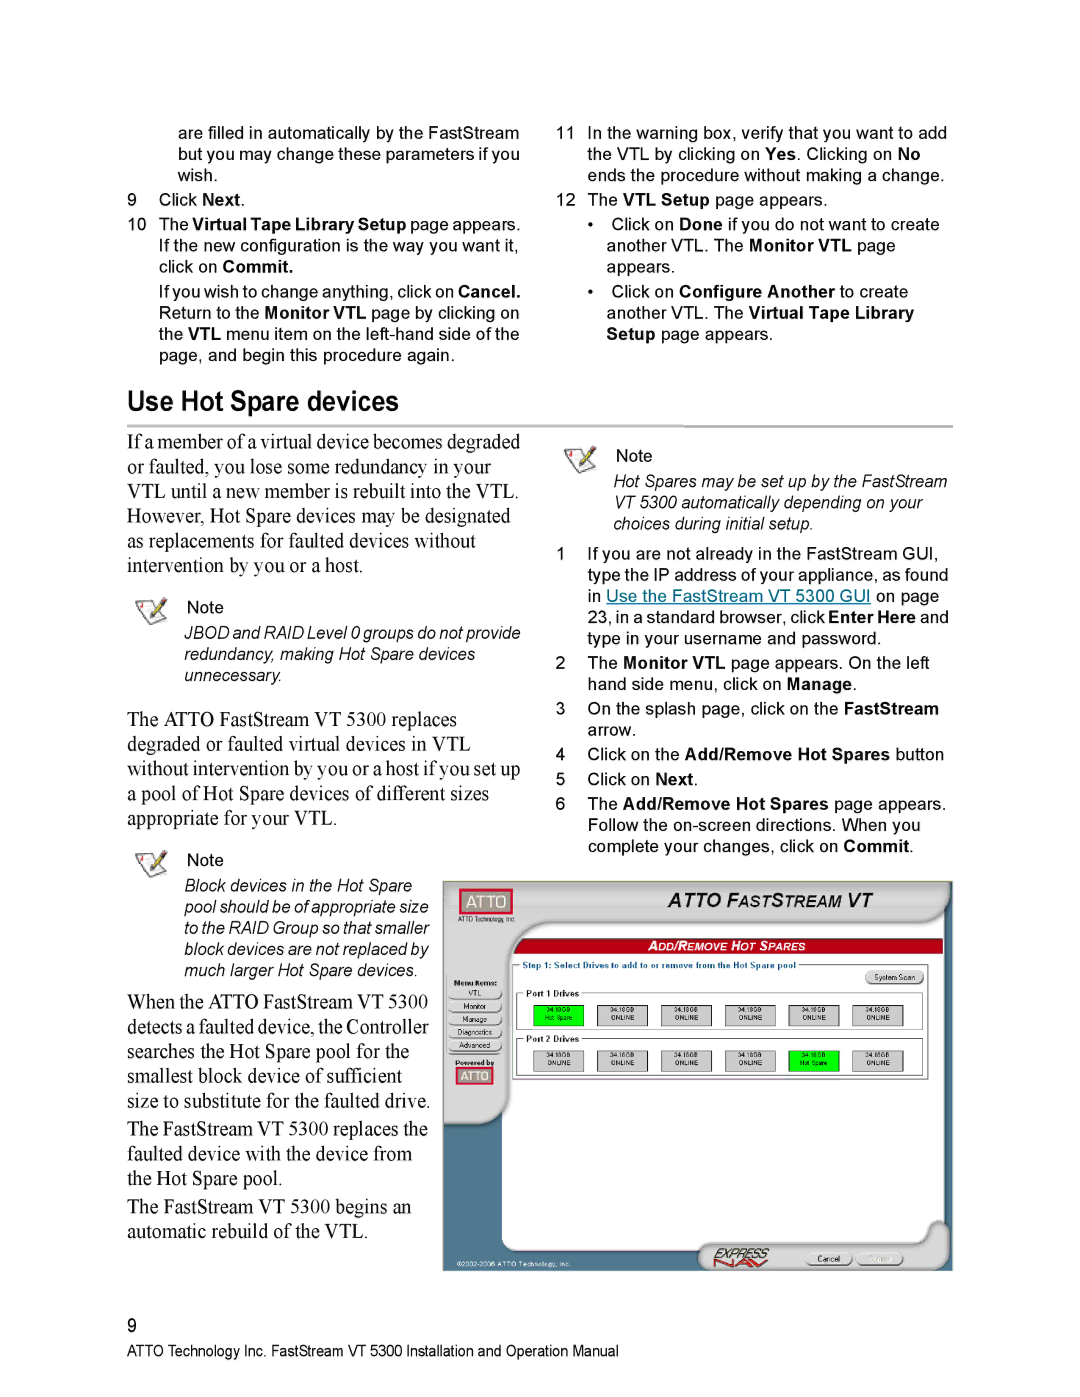
4Click on the Add/Remove Hot Spares button
5Click on Next.
6The Add/Remove Hot Spares page appears. Follow the
9
ATTO Technology Inc. FastStream VT 5300 Installation and Operation Manual
