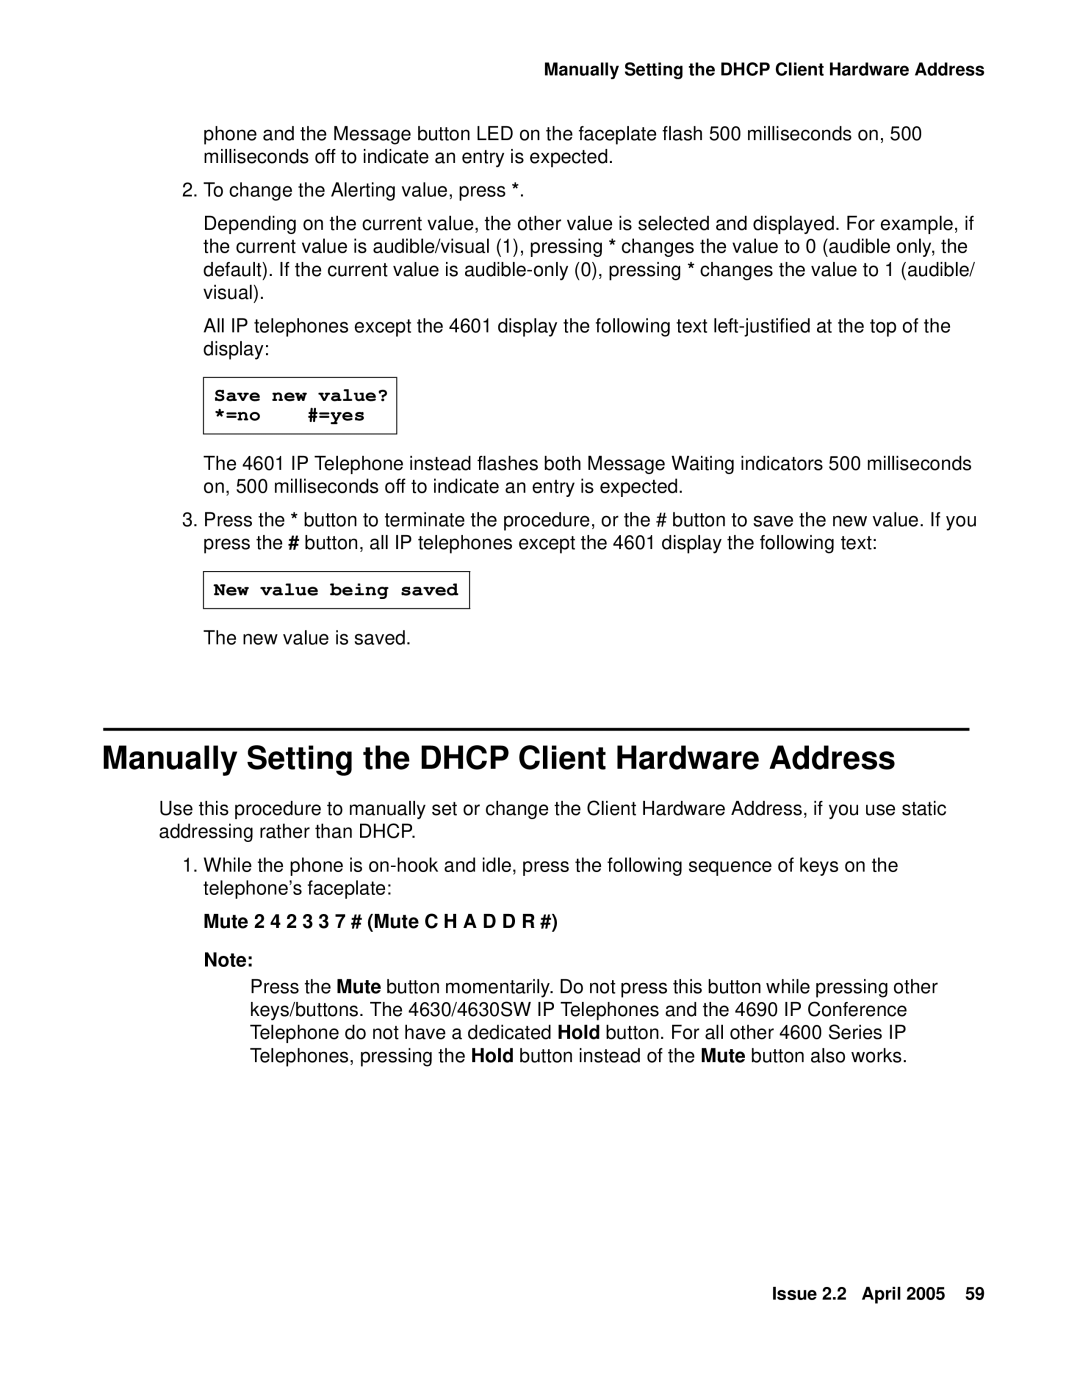
4602, 4602SW, 4620SW, 4601, 4612 specifications
The Avaya 4606 is a versatile and robust IP desk phone designed primarily for business environments that require reliable communication solutions. Part of Avaya's 4600 series, this model integrates advanced technology with user-friendly functionality, accommodating the needs of both everyday users and IT managers.One of the standout features of the Avaya 4606 is its large graphical display, which provides clear visibility and easy access to essential information. The phone is equipped with a four-line display that allows users to navigate through various menus, check call logs, and access voicemail with ease. Additionally, the display supports multiple languages, catering to a global workforce.
The Avaya 4606 offers a comprehensive range of calling features designed to enhance productivity. These include standard capabilities such as call waiting, call transfer, and speed dialing, as well as more advanced functions like conference calling and directory browsing. The device supports multiple lines, making it simple for users to manage several calls simultaneously.
From a technology standpoint, the Avaya 4606 is built on the Session Initiation Protocol (SIP), enabling seamless integration with various communication platforms. This technology ensures high-quality voice communication while allowing for easy customization and scalability in response to changing business needs. The phone is also compatible with Avaya’s One-X portal, providing users with additional features like unified messaging and mobile integration.
The Avaya 4606 is designed with user comfort in mind. It features ergonomic handset design and adjustable tilting options, allowing users to position the phone for optimal viewing and comfort during long calls. The dedicated buttons for frequently used functions further streamline operations and reduce the learning curve for new users.
Security is a critical aspect of any business communication tool, and the Avaya 4606 addresses this with built-in encryption capabilities that safeguard sensitive communications. This is particularly important in industries where confidentiality is paramount.
With its combination of user-friendly features, advanced technology, and security, the Avaya 4606 is well-suited for enterprises looking to enhance their communication infrastructure. Whether for individual users or office teams, this desk phone delivers reliable performance that can adapt and evolve with business needs. Its straightforward setup and management also appeal to IT departments, making it a comprehensive solution for modern workplaces.

