Chapter 3 | Configuration |
10 (7) – ILMI/ATM Address
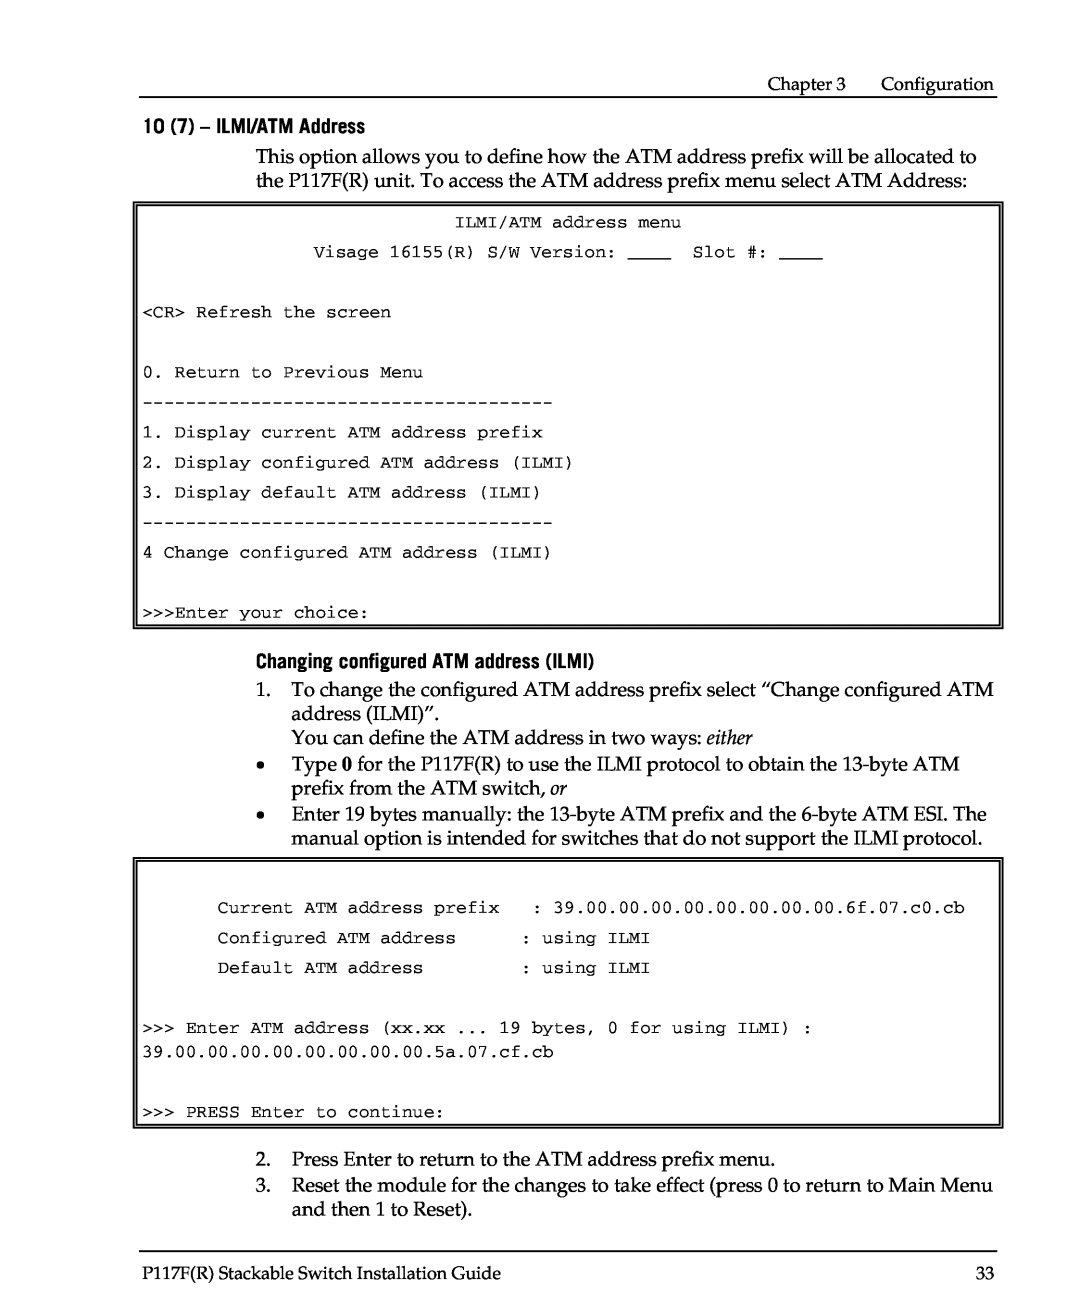
This option allows you to define how the ATM address prefix will be allocated to the P117F(R) unit. To access the ATM address prefix menu select ATM Address:
ILMI/ATM address menu
Visage 16155(R) S/W Version: ____ Slot #: ____
<CR> Refresh the screen
0.Return to Previous Menu
1.Display current ATM address prefix
2.Display configured ATM address (ILMI)
3.Display default ATM address (ILMI)
4Change configured ATM address (ILMI)
>>>Enter your choice:
Changing configured ATM address (ILMI)
1.To change the configured ATM address prefix select “Change configured ATM address (ILMI)”.
You can define the ATM address in two ways: either
•Type 0 for the P117F(R) to use the ILMI protocol to obtain the
•Enter 19 bytes manually: the
Current ATM address prefix | : 39.00.00.00.00.00.00.00.00.6f.07.c0.cb |
Configured ATM address | : using ILMI |
Default ATM address | : using ILMI |
>>>Enter ATM address (xx.xx ... 19 bytes, 0 for using ILMI) : 39.00.00.00.00.00.00.00.00.5a.07.cf.cb
>>>PRESS Enter to continue:
2.Press Enter to return to the ATM address prefix menu.
3.Reset the module for the changes to take effect (press 0 to return to Main Menu and then 1 to Reset).
P117F(R) Stackable Switch Installation Guide | 33 |