Local Installation
Step 1  Mounting the Switch
Note: Before you begin, locate the MAC address and device number on the back of the Switch. You will need these numbers later in the installation process, so it is highly recommended that you record these numbers below before mounting the Switch to your rack.
MAC Address | Device Number |
The Switch includes adjustable mounting brackets ideal for installation in
1.1Determine how far you would like the Switch to protrude from the rack. Select a
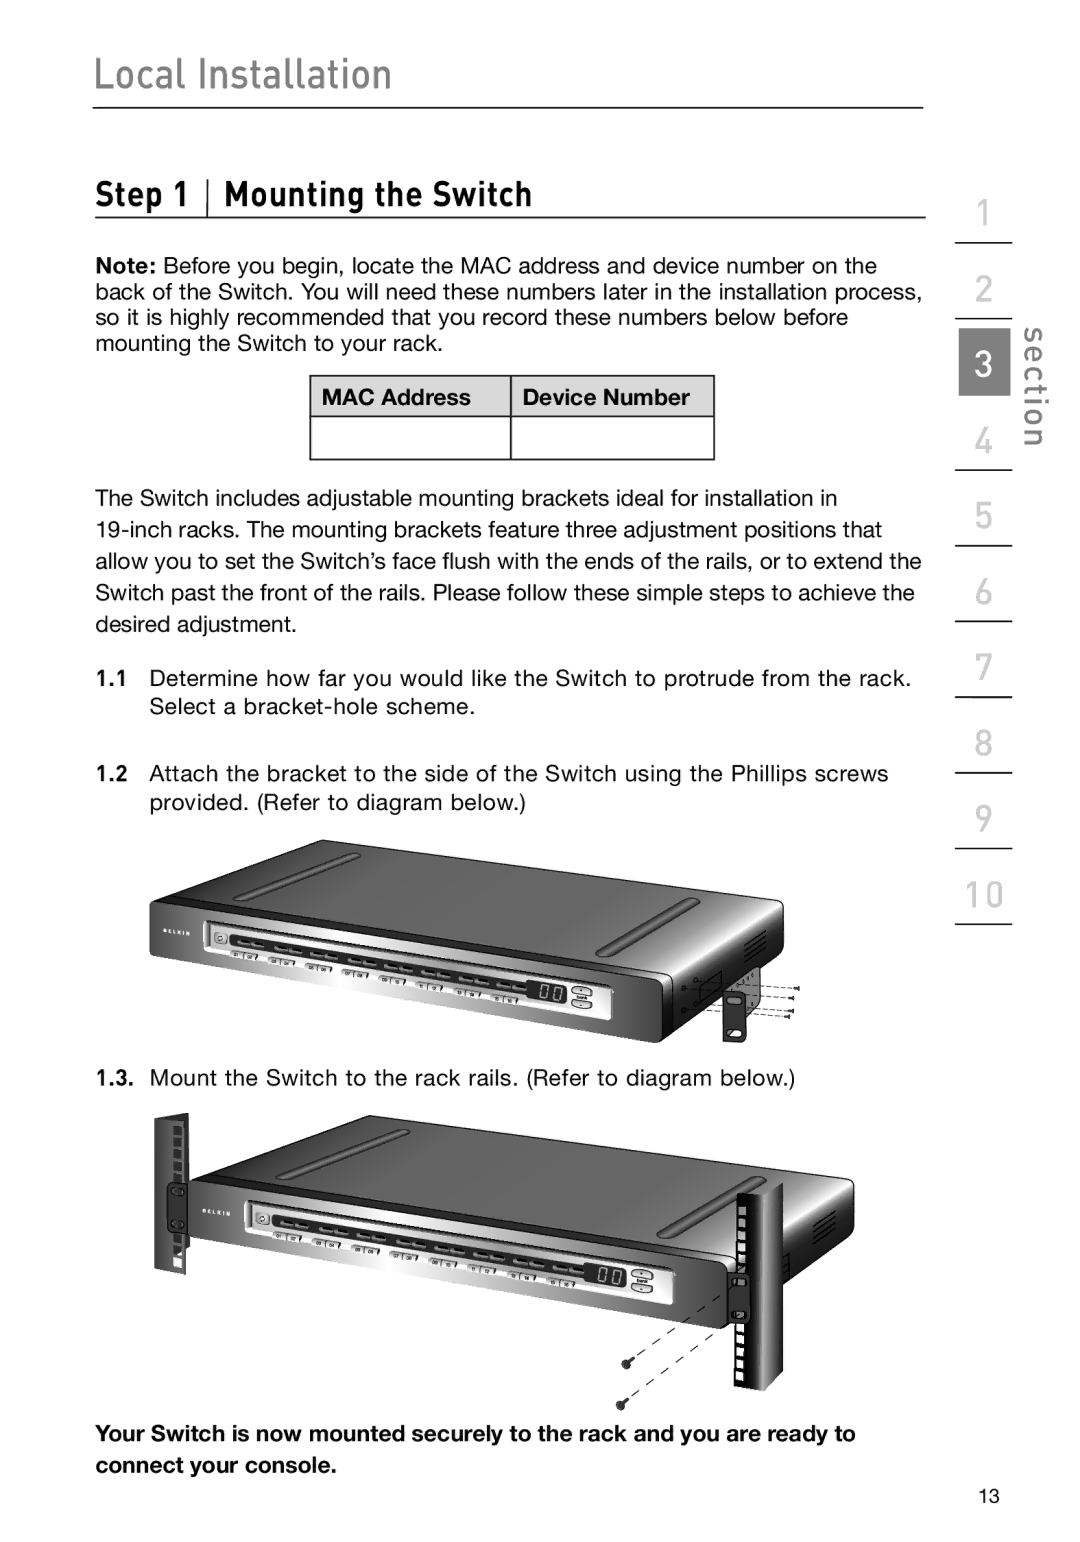
1.2Attach the bracket to the side of the Switch using the Phillips screws provided. (Refer to diagram below.)
1.3.Mount the Switch to the rack rails. (Refer to diagram below.)
Your Switch is now mounted securely to the rack and you are ready to connect your console.
1
2
3 | section |
| |
4 |
|
5 |
|
6
7
8
9
10
13