Installation |
| Connecting Servers to the |
| ||
|
| (PS/2 Connection) |
|
|
|
Connecting Servers to the
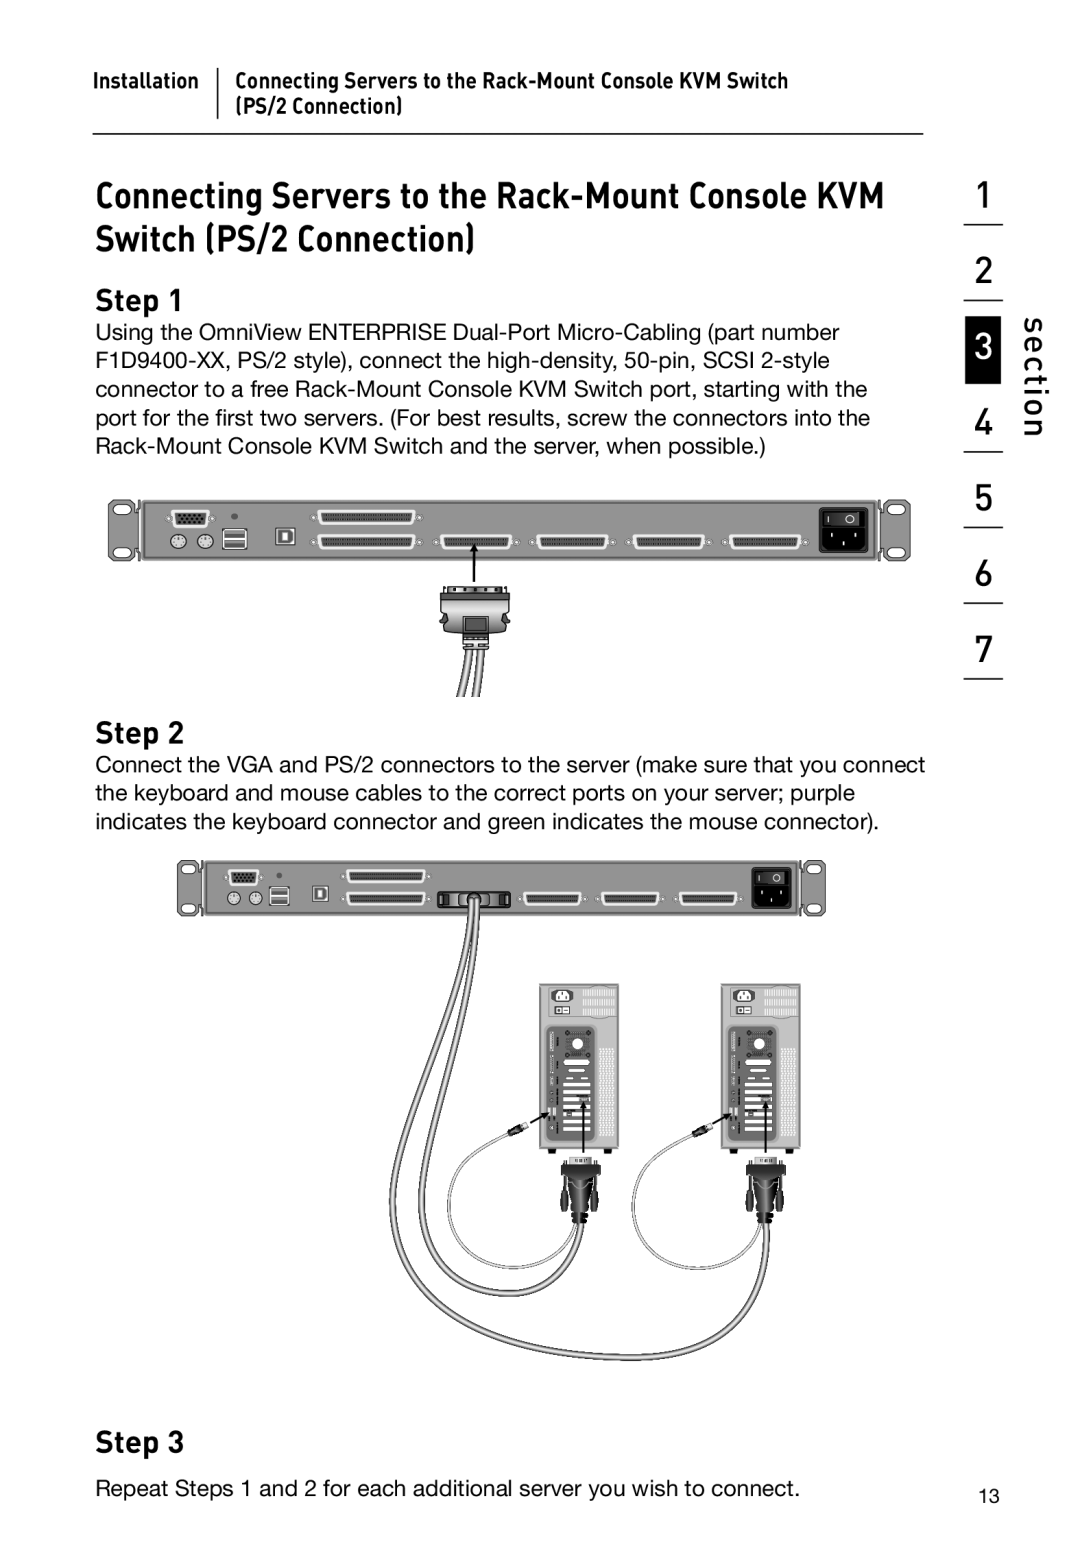
Step 1
Using the OmniView ENTERPRISE
Step 2
Connect the VGA and PS/2 connectors to the server (make sure that you connect the keyboard and mouse cables to the correct ports on your server; purple indicates the keyboard connector and green indicates the mouse connector).
Step 3
1
2
3
4
5
6
7
section
Repeat Steps 1 and 2 for each additional server you wish to connect. | 13 |
|