Manuals
/
Belshaw Brothers
/
Kitchen Appliance
/
Fryer
Belshaw Brothers
616BT
manual
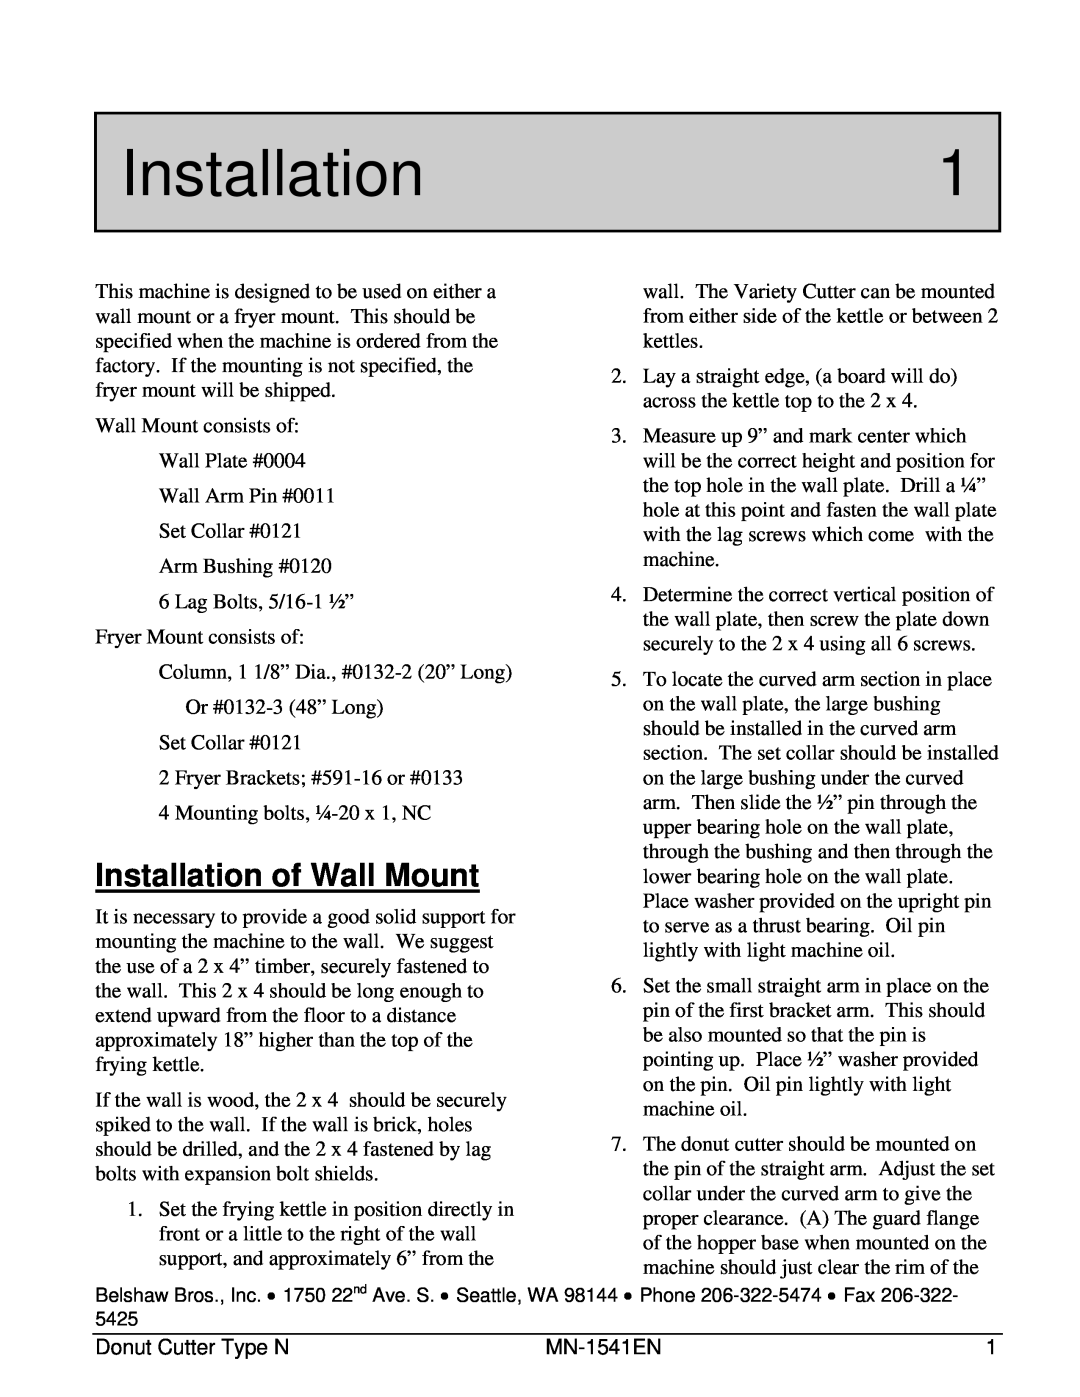
Installation1, Installation of Wall Mount
Models:
616BT
616B
1
35
51
51
Download
51 pages
44.2 Kb
32
33
34
35
36
37
38
39
Install
Parts list
Wiring Diagrams
Maintenance
Procedure for Return
Cleaning3
Weight
Email service@belshaw.com
Page 35
Image 35
Page 34
Page 36
Page 35
Image 35
Page 34
Page 36
Contents
Models
Operator’s Manual
616B & 616BT
Counter Top Fryers
Page
EQUIPMENT RECORD
Page
Appendixes
Contents
Sections
Preface
Unpacking the Fryer
1Installation
Initial Cleaning
Installing the Fryer
Do not touch hot shortening. It can cause serious burns
Moving the Fryer
Thoroughly clean and dry the floor if
Air spaces can cause the shortening to overheat and catch on fire
2Operation
Hot shortening causes severe burns
Frying Tips
Cleaning the Kettle
Cleaning3
Cleaning the Frying Screen
Cleaning the Exterior Surfaces
Washing
To check calibration, use the following steps
Calibration of Temperature Indicator
Calibrating The Fryer
Calibrating the Thermostat
D Wiring Diagram E Limited Warranty
Appendixes
A Donut-Making Helps B Electrical Components C Parts Lists
Machine Washing Plungers, Cylinders and Hoppers
Care, Maintenance and Cleaning Plungers Cylinders and Hoppers
A Donut-Making Helps
Washing Plungers, Cylinders and Hoppers by Hand
Special Instructions for the care of French Plungers
Tips on Making Quality Cake Donuts
Donut Weight per
Ratios of Plunger Sizes to Donut Weights
Calculating Correct Water Temperature
Temperature Conversion
B Electrical Components
Testing the Continuity of the Toggle Switch
Testing the Continuity of the Thermostat
Parts Lists
ITEM QTY. PART NO
FIGURE C-1. 616B/616BT FINAL ASSEMBLY
BILL OF MATERIAL
FASTENERS
FIGURE C-2. 616B/616BT HEATER HEAD ASSEMBLY
Wiring Diagrams
616B & 616BT Counter Top Fryer
US/Canada/Mexico Limited Warranty and Return Policy
Please note the following
Procedure for Return
Exclusions
Return goods must be
Operator’s Manual
Type N
Donut Cutter
Page
Seattle, WA 98144-4590 USA Phone 206 Fax 206 Toll Free 800
Email service@belshaw.com
0103 MN-1541EN Belshaw Bros., Inc 1750 22nd Avenue South
Page
Page
Page
Contents
DANGER
Installation of Wall Mount
Installation1
To Assemble the Cutter
Installation of Fryer Mount
Operation2
NOT IMMERSE THIS UNIT TO WASH OR RINSE
Maintenance4
Appendix5
Factory Parts and Repair Service
Donut Cutter Type N
MN-1541EN
MN-1541EN
Donut Cutter Type N
Donut Cutter Type N
MN-1541EN
MN-1541EN
Donut Cutter Type N
Page
Page
Washing Plungers and Hoppers by Hand
CARE, MAINTENANCE, and CLEANING INSTRUCTION
for PLUNGERS and HOPPERS
NOTE “O” Rings are not used on plungers for Type K Depositors
TABLES AND FORMULAS USED IN DONUT MAKING
Ratios of Plunger Sizes to Donut Weights
Temperature Conversion
Calculating Correct Water Temperature
Tips on Making Quality Cake Donuts
Batter Temperature Chart Fahrenheit
Care and Cleaning of Belshaw Cutters and Dispensers
List of Approved Cleaners for Aluminum
Top
Page
Image
Contents