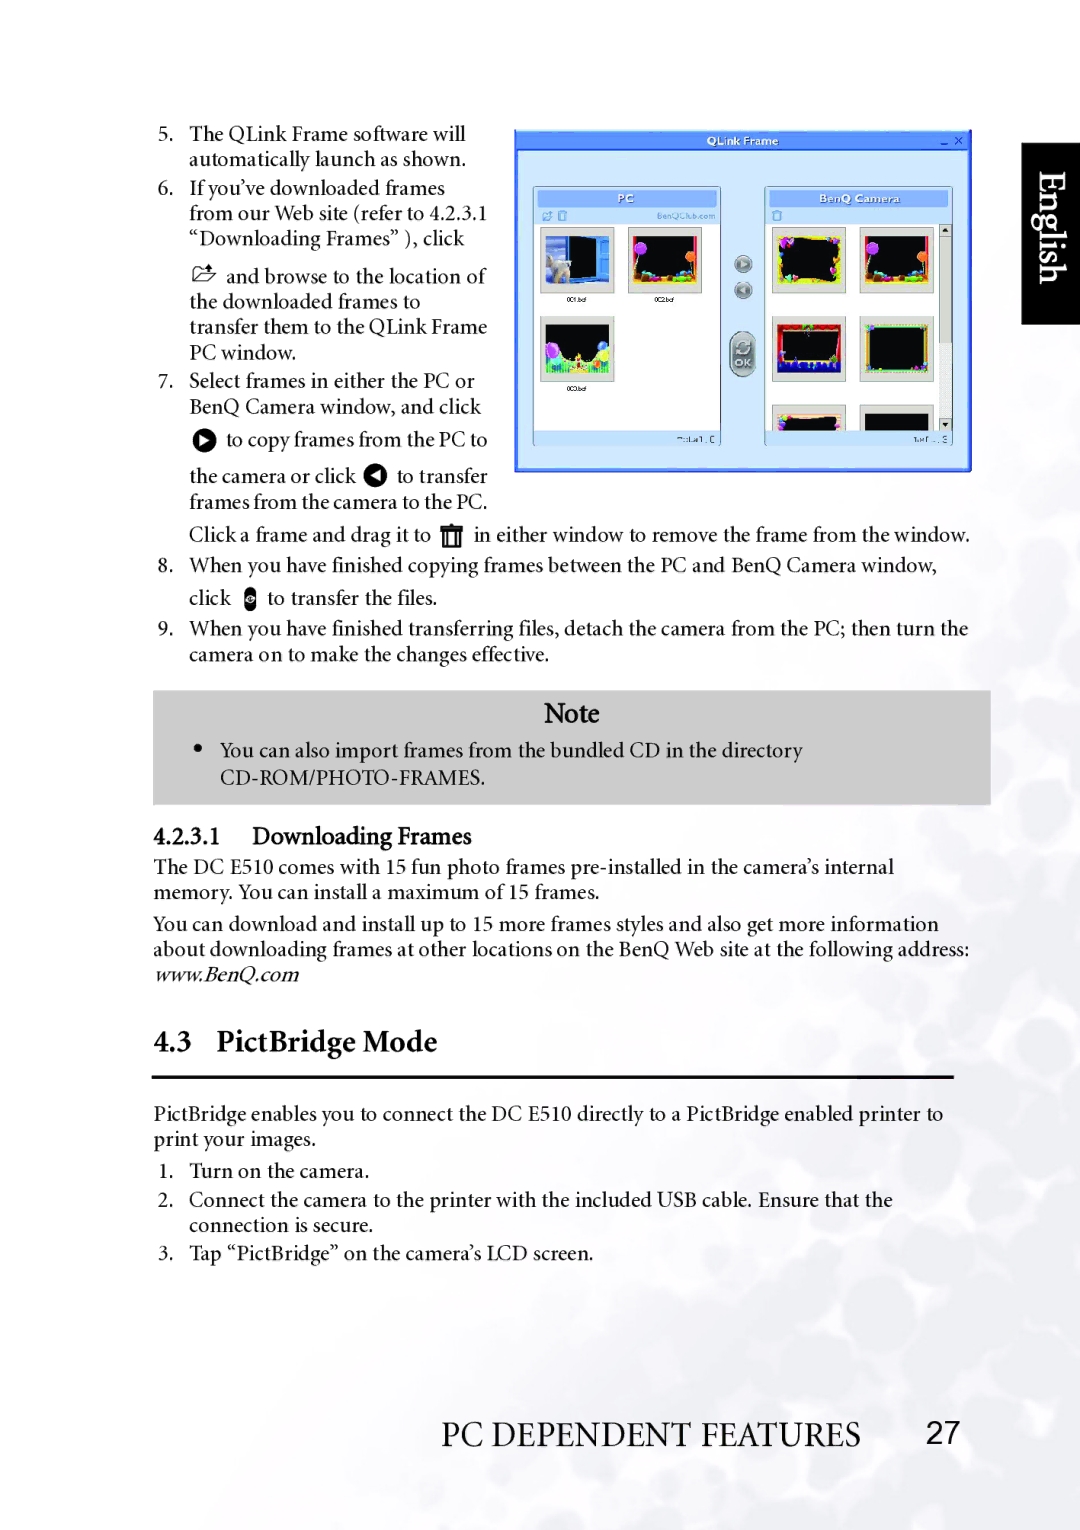
5.The QLink Frame software will automatically launch as shown.
6.If you’ve downloaded frames from our Web site (refer to 4.2.3.1 “Downloading Frames” ), click
![]() and browse to the location of the downloaded frames to transfer them to the QLink Frame PC window.
and browse to the location of the downloaded frames to transfer them to the QLink Frame PC window.
7.Select frames in either the PC or BenQ Camera window, and click
![]() to copy frames from the PC to
to copy frames from the PC to
the camera or click |
| to transfer | ||
frames from the camera to the PC. | ||||
Click a frame and drag it to |
| in either window to remove the frame from the window. | ||
| ||||
8. When you have finished copying frames between the PC and BenQ Camera window, click OK to transfer the files.
9.When you have finished transferring files, detach the camera from the PC; then turn the camera on to make the changes effective.
Note
•You can also import frames from the bundled CD in the directory
4.2.3.1Downloading Frames
The DC E510 comes with 15 fun photo frames
You can download and install up to 15 more frames styles and also get more information about downloading frames at other locations on the BenQ Web site at the following address: www.BenQ.com
4.3 PictBridge Mode
PictBridge enables you to connect the DC E510 directly to a PictBridge enabled printer to print your images.
1.Turn on the camera.
2.Connect the camera to the printer with the included USB cable. Ensure that the connection is secure.
3.Tap “PictBridge” on the camera’s LCD screen.