Setting the lamp mode
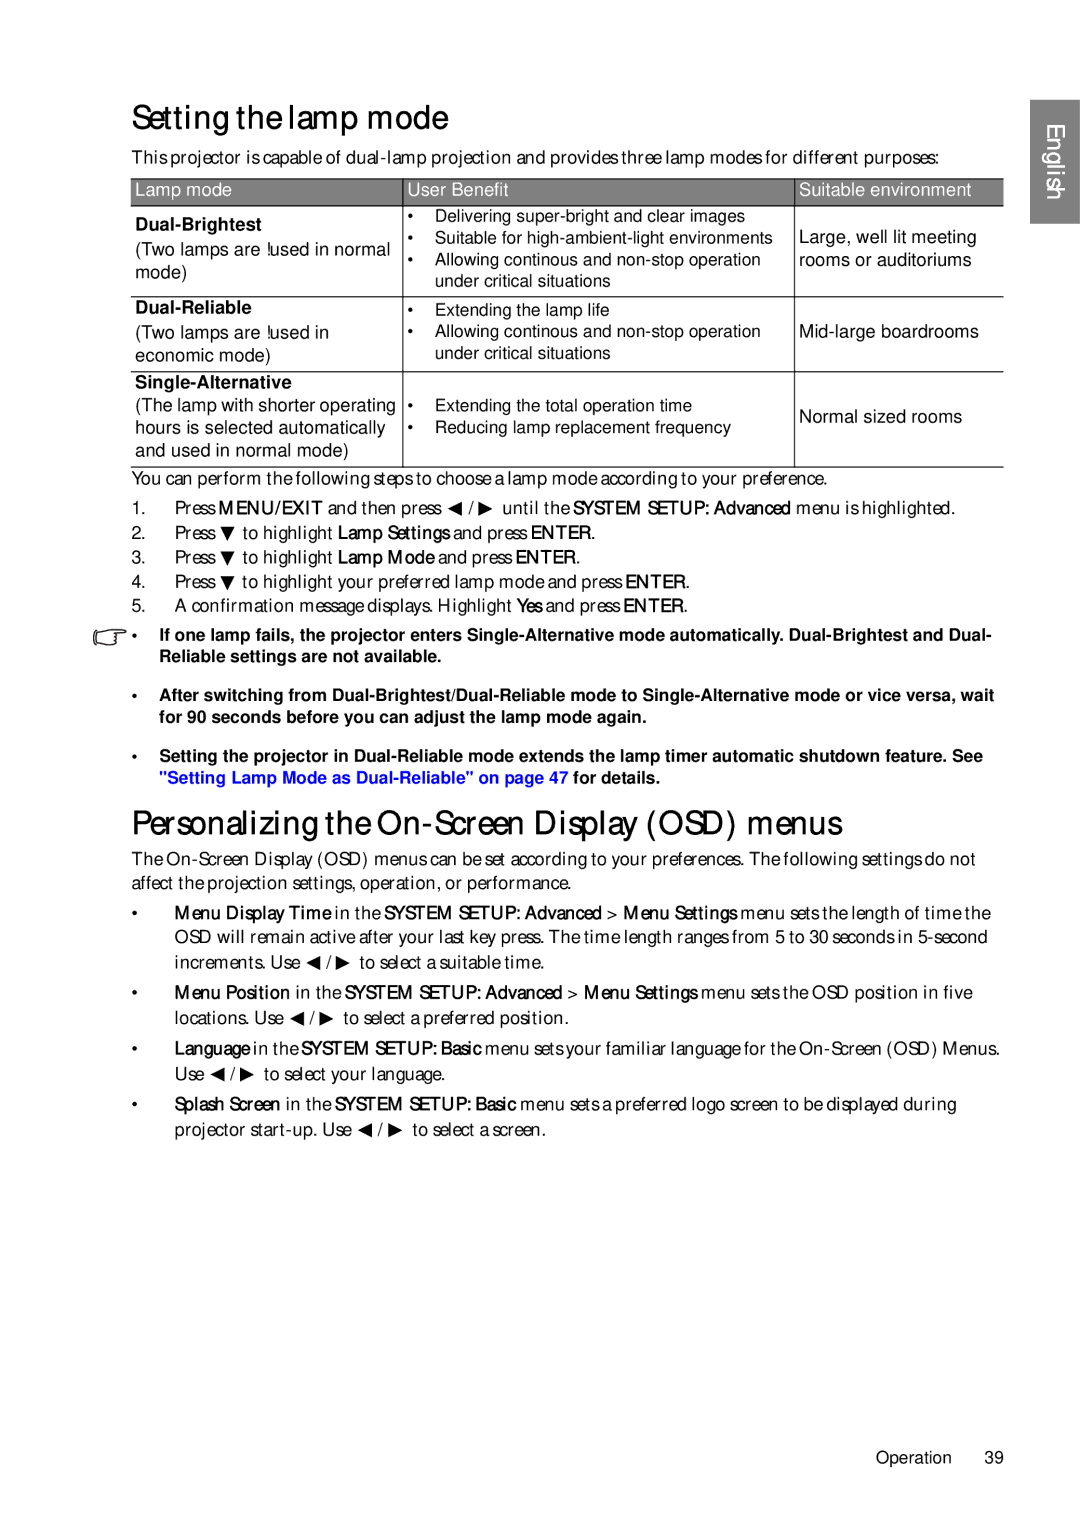
This projector is capable of
Lamp mode | User Benefit | Suitable environment | |
| • Delivering | Large, well lit meeting | |
• Suitable for | |||
(Two lamps are used in normal | |||
• Allowing continous and | rooms or auditoriums | ||
mode) | under critical situations |
| |
|
| ||
|
|
| |
| • Extending the lamp life | ||
(Two lamps are used in | • Allowing continous and | ||
economic mode) | under critical situations |
| |
|
|
| |
|
|
| |
(The lamp with shorter operating | • Extending the total operation time | Normal sized rooms | |
hours is selected automatically | • Reducing lamp replacement frequency | ||
| |||
and used in normal mode) |
|
| |
|
|
|
You can perform the following steps to choose a lamp mode according to your preference.
1.Press MENU/EXIT and then press ![]() /
/ ![]() until the SYSTEM SETUP: Advanced menu is highlighted.
until the SYSTEM SETUP: Advanced menu is highlighted.
2.Press ![]() to highlight Lamp Settings and press ENTER.
to highlight Lamp Settings and press ENTER.
3.Press ![]() to highlight Lamp Mode and press ENTER.
to highlight Lamp Mode and press ENTER.
4.Press ![]() to highlight your preferred lamp mode and press ENTER.
to highlight your preferred lamp mode and press ENTER.
5.A confirmation message displays. Highlight Yes and press ENTER.
![]() • If one lamp fails, the projector enters
• If one lamp fails, the projector enters
•After switching from
•Setting the projector in
Personalizing the On-Screen Display (OSD) menus
The
•Menu Display Time in the SYSTEM SETUP: Advanced > Menu Settings menu sets the length of time the OSD will remain active after your last key press. The time length ranges from 5 to 30 seconds in ![]() /
/ ![]() to select a suitable time.
to select a suitable time.
•Menu Position in the SYSTEM SETUP: Advanced > Menu Settings menu sets the OSD position in five locations. Use ![]() /
/ ![]() to select a preferred position.
to select a preferred position.
•Language in the SYSTEM SETUP: Basic menu sets your familiar language for the ![]() /
/ ![]() to select your language.
to select your language.
•Splash Screen in the SYSTEM SETUP: Basic menu sets a preferred logo screen to be displayed during projector ![]() /
/ ![]() to select a screen.
to select a screen.
English
Operation 39
