Creating your own startup screen
In addition to selecting the projector preset startup screen from among BenQ logo or Blue screen, you can make your own startup screen that is a picture projected from your computer or video source.
To create your own startup screen, project the picture you want to use as your startup screen from either a computer or video source. The rest steps are as follows.
•Using the OSD menu
1.Press MENU and then press ![]() /
/ ![]() until the System Setup menu is
until the System Setup menu is
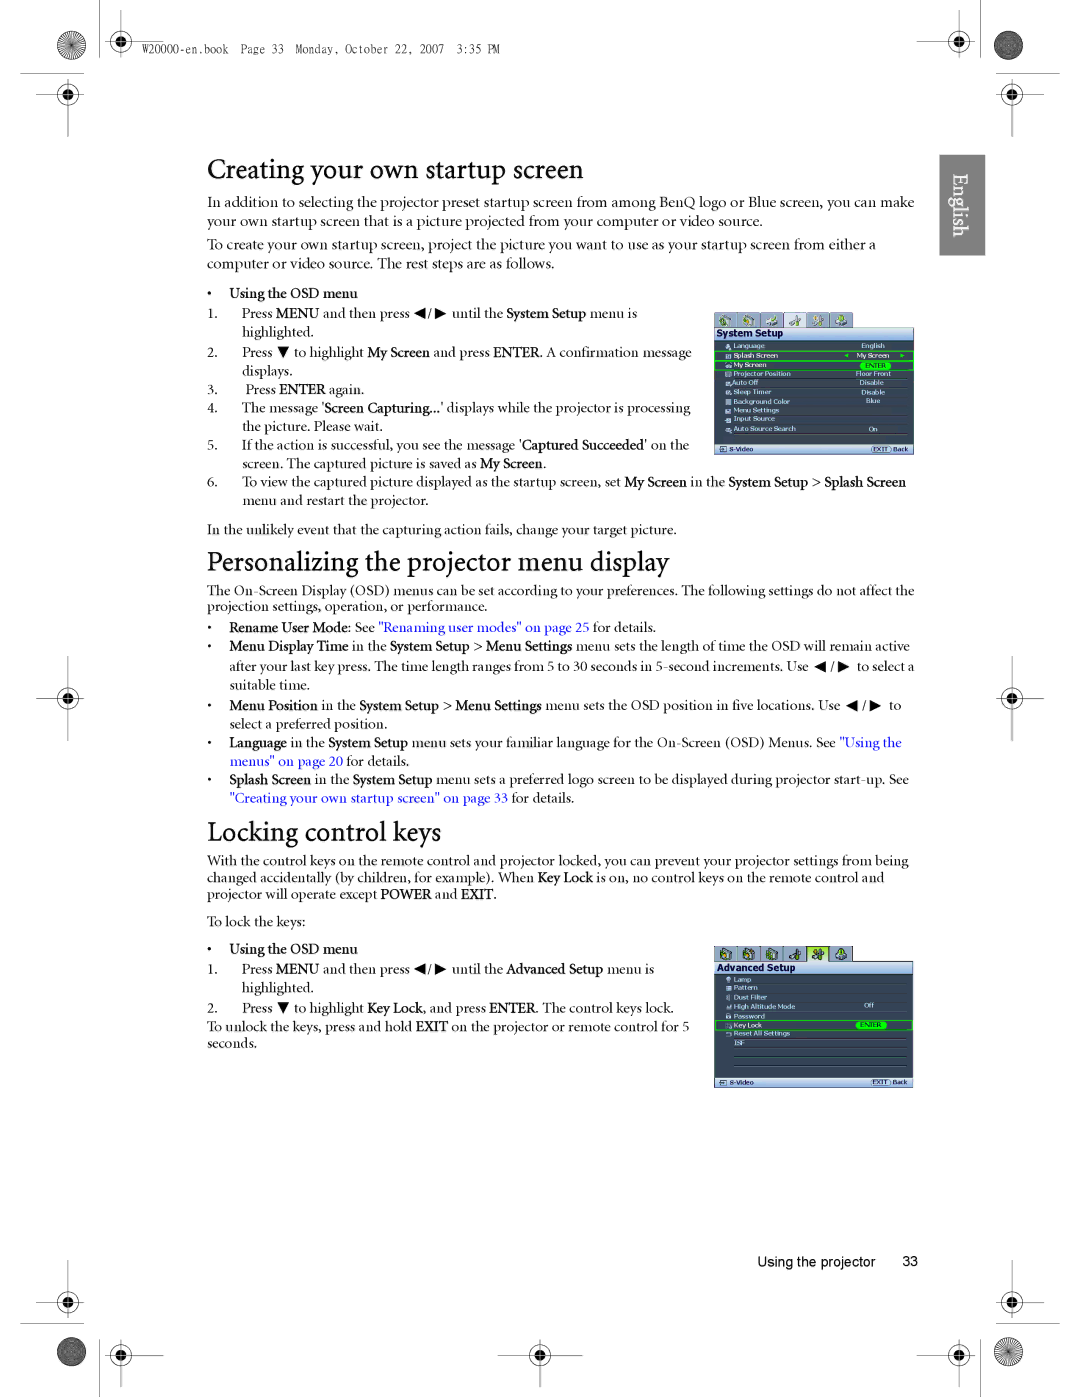
| highlighted. | System Setup |
| |
2. | Press | to highlight My Screen and press ENTER. A confirmation message | Language | English |
Splash Screen | My Screen | |||
| displays. |
| My Screen | ENTER |
|
| Projector Position | Floor Front | |
3. | Press ENTER again. | Auto Off | Disable | |
Sleep Timer | Disable | |||
4. | The message 'Screen Capturing...' displays while the projector is processing | Background Color | Blue | |
Menu Settings |
| |||
| the picture. Please wait. | Input Source |
| |
| Auto Source Search | On | ||
5. | If the action is successful, you see the message 'Captured Succeeded' on the | EXIT Back | ||
| screen. The captured picture is saved as My Screen. |
|
| |
6.To view the captured picture displayed as the startup screen, set My Screen in the System Setup > Splash Screen menu and restart the projector.
In the unlikely event that the capturing action fails, change your target picture.
Personalizing the projector menu display
The
•Rename User Mode: See "Renaming user modes" on page 25 for details.
•Menu Display Time in the System Setup > Menu Settings menu sets the length of time the OSD will remain active
after your last key press. The time length ranges from 5 to 30 seconds in ![]() /
/ ![]() to select a suitable time.
to select a suitable time.
•Menu Position in the System Setup > Menu Settings menu sets the OSD position in five locations. Use ![]() /
/ ![]() to select a preferred position.
to select a preferred position.
•Language in the System Setup menu sets your familiar language for the
•Splash Screen in the System Setup menu sets a preferred logo screen to be displayed during projector
Locking control keys
With the control keys on the remote control and projector locked, you can prevent your projector settings from being changed accidentally (by children, for example). When Key Lock is on, no control keys on the remote control and projector will operate except POWER and EXIT.
English
To lock the keys:
•Using the OSD menu
1.Press MENU and then press ![]() /
/ ![]() until the Advanced Setup menu is highlighted.
until the Advanced Setup menu is highlighted.
2.Press ![]() to highlight Key Lock, and press ENTER. The control keys lock. To unlock the keys, press and hold EXIT on the projector or remote control for 5 seconds.
to highlight Key Lock, and press ENTER. The control keys lock. To unlock the keys, press and hold EXIT on the projector or remote control for 5 seconds.
Advanced Setup
Lamp
Pattern
Dust Filter |
|
High Altitude Mode | Off |
Password |
|
Key Lock | ENTER |
Reset All Settings |
|
ISF |
|
EXIT Back |
Using the projector | 33 |