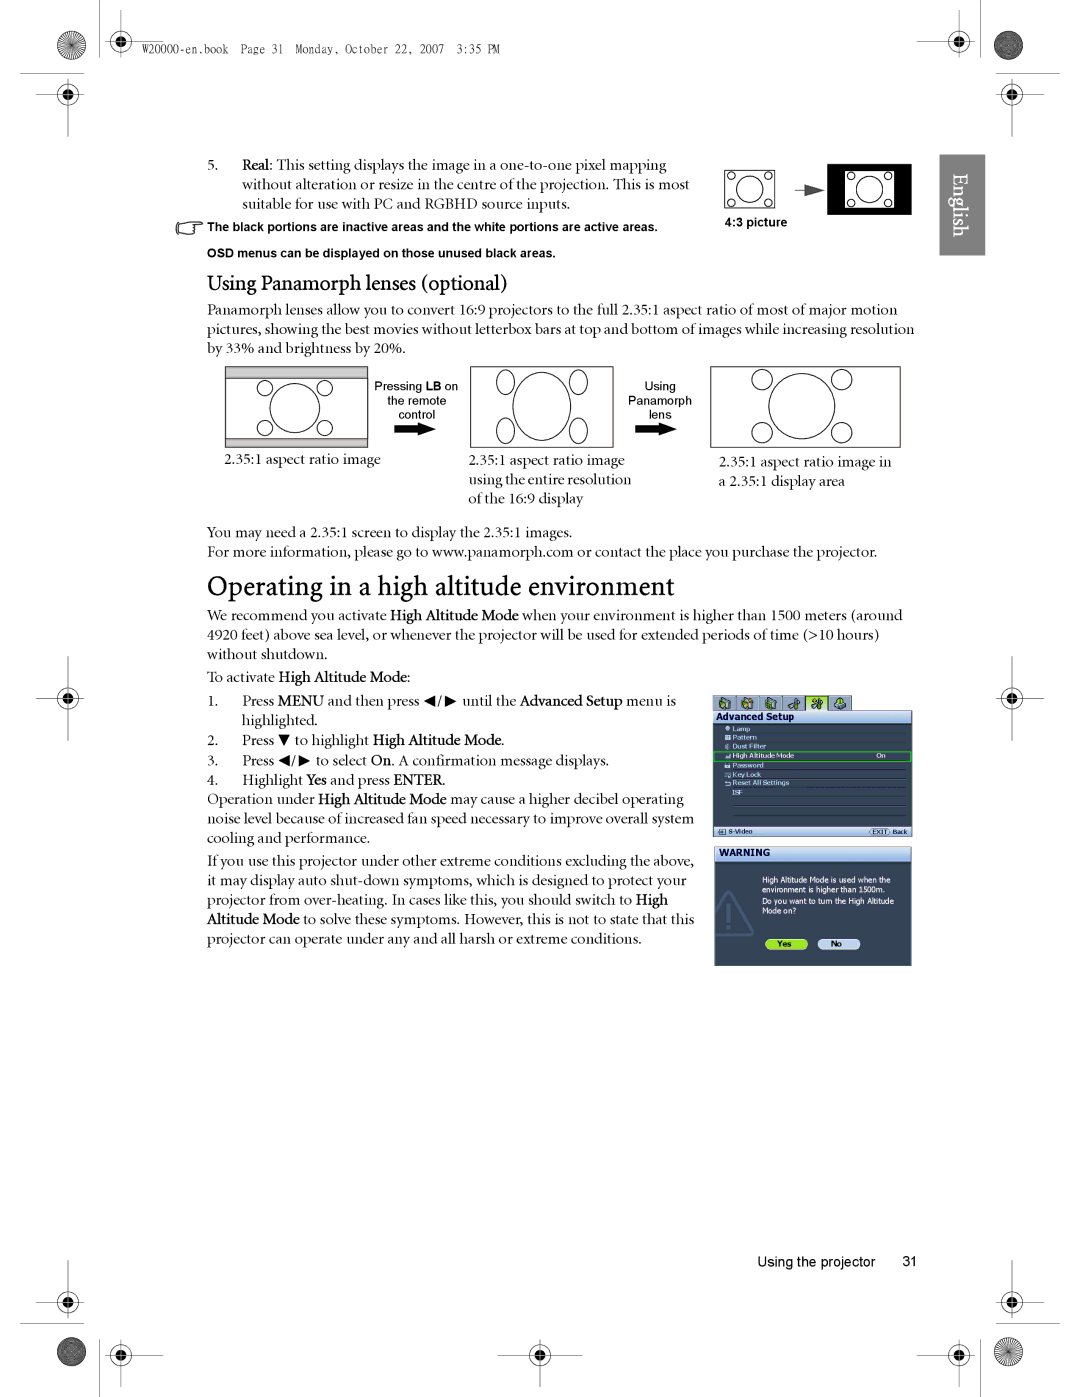
5.Real: This setting displays the image in a
suitable for use with PC and RGBHD source inputs.
The black portions are inactive areas and the white portions are active areas. | 4:3 picture |
|
OSD menus can be displayed on those unused black areas.
Using Panamorph lenses (optional)
Panamorph lenses allow you to convert 16:9 projectors to the full 2.35:1 aspect ratio of most of major motion pictures, showing the best movies without letterbox bars at top and bottom of images while increasing resolution by 33% and brightness by 20%.
Pressing LB on | Using |
|
the remote | Panamorph |
|
control | lens |
|
2.35:1 aspect ratio image | 2.35:1 aspect ratio image | 2.35:1 aspect ratio image in |
| using the entire resolution | a 2.35:1 display area |
| of the 16:9 display |
|
You may need a 2.35:1 screen to display the 2.35:1 images.
For more information, please go to www.panamorph.com or contact the place you purchase the projector.
Operating in a high altitude environment
We recommend you activate High Altitude Mode when your environment is higher than 1500 meters (around 4920 feet) above sea level, or whenever the projector will be used for extended periods of time (>10 hours) without shutdown.
English
To activate High Altitude Mode:
1.Press MENU and then press ![]() /
/ ![]() until the Advanced Setup menu is highlighted.
until the Advanced Setup menu is highlighted.
2.Press ![]() to highlight High Altitude Mode.
to highlight High Altitude Mode.
3.Press ![]() /
/ ![]() to select On. A confirmation message displays.
to select On. A confirmation message displays.
4.Highlight Yes and press ENTER.
Operation under High Altitude Mode may cause a higher decibel operating noise level because of increased fan speed necessary to improve overall system cooling and performance.
If you use this projector under other extreme conditions excluding the above, it may display auto
Advanced Setup
Lamp |
|
Pattern |
|
Dust Filter |
|
High Altitude Mode | On |
Password |
|
Key Lock |
|
Reset All Settings |
|
ISF |
|
EXIT Back | |
WARNING |
|
High Altitude Mode is used when the environment is higher than 1500m.
Do you want to turn the High Altitude Mode on?
Yes No
Using the projector | 31 |
