| Cleaning and Maintenance |
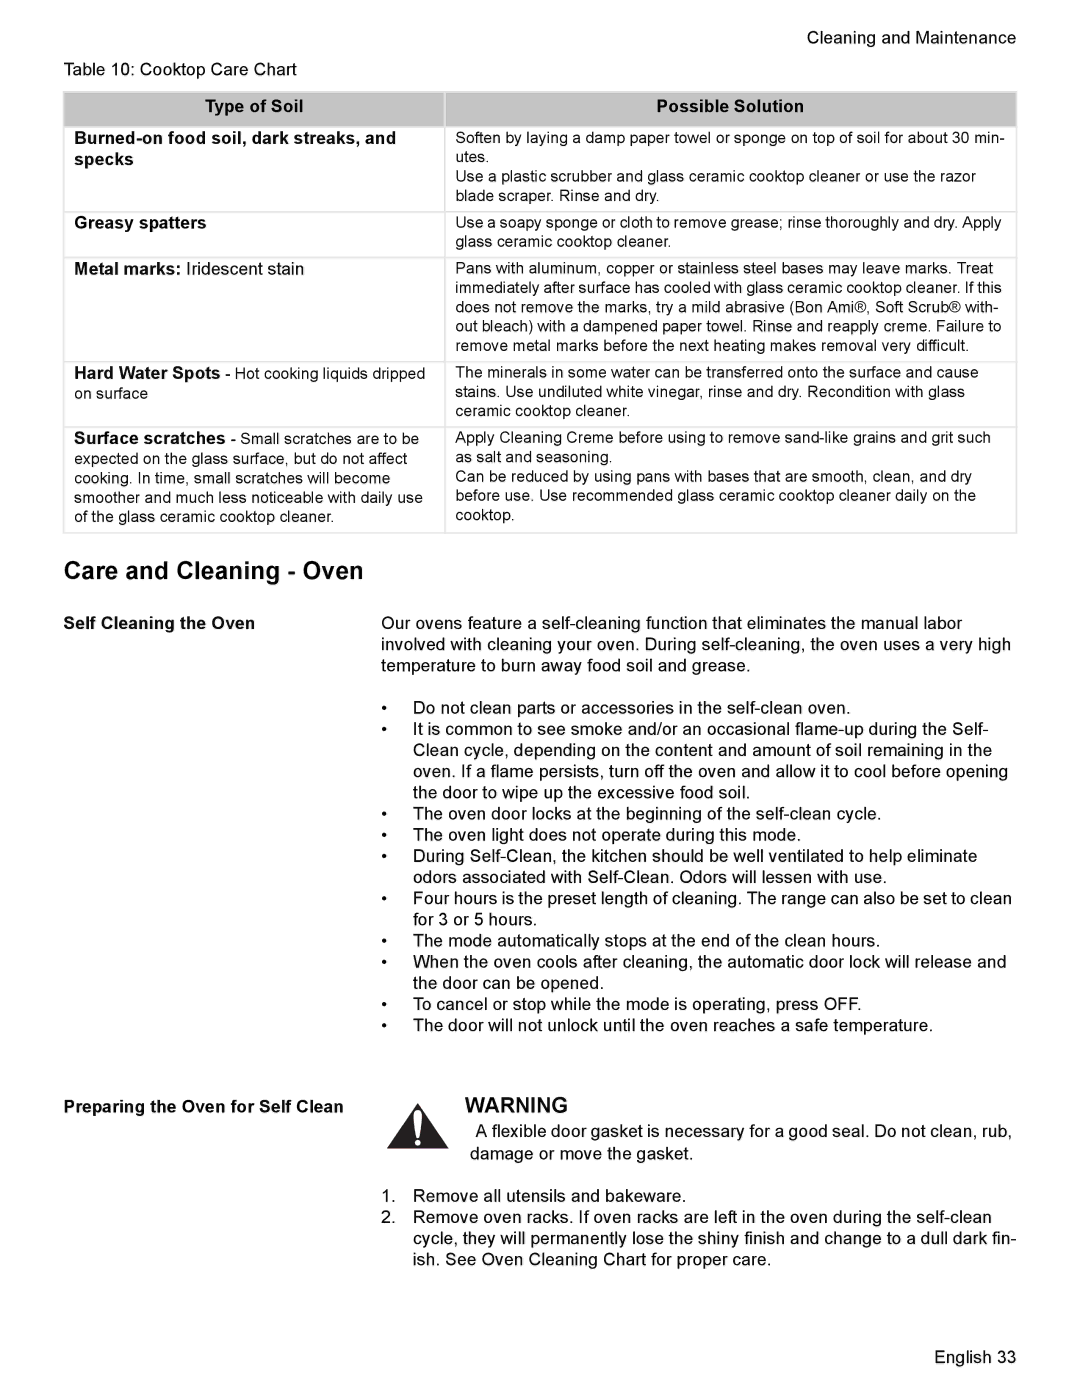
Table 10: Cooktop Care Chart |
|
|
|
Type of Soil | Possible Solution |
|
|
Soften by laying a damp paper towel or sponge on top of soil for about 30 min- | |
specks | utes. |
| Use a plastic scrubber and glass ceramic cooktop cleaner or use the razor |
| blade scraper. Rinse and dry. |
|
|
Greasy spatters | Use a soapy sponge or cloth to remove grease; rinse thoroughly and dry. Apply |
| glass ceramic cooktop cleaner. |
|
|
Metal marks: Iridescent stain | Pans with aluminum, copper or stainless steel bases may leave marks. Treat |
| immediately after surface has cooled with glass ceramic cooktop cleaner. If this |
| does not remove the marks, try a mild abrasive (Bon Ami®, Soft Scrub® with- |
| out bleach) with a dampened paper towel. Rinse and reapply creme. Failure to |
| remove metal marks before the next heating makes removal very difficult. |
|
|
Hard Water Spots - Hot cooking liquids dripped | The minerals in some water can be transferred onto the surface and cause |
on surface | stains. Use undiluted white vinegar, rinse and dry. Recondition with glass |
| ceramic cooktop cleaner. |
|
|
Surface scratches - Small scratches are to be | Apply Cleaning Creme before using to remove |
expected on the glass surface, but do not affect | as salt and seasoning. |
cooking. In time, small scratches will become | Can be reduced by using pans with bases that are smooth, clean, and dry |
smoother and much less noticeable with daily use | before use. Use recommended glass ceramic cooktop cleaner daily on the |
of the glass ceramic cooktop cleaner. | cooktop. |
|
|
Care and Cleaning - Oven
Self Cleaning the Oven | Our ovens feature a | |
| involved with cleaning your oven. During | |
| temperature to burn away food soil and grease. | |
| • | Do not clean parts or accessories in the |
| • | It is common to see smoke and/or an occasional |
|
| Clean cycle, depending on the content and amount of soil remaining in the |
|
| oven. If a flame persists, turn off the oven and allow it to cool before opening |
|
| the door to wipe up the excessive food soil. |
| • | The oven door locks at the beginning of the |
| • | The oven light does not operate during this mode. |
| • | During |
|
| odors associated with |
| • | Four hours is the preset length of cleaning. The range can also be set to clean |
|
| for 3 or 5 hours. |
| • | The mode automatically stops at the end of the clean hours. |
| • | When the oven cools after cleaning, the automatic door lock will release and |
|
| the door can be opened. |
| • | To cancel or stop while the mode is operating, press OFF. |
| • | The door will not unlock until the oven reaches a safe temperature. |
Preparing the Oven for Self Clean |
| WARNING |
|
| A flexible door gasket is necessary for a good seal. Do not clean, rub, |
|
| damage or move the gasket. |
| 1. | Remove all utensils and bakeware. |
| 2. | Remove oven racks. If oven racks are left in the oven during the |
|
| cycle, they will permanently lose the shiny finish and change to a dull dark fin- |
|
| ish. See Oven Cleaning Chart for proper care. |
English 33
