Assembly
!WARNING Tighten the cover plate screw. Loose cover plate screw may inter-
fere with and
9.Be sure the arbor lock is released so the blade turns freely.
!WARNING After installing a new blade, make sure the blade does not
interfere with the table insert at the 0° and 45° bevel positions. Lower the blade into the table slot and check for any contact with the base or turn table structure. If blade contacts base or table, seek autho- rized service.
10.Place multi purpose tool in rubber grommet in right rear of tool.
Assembling Dust Elbow And Dust Bag
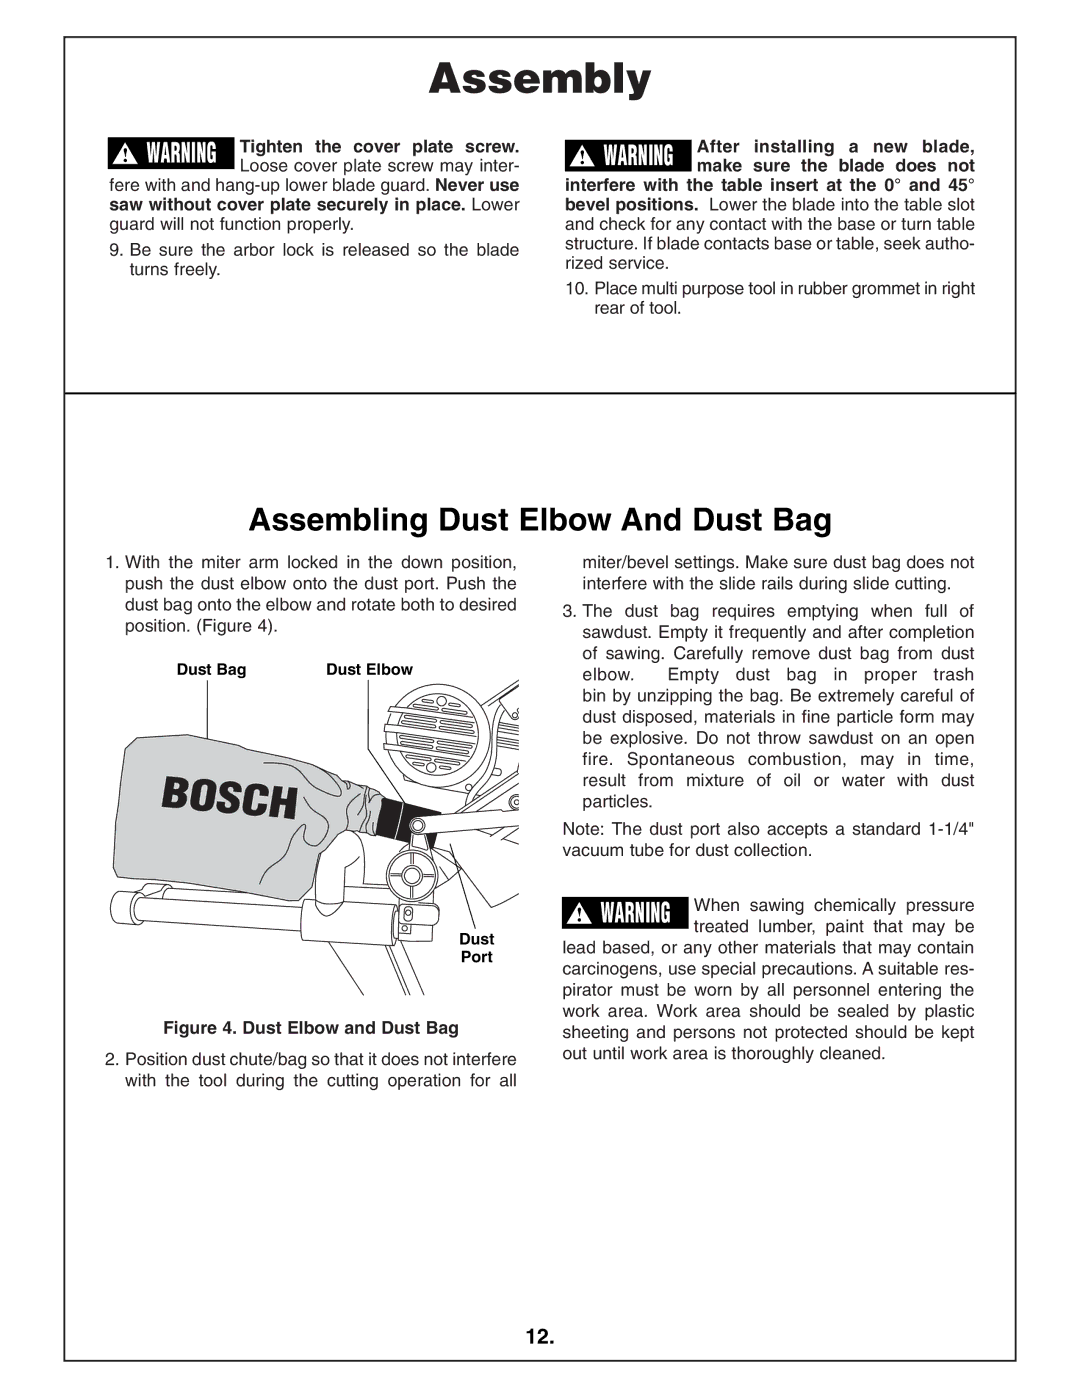
1.With the miter arm locked in the down position, push the dust elbow onto the dust port. Push the dust bag onto the elbow and rotate both to desired position. (Figure 4).
Dust Bag | Dust Elbow |
Dust
Port
Figure 4. Dust Elbow and Dust Bag
2.Position dust chute/bag so that it does not interfere with the tool during the cutting operation for all
miter/bevel settings. Make sure dust bag does not interfere with the slide rails during slide cutting.
3.The dust bag requires emptying when full of sawdust. Empty it frequently and after completion of sawing. Carefully remove dust bag from dust elbow. Empty dust bag in proper trash bin by unzipping the bag. Be extremely careful of dust disposed, materials in fine particle form may be explosive. Do not throw sawdust on an open fire. Spontaneous combustion, may in time, result from mixture of oil or water with dust particles.
Note: The dust port also accepts a standard
!WARNING When sawing chemically pressure treated lumber, paint that may be
lead based, or any other materials that may contain carcinogens, use special precautions. A suitable res- pirator must be worn by all personnel entering the work area. Work area should be sealed by plastic sheeting and persons not protected should be kept out until work area is thoroughly cleaned.
12.