Know your Breville Baker’s Oven continued

Beginner’s Guide to Baking Your First Loaf

Using the Bake Only Setting

The ‘Bake Only’ setting of the Baker’s Oven gives more versatility to your bread making. The ‘Bake Only’ setting is useful when wishing to:

Extend the baking time if a darker, crisper loaf crust is required.

Crispen loaves already baked and cooled.

Re-warm loaves already baked and cooled.

Delay bake a finished dough.

Melt or brown toppings.

1.Press the ‘Select’ button eleven times and the LCD screen will show 11.

2.Before pressing the ‘Start’ button, the time can be altered by using the up/down ’/‘arrows. The ‘Bake Only’ setting times range from 5 minutes to 2 hours.

3.If the time is not altered, the default ‘BAKE ONLY’ time of 55 minutes will commence when the ‘Start’ button is pressed.

Try this creative idea:

1.Prepare and make a bread of your choosing.

2.Combine 3 tablespoons of Cheddar cheese, 3 tablespoons chopped bacon with 2 teaspoons chopped fresh chives.

3.When bread has finished baking, press ‘STOP’.

4.Sprinkle combined ingredients over the top of loaf.

5.Press the ‘Select’ button eleven times and the LCD screen will show 11. Change the time to 20 minutes using the up/down ’/‘arrows. Press ‘Start’. If a browner, crisper topping is required reset the ‘BAKE ONLY’ setting for an additional time.

6.At the end of baking, press ‘STOP.’

7.Remove bread from the bread machine and bread pan. Allow to cool on a rack.

Using the Jam Setting

The ‘JAM’ setting of the Baker’s Oven allows you to make sufficient quantity of delicious home- made jam to accompany your freshly baked bread.

1.Insert the standard kneading blade (for jam making) onto the shaft of the bread pan.

2.Place prepared fruit into the bread pan followed by remaining ingredients.

3.Press the ‘SELECT’ button ten times and the LCD screen will show 10. Press ‘START’.

4.After 1:05 hours, the bread machine will ‘beep’, indicating the end of the cycle. Press ‘STOP’. Use oven mitts to remove the bread pan as the jam is extremely hot.

5.Pour the hot jam into warm, dry, sterilised jars, leaving 1.25cm from the top of the jar. Seal the jars immediately and label.

6.Jam will thicken upon cooling and storage.

See the recipe section, under ‘Just Jam’ for more details (refer page R41).

The following instructions are to be used when making Bread or Dough recipes from the recipe section of this book.

All recipes use local ingredients and Australian Standard Metric Measuring tools (cup, spoons and weighing scales), for accuracy in producing a 1kg or 750g loaf of bread.

Remove and safely discard any packaging material and promotional labels before using the Baker’s Oven for the first time.

Step 1: Open the lid and remove the bread pan

Open the lid and remove the bread pan from the Baker’s Oven by holding the handle and lifting straight up.

Always remove bread pan from the Baker’s Oven before adding ingredients to ensure ingredients are not spilt into the baking chamber and onto the element.

Before using for the first time, we recommend that the inside of the bread pan and the kneading blades be washed with warm soapy water, rinsed and dried thoroughly. Do not immerse the bread pan in water.

Step 2: Insert the kneading blade

There are two kneading blades provided with the Baker’s Oven. The collapsible blade is for use on the ‘BREAD’ and ‘DOUGH’ settings. The standard blade is for use on the ‘JAM’ setting.

It is important that when using either kneading blade that it is properly mounted on the shaft in the base of the bread pan by aligning the flat edge in the central hole of the kneading blade with the flat side of the shaft. If the either blade is not seated correctly, ingredients may not be mixed or kneaded properly.

The collapsible blade should be placed on the shaft in the upright position to ensure the ingredients are mixed and kneaded properly when the kneading cycle commences. The further

kneading action of the bread machine ensures that the collapsible blade is upright or flat at the appropriate times in the kneading, rising and baking cycles.

Before inserting the collapsible blade, ensure that no baked bread residue remains attached to the shaft inside the bread pan or inside the hole or around the hinge area of the collapsible kneading blade. This will ensure that the hinge pivots freely. For further cleaning instructions refer to page 25.

Note

Step 3: Add ingredients into the bread pan

It is important that the ingredients are added in the correct order listed in the recipe and that the ingredients are measured and weighed accurately otherwise the dough may not mix correctly or rise sufficiently. Ensure the collapsible kneading blade is in the upright position before adding ingredients to the bread pan.

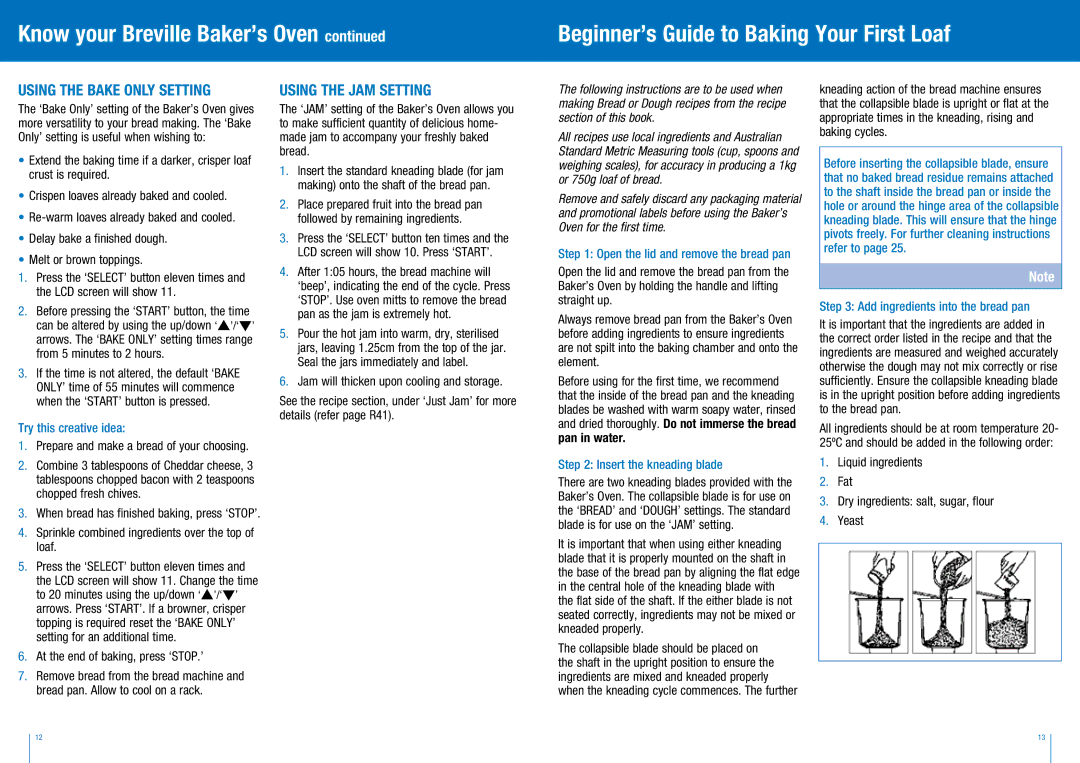
All ingredients should be at room temperature 20- 25ºC and should be added in the following order:

1.Liquid ingredients

2.Fat

3.Dry ingredients: salt, sugar, flour

4.Yeast

12

13

Page 7
Image 7
Breville BBM300 manual Using the Bake Only Setting, Using the Jam Setting

BBM300 specifications

The Breville BBM300 is a versatile bread maker that combines modern technology with user-friendly features, making it an essential addition to any kitchen. This machine offers a unique way to enjoy fresh, homemade bread with minimal effort.

One of the standout features of the BBM300 is its 13 automatic settings, which cater to a variety of bread types, including gluten-free, whole wheat, and artisan breads. This flexibility allows users to experiment and create a wide range of baked goods. Additionally, it includes options for kneading, rising, and baking, providing an all-in-one solution for bread-making enthusiasts.

The BBM300 employs a unique 3-step kneading process, which helps to achieve the perfect texture in the dough. This sophisticated kneading technique ensures that the ingredients are evenly combined, leading to consistently great results every time. The machine also features a powerful 700-watt motor, which provides ample strength for kneading thick doughs with ease.

Another remarkable characteristic of the BBM300 is its 360-degree heating element. This technology ensures that heat is evenly distributed throughout the baking pan, resulting in uniformly baked bread without any undercooked or burnt spots. Furthermore, the non-stick baking pan makes for easy removal of bread and simplifies the cleaning process.

The adjustable crust function is yet another appealing feature of the Breville BBM300. Users can choose from light, medium, or dark settings to achieve their desired level of crustiness. This personalization ensures that everyone can enjoy their perfect loaf according to their taste preferences.

For those who enjoy waking up to the smell of fresh bread, the BBM300 offers a delayed start timer, which can be set up to 13 hours in advance. This means that users can prepare their ingredients the night before, setting the machine to bake automatically so that a warm loaf is ready when they wake up.

Safety is also a priority with the Breville BBM300, which includes a built-in power interruption protection feature. This allows the machine to resume baking in case of a power outage, eliminating the worry of wasted ingredients and time.

In summary, the Breville BBM300 combines advanced technology with user-friendly features, making it an ideal choice for anyone looking to enjoy homemade bread. With its automatic settings, unique kneading process, adjustable crust options, and safety features, it provides an unparalleled bread-making experience. Whether you're a novice or an experienced baker, this machine is certain to enhance your culinary endeavors.