BBM300 specifications
The Breville BBM300 is a versatile bread maker that combines modern technology with user-friendly features, making it an essential addition to any kitchen. This machine offers a unique way to enjoy fresh, homemade bread with minimal effort.One of the standout features of the BBM300 is its 13 automatic settings, which cater to a variety of bread types, including gluten-free, whole wheat, and artisan breads. This flexibility allows users to experiment and create a wide range of baked goods. Additionally, it includes options for kneading, rising, and baking, providing an all-in-one solution for bread-making enthusiasts.
The BBM300 employs a unique 3-step kneading process, which helps to achieve the perfect texture in the dough. This sophisticated kneading technique ensures that the ingredients are evenly combined, leading to consistently great results every time. The machine also features a powerful 700-watt motor, which provides ample strength for kneading thick doughs with ease.
Another remarkable characteristic of the BBM300 is its 360-degree heating element. This technology ensures that heat is evenly distributed throughout the baking pan, resulting in uniformly baked bread without any undercooked or burnt spots. Furthermore, the non-stick baking pan makes for easy removal of bread and simplifies the cleaning process.
The adjustable crust function is yet another appealing feature of the Breville BBM300. Users can choose from light, medium, or dark settings to achieve their desired level of crustiness. This personalization ensures that everyone can enjoy their perfect loaf according to their taste preferences.
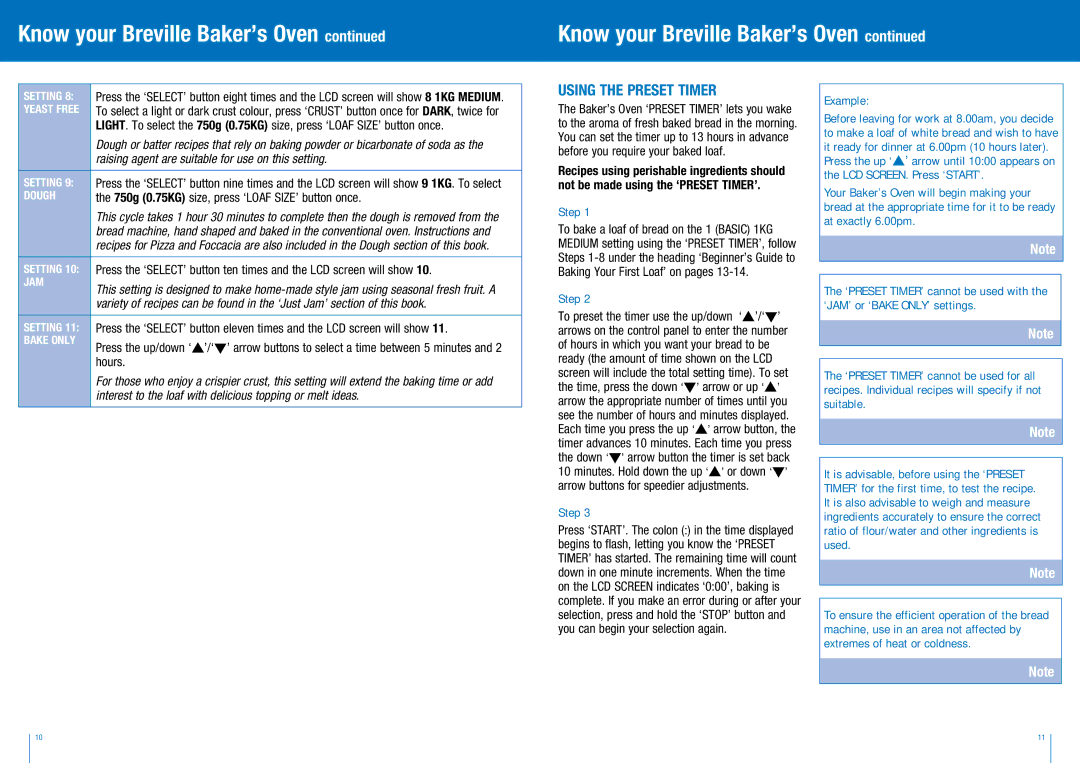
For those who enjoy waking up to the smell of fresh bread, the BBM300 offers a delayed start timer, which can be set up to 13 hours in advance. This means that users can prepare their ingredients the night before, setting the machine to bake automatically so that a warm loaf is ready when they wake up.
Safety is also a priority with the Breville BBM300, which includes a built-in power interruption protection feature. This allows the machine to resume baking in case of a power outage, eliminating the worry of wasted ingredients and time.
In summary, the Breville BBM300 combines advanced technology with user-friendly features, making it an ideal choice for anyone looking to enjoy homemade bread. With its automatic settings, unique kneading process, adjustable crust options, and safety features, it provides an unparalleled bread-making experience. Whether you're a novice or an experienced baker, this machine is certain to enhance your culinary endeavors.