2
Preparing the Blade Server for the SilkWorm 4016
Preparing the Blade Server for the SilkWorm 4016
Before you insert the SilkWorm 4016 into the blade server chassis, make sure that the following conditions are met:
•The blade server chassis is powered up.
•The I/O bay into which the SilkWorm 4016 will be inserted is empty and ready to receive the switch. The SilkWorm 4016 should only be inserted into the specific chassis I/O bay indicated.
•All power requirements specific to the blade server chassis are met. Refer to the manufacturer’s documentation for details.
•If you are replacing an existing switch, the new one should be inserted within one minute of removal.
Inserting a SilkWorm 4016 into the Chassis
To insert the SilkWorm 4016 into a blade server chassis:
1.Unpack the SilkWorm 4016 from its shipping box, as described in “Unpacking the SilkWorm 4016” on page
2.Verify that the chassis I/O bay into which the SilkWorm 4016 is being inserted is empty. Do not insert the SilkWorm 4016 into any other chassis I/O bay.
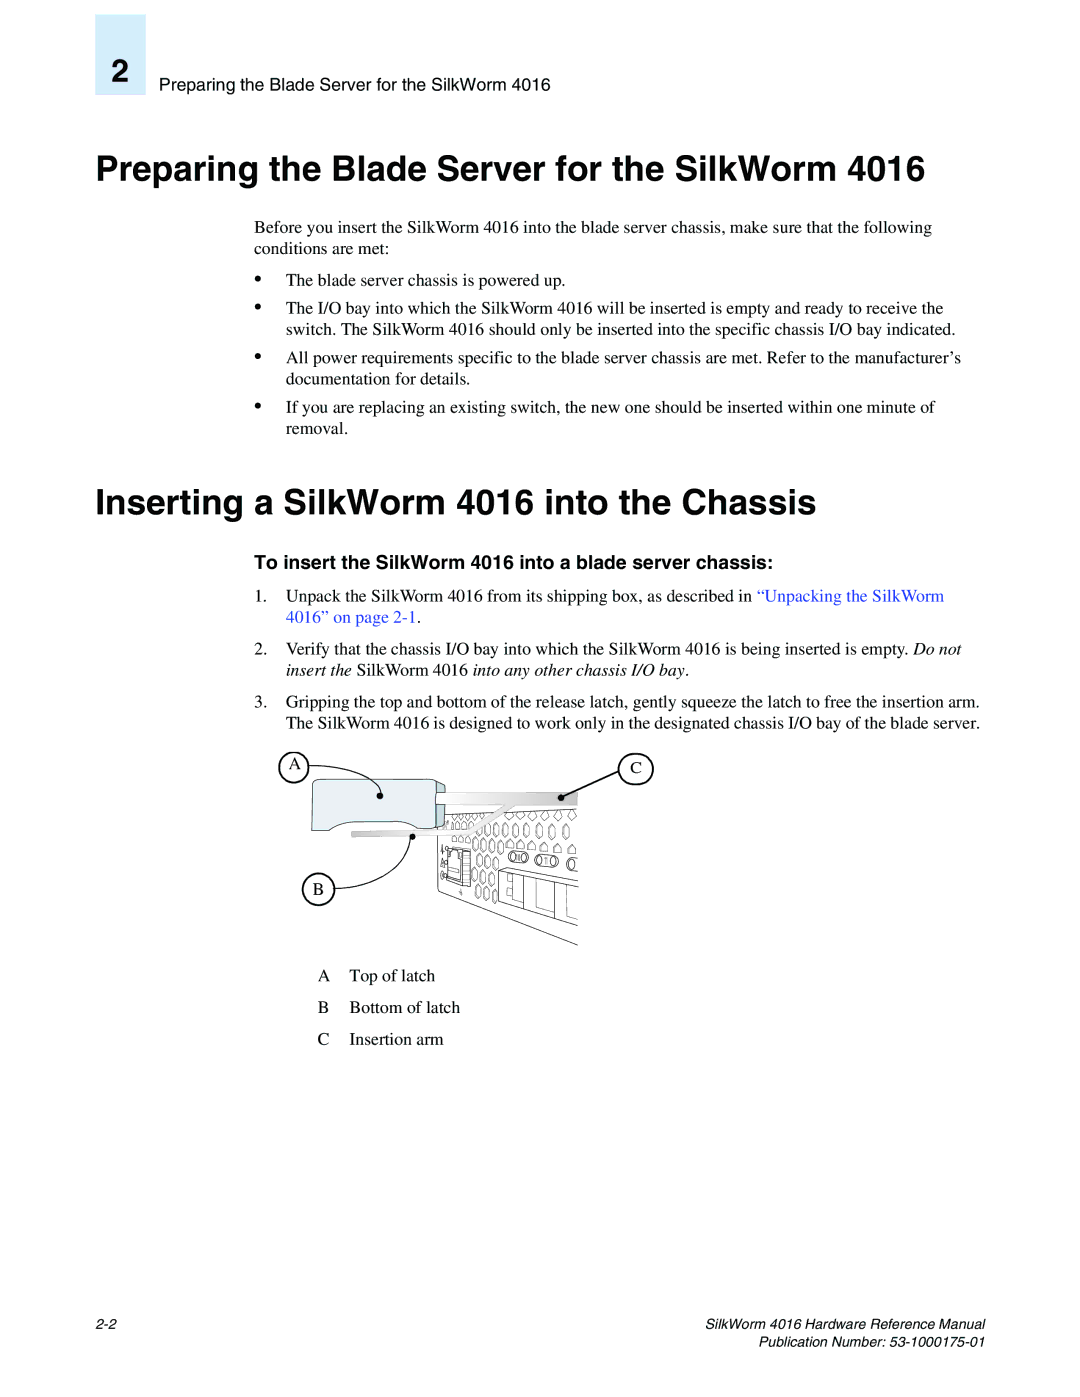
3.Gripping the top and bottom of the release latch, gently squeeze the latch to free the insertion arm. The SilkWorm 4016 is designed to work only in the designated chassis I/O bay of the blade server.
A ![]()
![]() C
C
R
10 11
B
ATop of latch
BBottom of latch
CInsertion arm
SilkWorm 4016 Hardware Reference Manual |