|
|
| Before using your machine | |
|
|
|
| |
| Description of buttons | |||
|
|
|
| |
| Button |
| Function |
|
|
|
|
|
|
| ON/OFF button ( | ) | Turns the printer on and off. | |
|
|
|
|
|
|
|
| Feeds and cuts the printed labels. | |
|
|
| Use this button when the auto cut option in the printing dialog | |
| Feed and Cut button ( | ) | box is not checked. | |
|
|
| * Feed and cut does not function when SZ tapes are | |
|
|
| loaded. | |
|
|
|
|
|
| Open Cover button |
| Opens the cover. | |
|
|
|
|
|
Lamp display
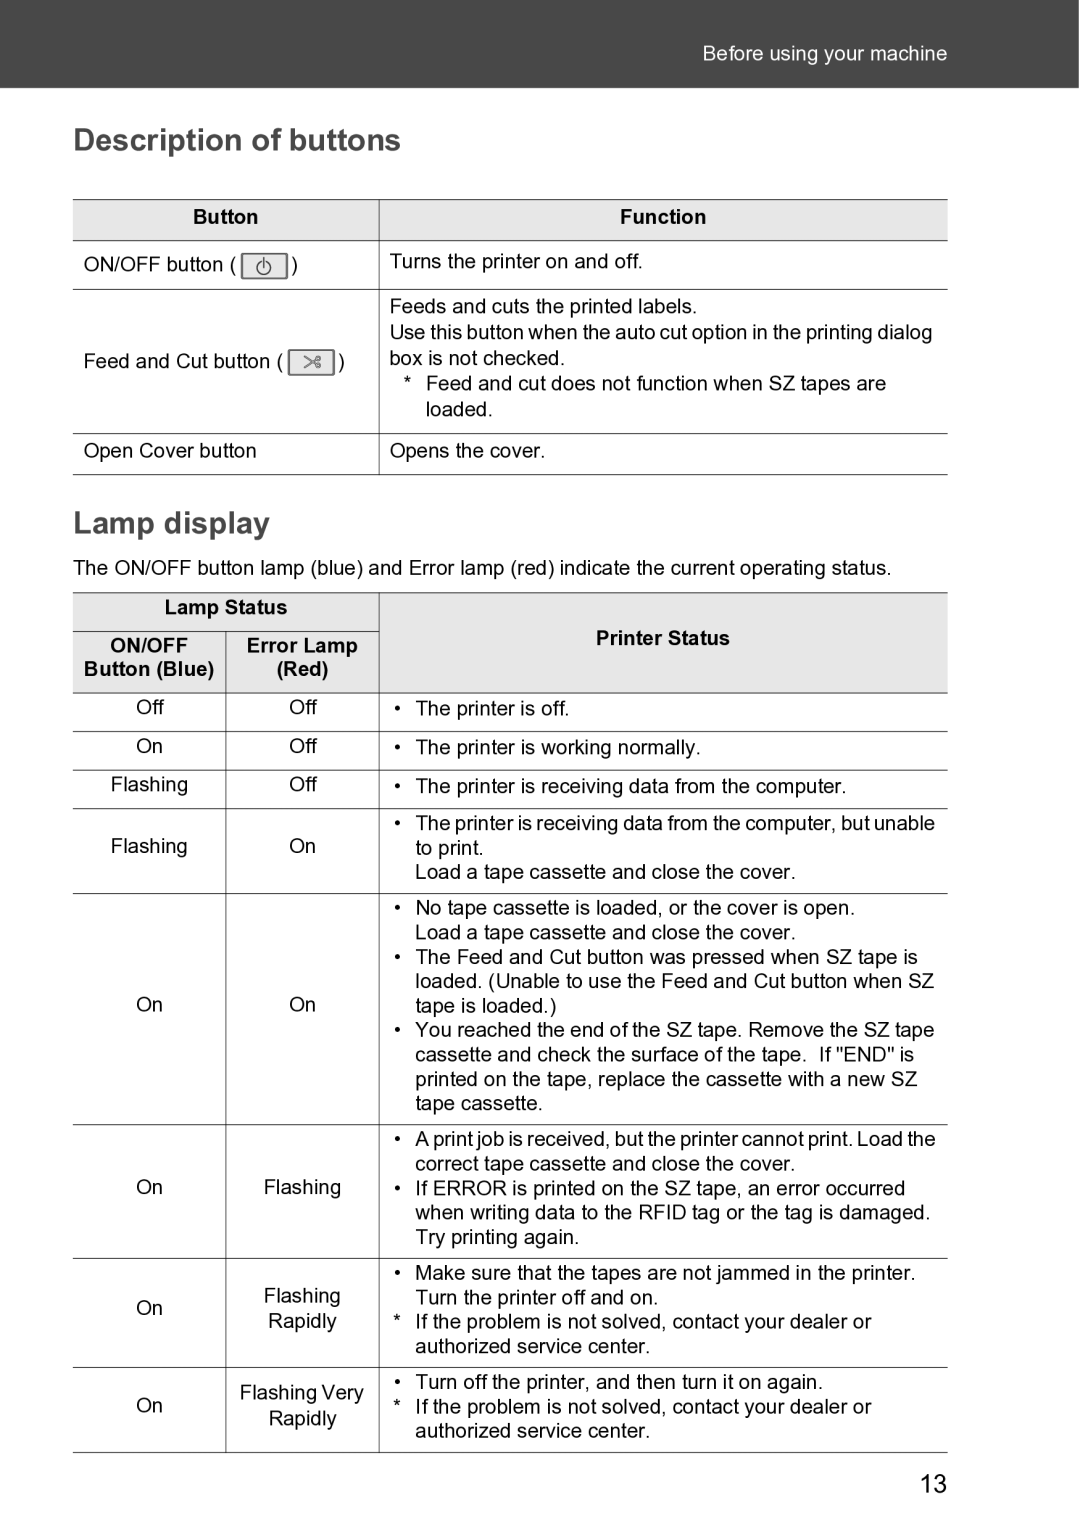
The ON/OFF button lamp (blue) and Error lamp (red) indicate the current operating status.
Lamp Status |
| ||
ON/OFF | Error Lamp | Printer Status | |
Button (Blue) | (Red) |
| |
Off | Off | • The printer is off. | |
|
|
| |
On | Off | • The printer is working normally. | |
|
|
| |
Flashing | Off | • The printer is receiving data from the computer. | |
|
|
| |
Flashing | On | • The printer is receiving data from the computer, but unable | |
to print. | |||
|
| Load a tape cassette and close the cover. | |
|
|
| |
|
| • No tape cassette is loaded, or the cover is open. | |
|
| Load a tape cassette and close the cover. | |
|
| • The Feed and Cut button was pressed when SZ tape is | |
On | On | loaded. (Unable to use the Feed and Cut button when SZ | |
tape is loaded.) | |||
|
| • You reached the end of the SZ tape. Remove the SZ tape | |
|
| cassette and check the surface of the tape. If "END" is | |
|
| printed on the tape, replace the cassette with a new SZ | |
|
| tape cassette. | |
|
|
| |
|
| • A print job is received, but the printer cannot print. Load the | |
On | Flashing | correct tape cassette and close the cover. | |
• If ERROR is printed on the SZ tape, an error occurred | |||
|
| when writing data to the RFID tag or the tag is damaged. | |
|
| Try printing again. | |
|
|
| |
| Flashing | • Make sure that the tapes are not jammed in the printer. | |
On | Turn the printer off and on. | ||
Rapidly | * If the problem is not solved, contact your dealer or | ||
| |||
|
| authorized service center. | |
|
|
| |
On | Flashing Very | • Turn off the printer, and then turn it on again. | |
* If the problem is not solved, contact your dealer or | |||
Rapidly | |||
| authorized service center. | ||
|
| ||
|
|
| |
13
