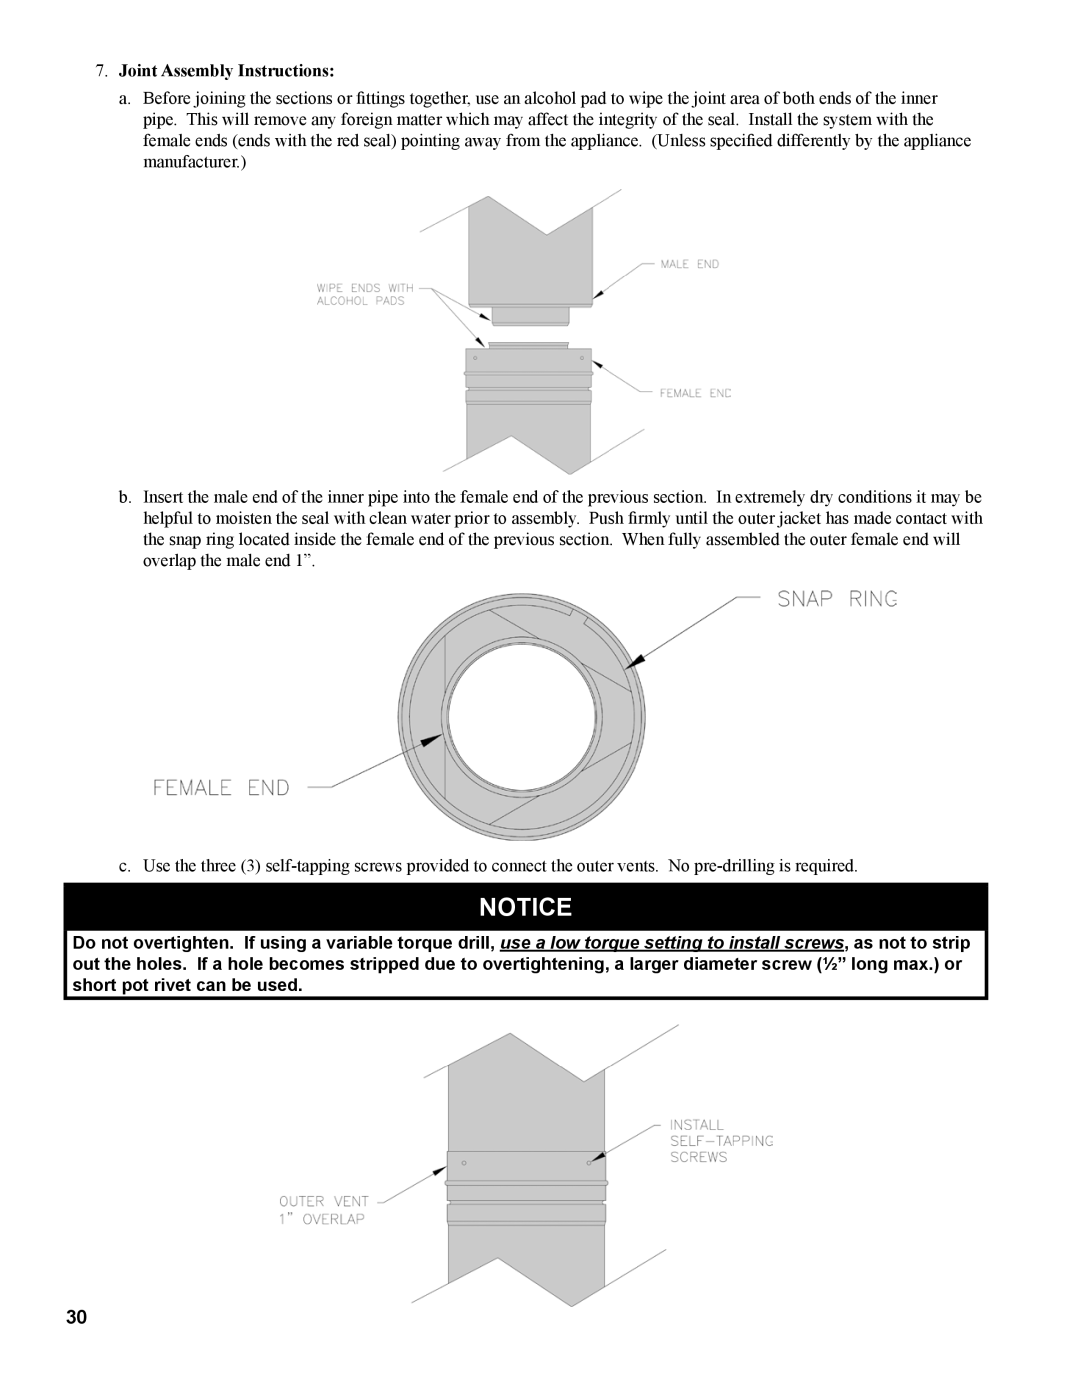
7.Joint Assembly Instructions:
a.Before joining the sections or fittings together, use an alcohol pad to wipe the joint area of both ends of the inner pipe. This will remove any foreign matter which may affect the integrity of the seal. Install the system with the female ends (ends with the red seal) pointing away from the appliance. (Unless specified differently by the appliance manufacturer.)
b.Insert the male end of the inner pipe into the female end of the previous section. In extremely dry conditions it may be helpful to moisten the seal with clean water prior to assembly. Push firmly until the outer jacket has made contact with the snap ring located inside the female end of the previous section. When fully assembled the outer female end will overlap the male end 1”.
c. Use the three (3)
NOTICE![]()
Do not overtighten. If using a variable torque drill, use a low torque setting to install screws, as not to strip out the holes. If a hole becomes stripped due to overtightening, a larger diameter screw (½” long max.) or short pot rivet can be used.
30