SEHI-22FL specifications
Cabletron Systems SEHI-22FL is a robust and reliable networking device designed for use in high-performance telecommunications and data communication environments. Known for its versatility, the SEHI-22FL serves as a key component in the infrastructure of businesses that require fast, efficient, and secure data transmission.One of the main features of the SEHI-22FL is its multi-layer switching capabilities, which enable it to operate at both Layer 2 and Layer 3 of the OSI model. This means that it can handle data switching and routing, thus providing flexibility in network design. It incorporates advanced switching technologies that facilitate high-speed data transfers, making it an ideal choice for networks that demand low latency and high throughput.
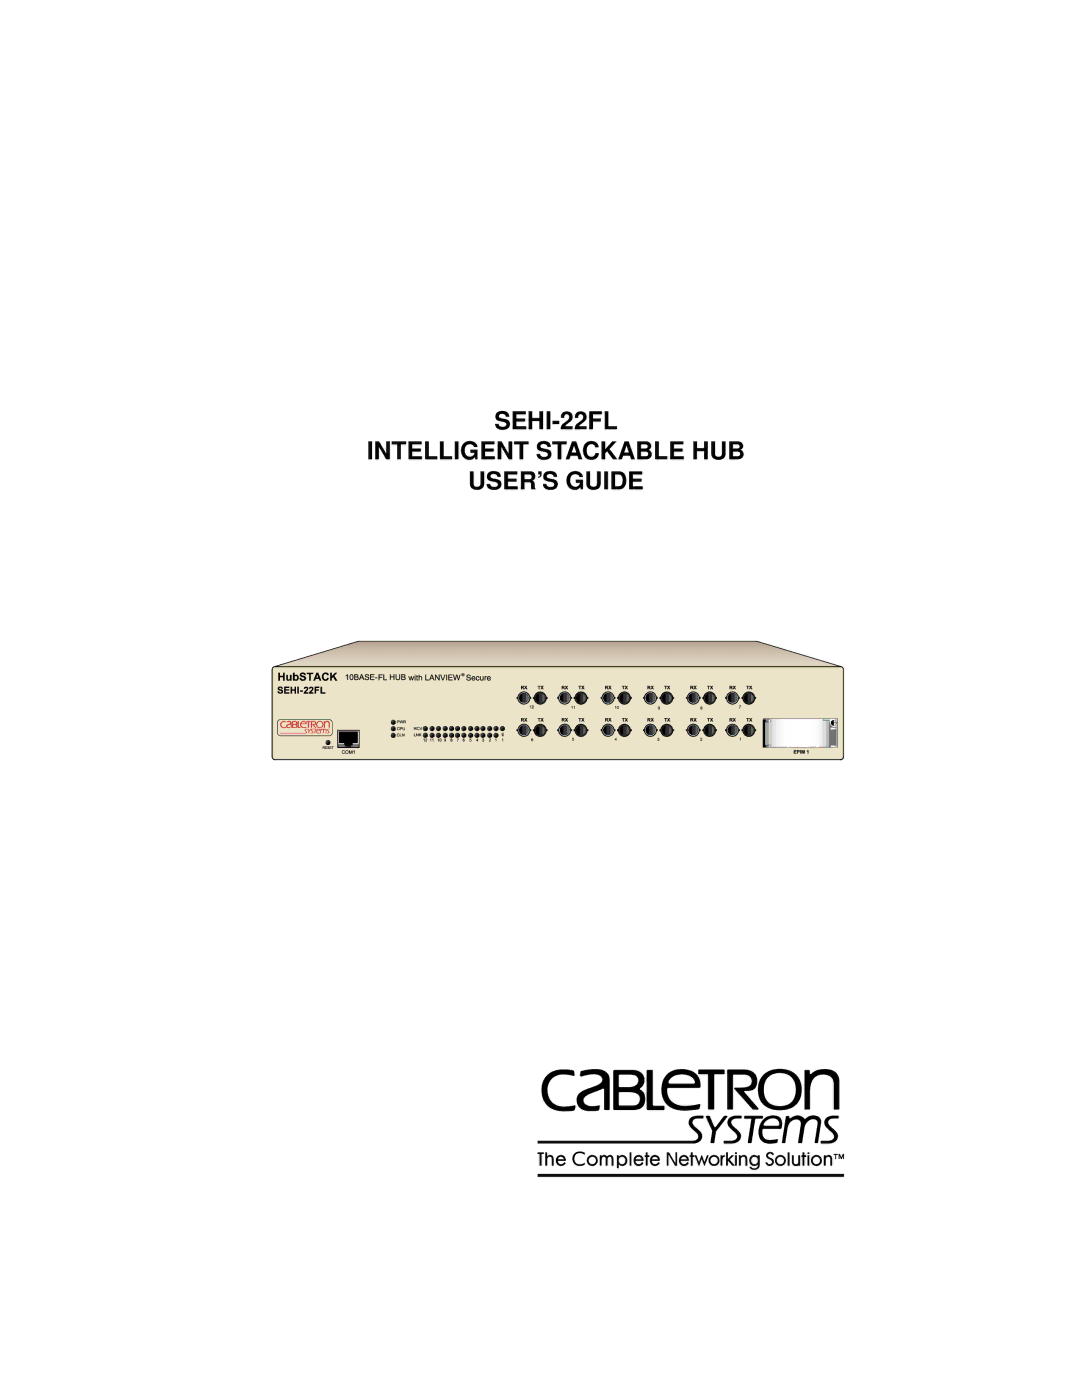
The SEHI-22FL is equipped with multiple Ethernet ports that support different speeds, including 10/100Mbps and Gigabit Ethernet options, allowing users to connect various devices seamlessly. The device supports both copper and fiber optics connections, thus ensuring adaptability to various networking scenarios. This flexibility helps network administrators to optimize network performance according to the specific requirements of their organization.
For security, the SEHI-22FL comes with built-in features that include VLAN support, which allows for network segmentation. This functionality adds an extra layer of security by isolating different parts of the network, thereby minimizing the risk of unauthorized access. Additionally, it supports features such as port security and MAC address filtering, which further enhance the security protocols of the network.
The management of the SEHI-22FL is simplified through an intuitive user interface that provides comprehensive monitoring and configuration options. Network administrators can easily access important metrics and performance statistics, thus enabling quick resolution of any issues that may arise. This is complemented by support for SNMP (Simple Network Management Protocol), allowing for remote management and monitoring capabilities.
The device is designed with reliability in mind, exhibiting features such as redundant power supplies and cooling systems to ensure uninterrupted operation even in critical environments. This makes the SEHI-22FL a trustworthy choice for businesses that cannot afford downtime.
In conclusion, Cabletron Systems SEHI-22FL stands out as a versatile and powerful networking device equipped with advanced features, robust security protocols, and reliable performance. Its ability to adapt to different networking environments makes it a valuable asset for organizations looking to enhance their telecommunications infrastructure.