DDS Service Configuration
4.3DDS SERVICE CONFIGURATION
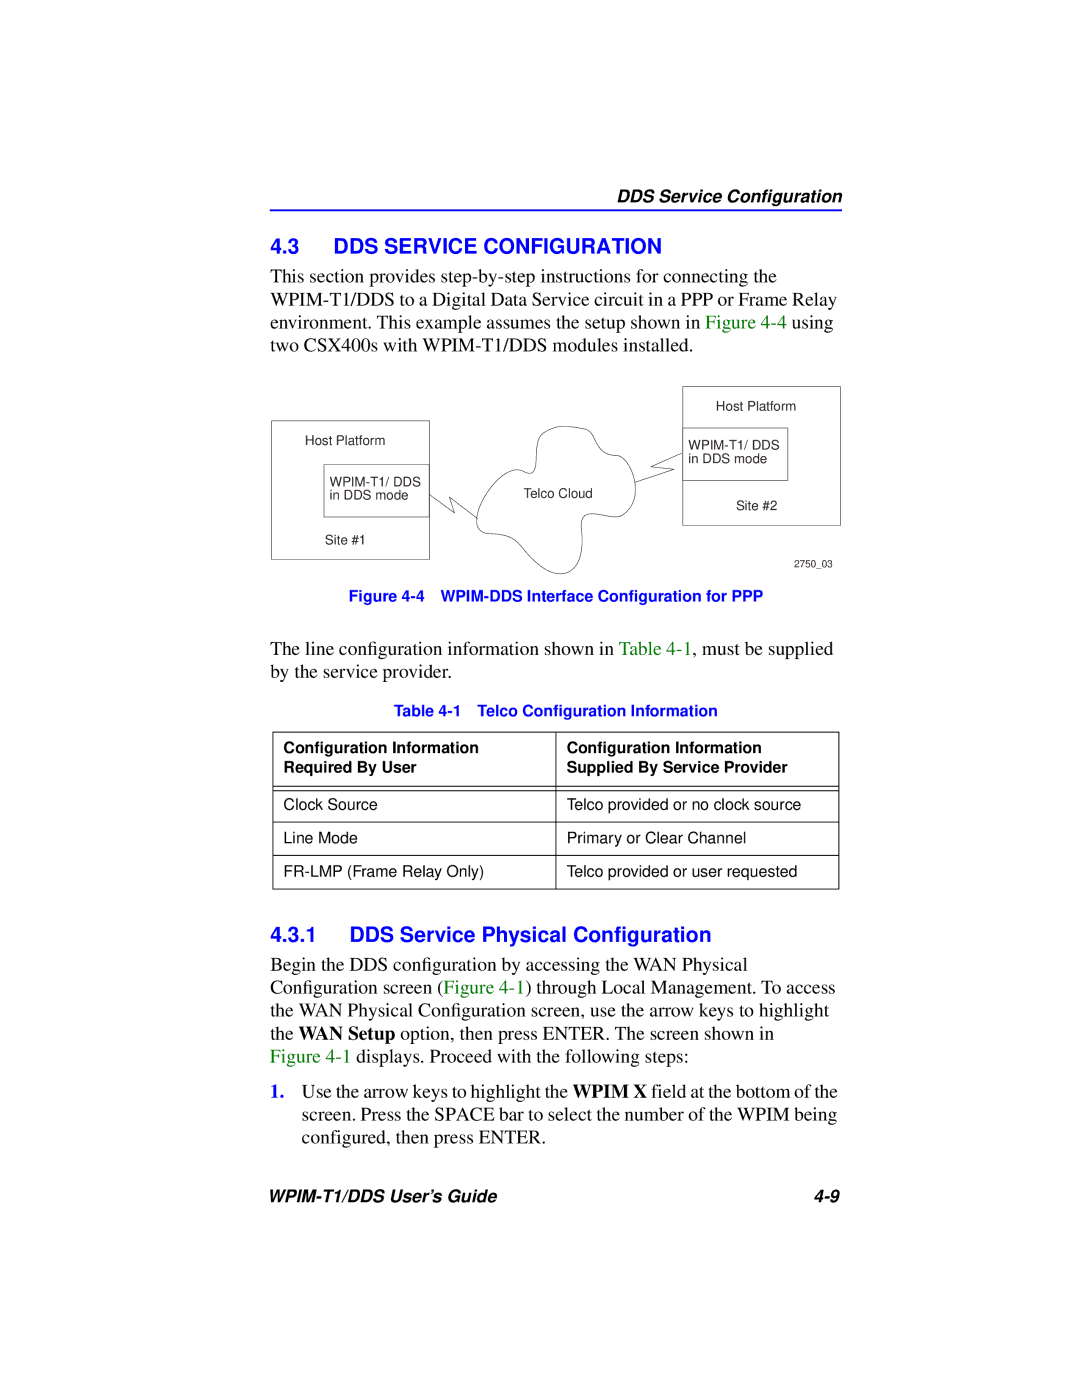
This section provides
Host Platform
Site #1
Telco Cloud
Host Platform
Site #2
2750_03
Figure 4-4 WPIM-DDS Interface Configuration for PPP
The line configuration information shown in Table
Table 4-1 Telco Configuration Information
Configuration Information | Configuration Information |
Required By User | Supplied By Service Provider |
|
|
|
|
Clock Source | Telco provided or no clock source |
|
|
Line Mode | Primary or Clear Channel |
|
|
Telco provided or user requested | |
|
|
4.3.1DDS Service Physical Configuration
Begin the DDS configuration by accessing the WAN Physical Configuration screen (Figure
1.Use the arrow keys to highlight the WPIM X field at the bottom of the screen. Press the SPACE bar to select the number of the WPIM being configured, then press ENTER.
|