S T E P 3
Auto Tone Correction
When the selected scan mode is Color, you have three options for adjusting the color: Recommended, ColorSync or None. The default setting is [Recommended].
Recommended:
Reproduces the colors of the scanned item vividly on a computer display. You are advised to use this mode under normal circumstances.
ColorSync:
Automatically matches the color settings of the scanner, computer display and color printer. Select this mode when you wish to set the appropriate color profile to view the colors of the scanned image on the computer display as closely matched to the original image as possible.
None:
Scans without color correction. Select this mode when you wish to adjust the colors yourself with the color correction features of
Caution
• This function is available only when the scan mode is set to one of the color modes; not to the grayscale or black and white modes.
•The Tone Adjustment menu item, Tone Adjustment button and Auto Tone Adjustment button are disabled when the ColorSync option is selected.
•The previous settings are in effect when
Hint
•ColorSync™ responds differently to each computer according to the unique conditions affecting it (type of display used, etc.), which may cause differences even between computers of the same make and system version. The tone characteristics of an image scanned with ColorSync™ on one computer, therefore, may change when processed on another computer.
To Set the Auto Tone Correction
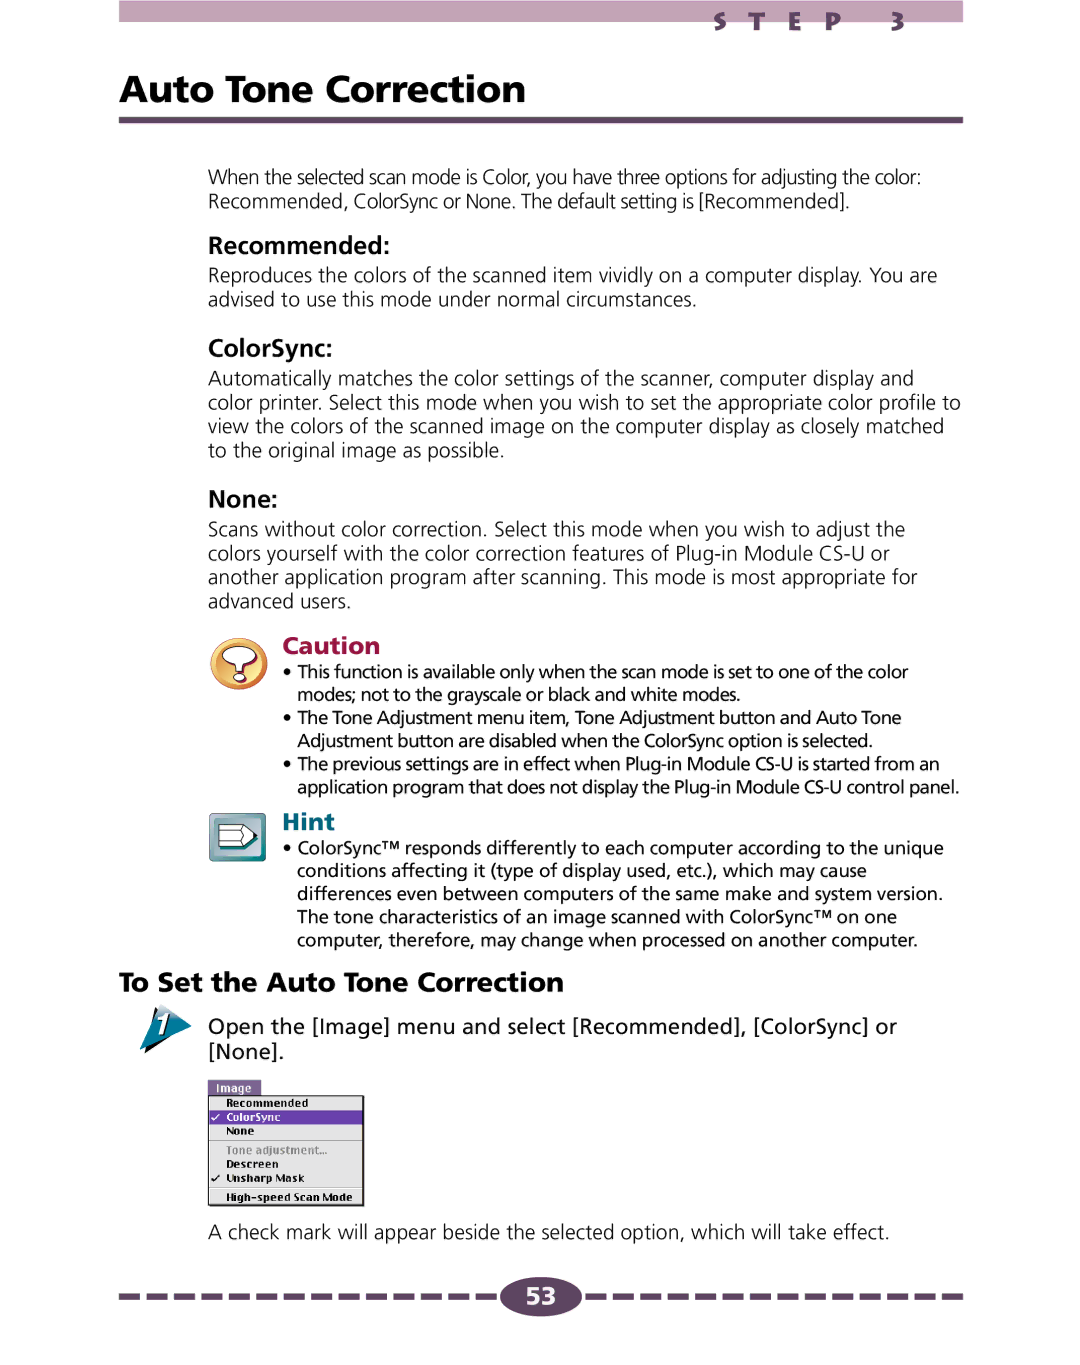
Open the [Image] menu and select [Recommended], [ColorSync] or [None].
A check mark will appear beside the selected option, which will take effect.
![]()
![]()
![]()
![]()
![]()
![]()
![]()
![]()
![]()
![]()
![]()
![]()
![]()
![]()
![]() 53
53![]()
![]()
![]()
![]()
![]()
![]()
![]()
![]()
![]()
![]()
![]()
![]()
![]()
![]()
![]()