2. Installation and Connections
Connecting the Supplied Power Cord
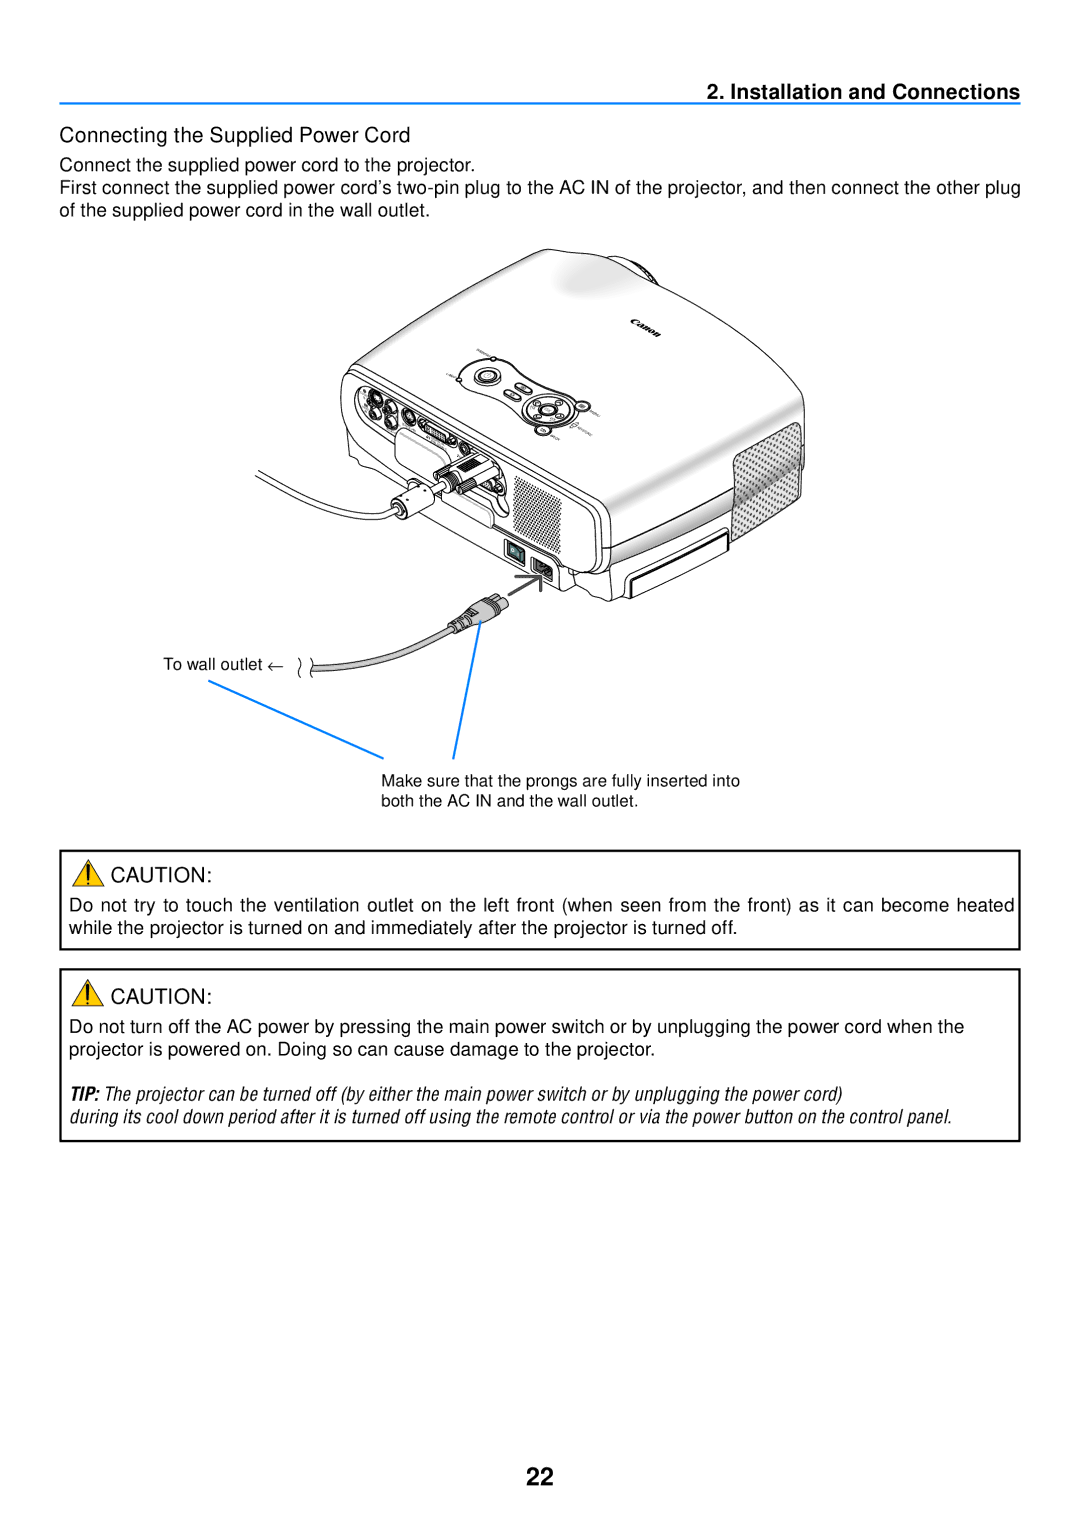
Connect the supplied power cord to the projector.
First connect the supplied power cord's
WARNING
POWER
LAMP
S-
VIDEO
IN
VIDEO | L |
|
|
IN |
|
| |
AU | R | SERVICE | PORT |
DIO IN |
|
DIGITAL | AUDIO IN |
| |
ANALOGIN/ |
|
|
|
|
| ANALOG | |
|
|
| |
| AUDIO | OUT | |
|
| ||
AUTO
![]() INPUT PC
INPUT PC
+VOL![]() BACK
BACK
| ME |
| NU |
KE |
|
YST | ONE |
|
To wall outlet ←
Make sure that the prongs are fully inserted into both the AC IN and the wall outlet.
![]() CAUTION:
CAUTION:
Do not try to touch the ventilation outlet on the left front (when seen from the front) as it can become heated while the projector is turned on and immediately after the projector is turned off.
![]() CAUTION:
CAUTION:
Do not turn off the AC power by pressing the main power switch or by unplugging the power cord when the projector is powered on. Doing so can cause damage to the projector.
TIP: The projector can be turned off (by either the main power switch or by unplugging the power cord)
during its cool down period after it is turned off using the remote control or via the power button on the control panel.
22