5.Press [SET], use [8] and [2] to select the fifth Control Panel option from the top, and then press [SET].
The intensity of the selected effect can be adjusted as described below.
| Scene | Adjustment |
| HDR Art | Effect level |
|
|
|
| Toy Camera | Hue |
|
|
|
| Soft Focus | Effect level |
|
|
|
| Light Tone | Hue |
|
|
|
| Pop | Effect level |
|
|
|
| Sepia | Effect level |
|
|
|
| Monochrome | Effect level |
|
|
|
| Miniature | Focus area |
|
|
|
| Fisheye | Effect level |
|
|
|
|
|
|
6.Use [8] and [2] to change the setting.
7.Press [SET].
8.Press the shutter button to shoot.
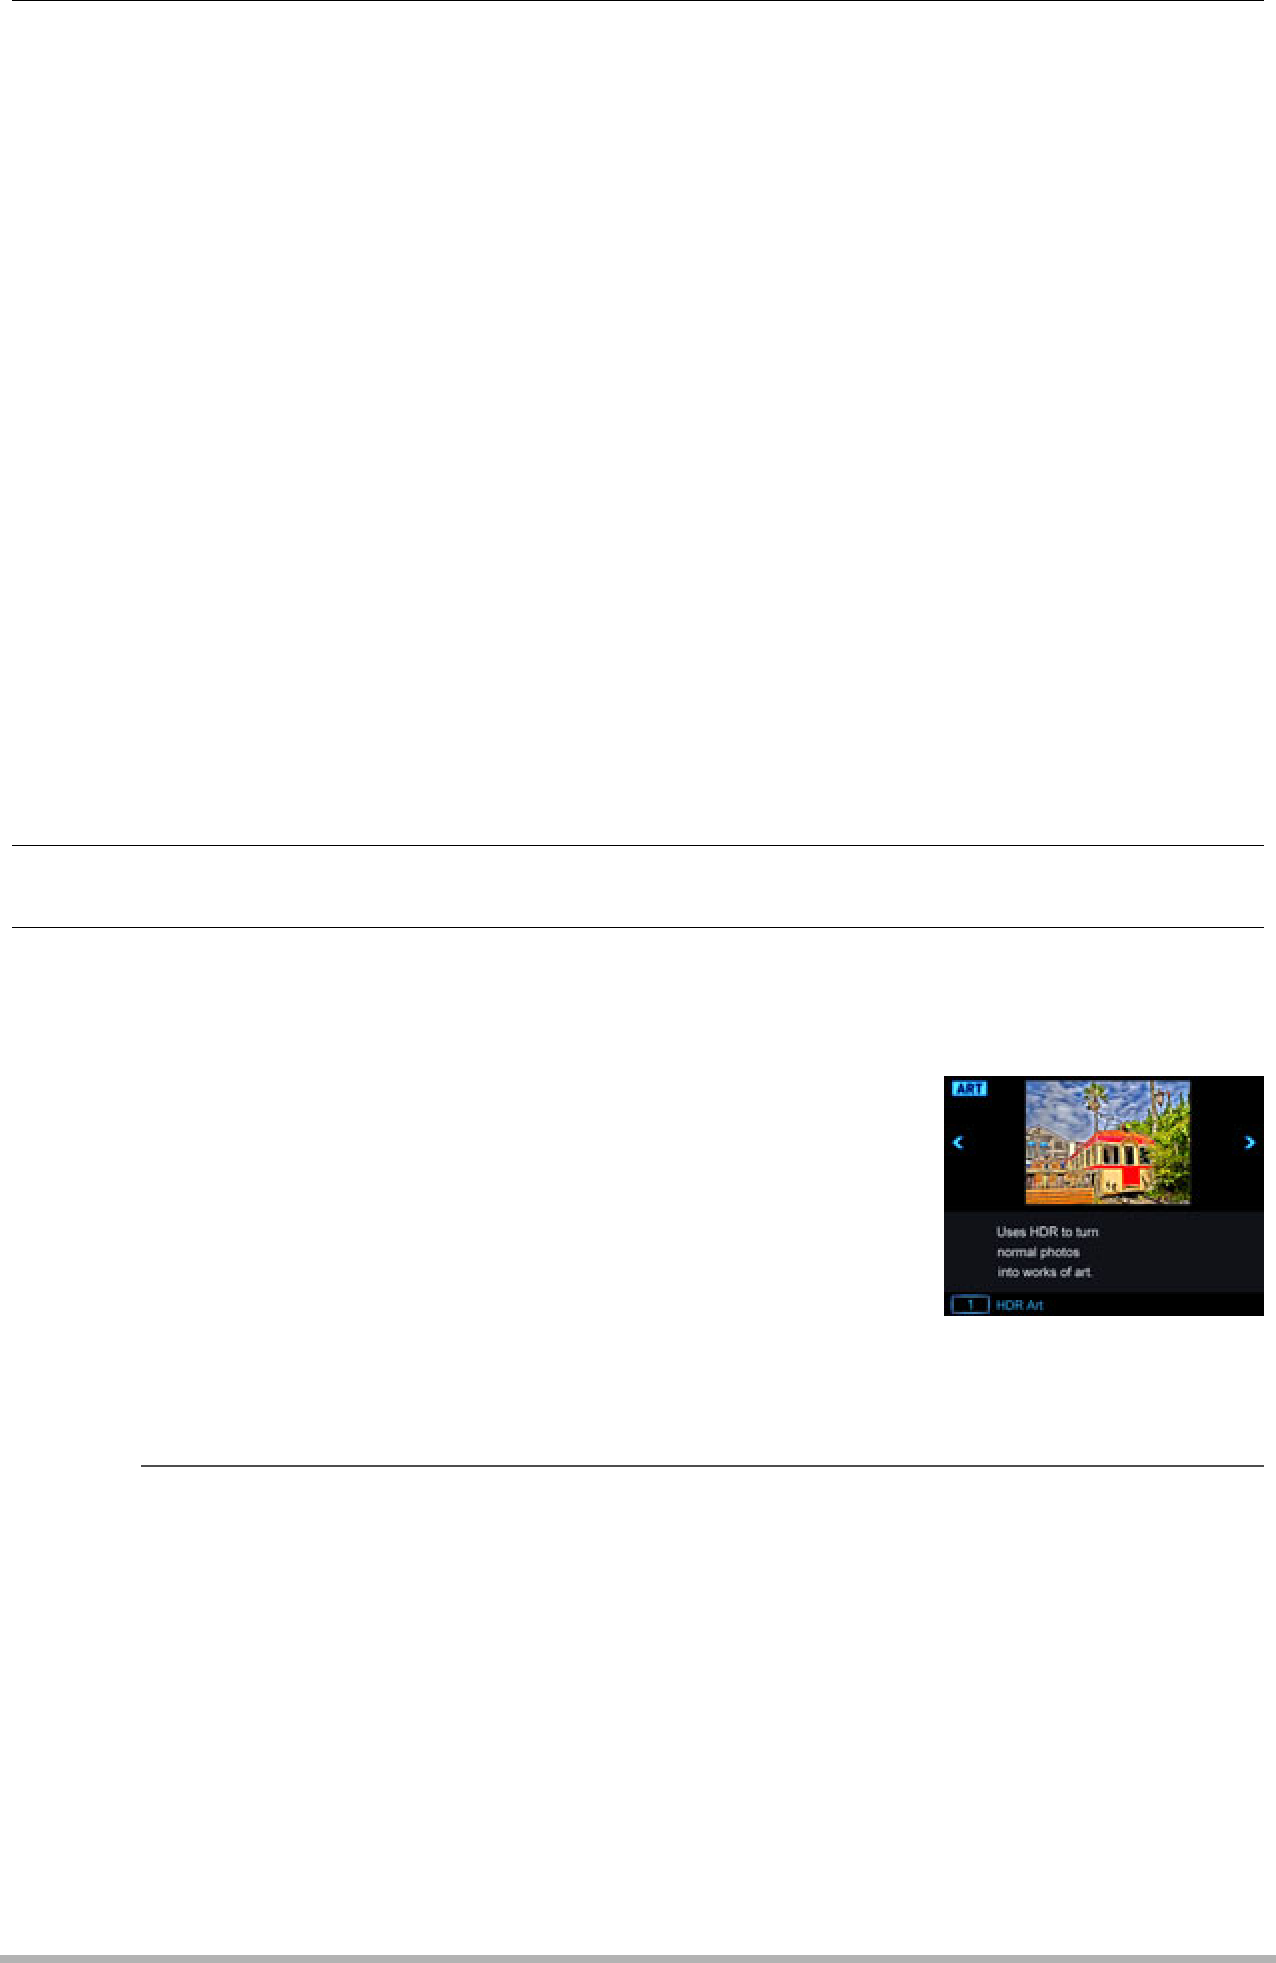
.Using the Scene Information Screen
To find out more about a scene, select it with the boundary on the scene menu and then rotate the zoom controller in either direction.
•To return to the scene menu, rotate the zoom controller again.
•To scroll between scenes, use [4] and [6].
•To configure the camera with the settings for the currently selected scene, press [SET].
 NOTE
NOTE
•Depending on the “ART SHOT” scenes, some of the items on the menu that appears may not be usable.
•With this “ART SHOT” scene, the flash setting automatically becomes ? (Flash Off).
•With HDR Art Movie, the “Movie Quality” setting can be either “HD” or “STD” only (page 104). When any “Movie Quality” setting other than “STD” is selected in another mode, the “HD” setting is used when shooting with HDR Art Movie.
67 | Snapshot Tutorial |
|