Replacing the Front Cover
If the front cover accidentally becomes detached from the printer, use the following procedure to replace it.
1.Connect the power cord, AC adaptor, and USB cable to the printer, and connect the USB cable to your PC.
Note
See page 21 for more information about making connections.
2.Press the Eject button on the front of the printer. This causes the disc tray to come out par t way.
3.Gently pull out the disc tray.
Note
See pages 23 and 24 for details about how to perform steps 2 and 3.
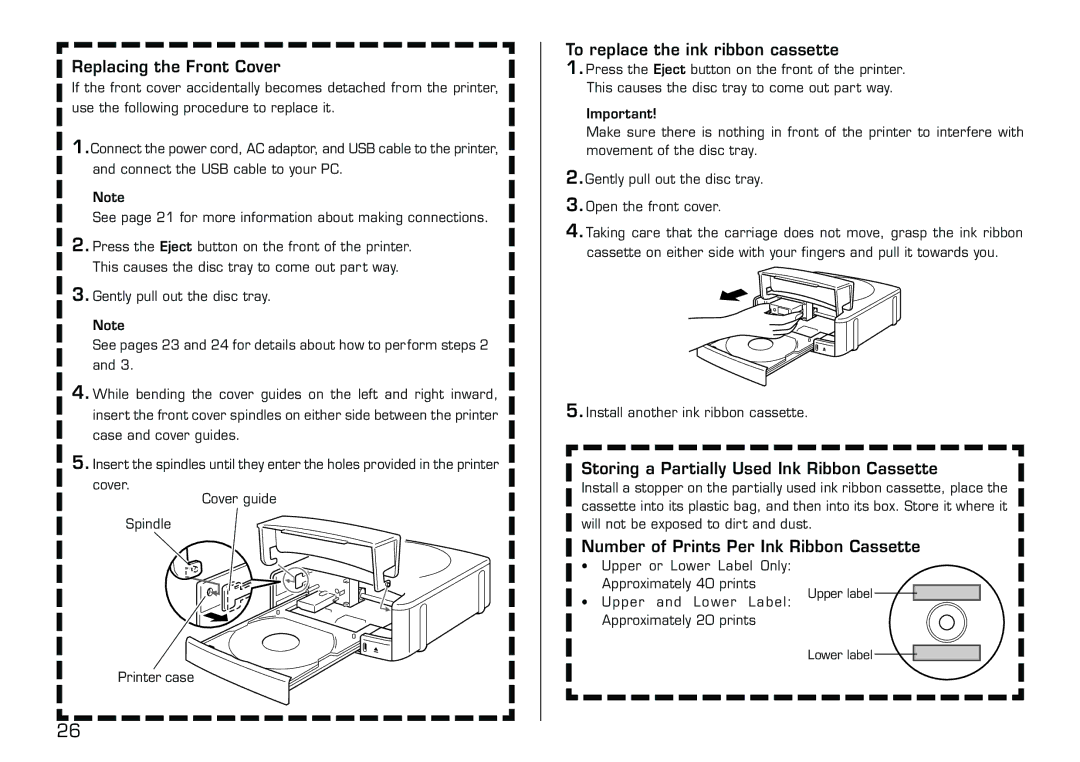
4.While bending the cover guides on the left and right inward, insert the front cover spindles on either side between the printer case and cover guides.
5.Insert the spindles until they enter the holes provided in the printer
cover.
Cover guide
Spindle
Printer case
To replace the ink ribbon cassette
1.Press the Eject button on the front of the printer. This causes the disc tray to come out part way.
Important!
Make sure there is nothing in front of the printer to interfere with movement of the disc tray.
2.Gently pull out the disc tray.
3.Open the front cover.
4.Taking care that the carriage does not move, grasp the ink ribbon cassette on either side with your fingers and pull it towards you.
5.Install another ink ribbon cassette.
Storing a Partially Used Ink Ribbon Cassette
Install a stopper on the partially used ink ribbon cassette, place the cassette into its plastic bag, and then into its box. Store it where it will not be exposed to dirt and dust.
Number of Prints Per Ink Ribbon Cassette
•Upper or Lower Label Only:
| Approximately 40 prints | Upper label | |
• | Upper and Lower Label: | ||
| |||
| Approximately 20 prints |
| |
|
| Lower label |
26