5.Close the disc tray.
Press the disc tray with your hand until it clicks.
6.Click Start Printing.
This starts the first printing.
Important!
Never disconnect the AC adaptor, power cord, or USB cable while a print operation is in progress. Doing so creates the risk of malfunction.
•The disc tray opens slightly after printing is complete. Gently pull out the tray the rest of the way.
•If you are printing only the upper label area (LABEL 1) or only lower label area (LABEL 2), printing ends with this step. Other wise, you should continue with the following steps below.
When printing in both the upper label area (LABEL 1)
and lower label area (LABEL 2)...
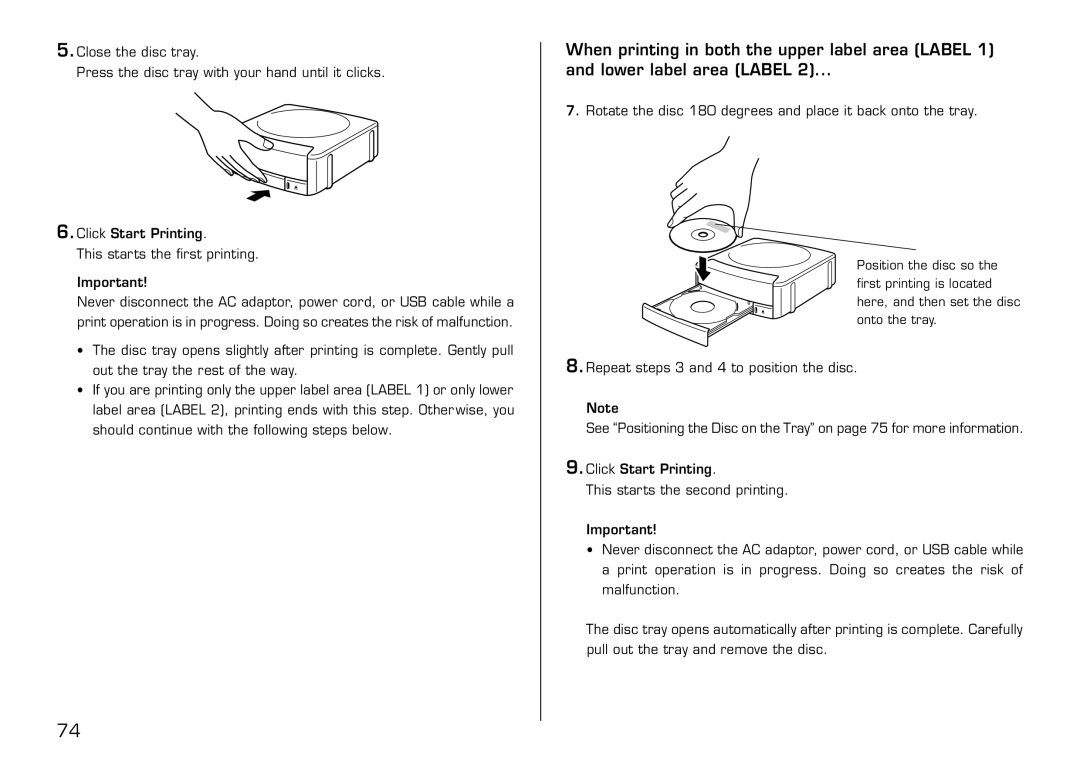
7.Rotate the disc 180 degrees and place it back onto the tray.
Position the disc so the first printing is located here, and then set the disc onto the tray.
8.Repeat steps 3 and 4 to position the disc.
Note
See “Positioning the Disc on the Tray” on page 75 for more information.
9.Click Start Printing.
This starts the second printing.
Important!
•Never disconnect the AC adaptor, power cord, or USB cable while a print operation is in progress. Doing so creates the risk of malfunction.
The disc tray opens automatically after printing is complete. Carefully pull out the tray and remove the disc.
74