Manuals
/
Castelle
/
Kitchen Appliance
/
Ventilation Hood
Castelle
61-1260-001A
manual
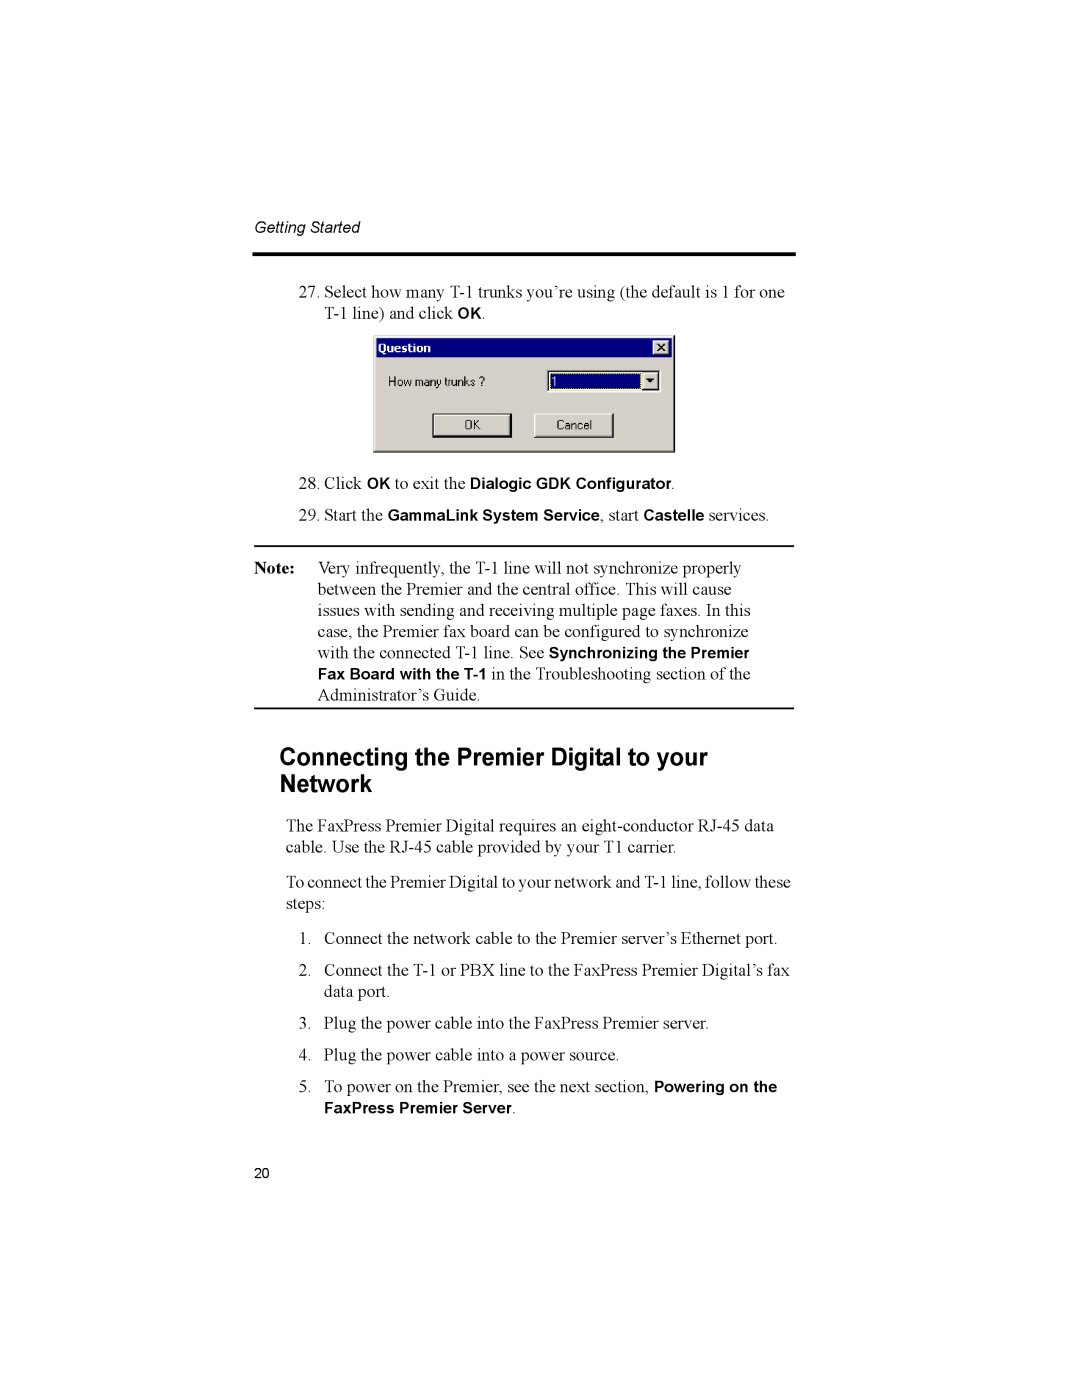
Connecting the Premier Digital to your Network
Models:
61-1260-001A
1
22
31
31
Download
31 pages
38.47 Kb
19
20
21
22
23
24
25
26
Install
About the Premier Server Setup
Power on the Premier Digital
Using Remote Desktop
Page 22
Image 22
Page 21
Page 23
Page 22
Image 22
Page 21
Page 23
Contents
Getting Started
FaxPress Premier
P/N 61-1260-001A
Castelle Corporate Headquarters
Castelle North America
Package Contents
Package Contents
Getting Started
About the FaxPress Premier 3.0 CD-ROM
Documentation
Castelle Resources
Technical Support
Web Site
About the Premier Server Setup
Required Setup Procedures
Activating the Premier Software
About the Premier Server Setup
1.With Supervisor privilege, open the Faxmain window, Start Pro- grams FaxPress Faxmain, then expand your Administration Mailbox and click the Software Activation Key object. See the illustration following the next step
Optional Setup Procedures
Rack Mounting
Rack Mount or Desk Top Stationing
Network Security
Desk Top Stationing
Backward Compatibility with FaxPress Servers
Connecting the Premier Analog to your Network
Setting Up the FaxPress Premier Analog
Premier Analog Requirements
Attaching the Premier Analog to your Fax Lines
Premier Digital Requirements
Setting Up the FaxPress Premier Digital
CSU Requirements
PBX Requirements
DNIS String Information Requirements
Setting Up the FaxPress Premier Digital
T-1Line Type and Configuration Parameters
2.Power on the Premier Digital
22.Click OK to the warning message
Setting Up the FaxPress Premier Digital
Connecting the Premier Digital to your Network
Powering on in a DHCP Environment
Powering on the FaxPress Premier Server
Powering on in a Static IP Environment
Changing the IP Address Using the LCD Window
Changing the Premier Server’s IP Address
4.Select the first digit
Using Remote Desktop
Changing the Premier Serial Number to a Name
Changing the Premier Serial Number to a Name
Installing Applications
Installing Applications
P/N 61-1260-001Rev. A
Top
Page
Image
Contents