Chapter 2 Switch Module Installation
Installing Devices in the
Caution Verify the correct orientation of your module before inserting it into the slot. Incorrect insertion can damage the module.
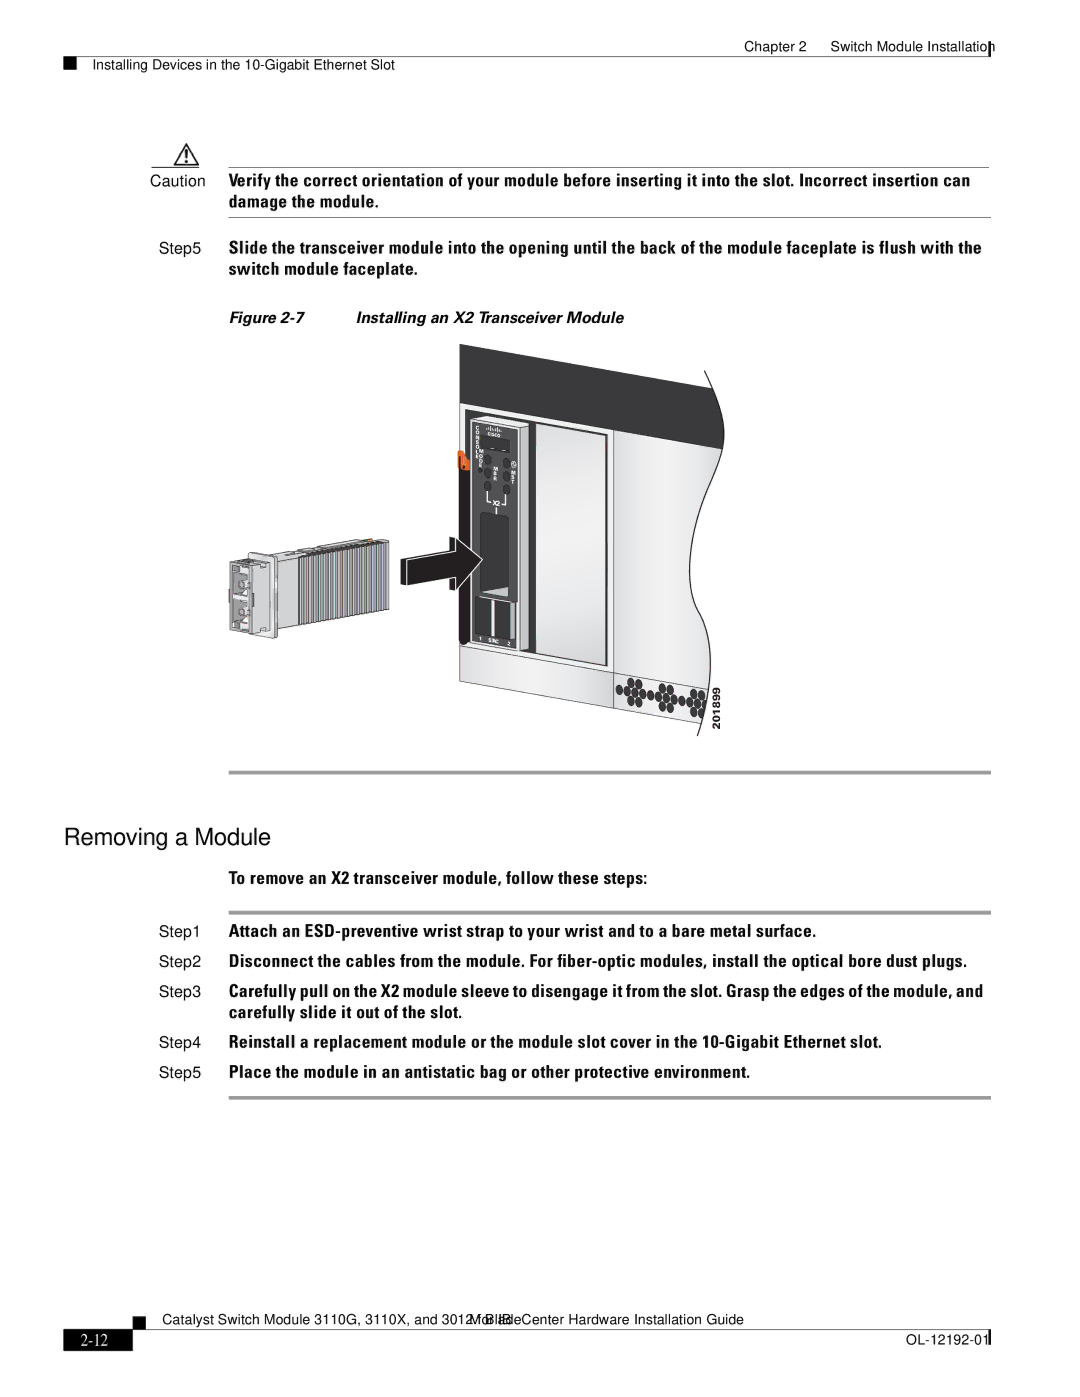
Step 5 Slide the transceiver module into the opening until the back of the module faceplate is flush with the switch module faceplate.
Figure 2-7 Installing an X2 Transceiver Module
C O N S O L M EO D E
! |
|
M | M |
B | |
R | S |
| T |
![]() X2
X2![]()
1 | STACK | 2 |
|
![]()
![]()
![]()
![]()
![]()
![]()
![]()
![]()
![]()
![]() 201899
201899
Removing a Module
To remove an X2 transceiver module, follow these steps:
Step 1 Attach an
Step 2 Disconnect the cables from the module. For
Step 3 Carefully pull on the X2 module sleeve to disengage it from the slot. Grasp the edges of the module, and carefully slide it out of the slot.
Step 4 Reinstall a replacement module or the module slot cover in the
| Catalyst Switch Module 3110G, 3110X, and 3012 for IBM BladeCenter Hardware Installation Guide |