Chapter 5 Power ON and Using the Control Panel
5.5 Changing Menu Values
With a Menu Item displayed on the LCD (such as Print Speed, Darkness or Baud Rate), pressing the ![]() key allows you to adjust or select the Value of the Menu Item.
key allows you to adjust or select the Value of the Menu Item.
The![]() and printing position. If the used, then pressing the
and printing position. If the used, then pressing the
keys are used to increase or decrease a Value, such as the print speed or Menu Item is an option that has a fixed set of values, such as the type of media
and![]() keys will cycle through the values in turn.
keys will cycle through the values in turn.
The action of the![]() key while you are changing a Value depends on the particular Menu Item:
key while you are changing a Value depends on the particular Menu Item:
·If the Menu Item is a Value pressing the![]() or
or![]() key stores the value and returns to the previous Menu Item.
key stores the value and returns to the previous Menu Item.
·If the Menu Item is an action, such as a test print or head check, pressing the![]() key
key
executes the action. Pressing the![]() key returns to the previous Menu Item without executing the action.
key returns to the previous Menu Item without executing the action.
=Example: changing the print density
The best way to learn how the menu system works is to go through an example. In the example given here, the print density is changed to 15. The print density has been
Group Menu: | *Page Setup |
Menu Item: | Print Darkness |
Value: | 00 - 30 (Note: When language is |
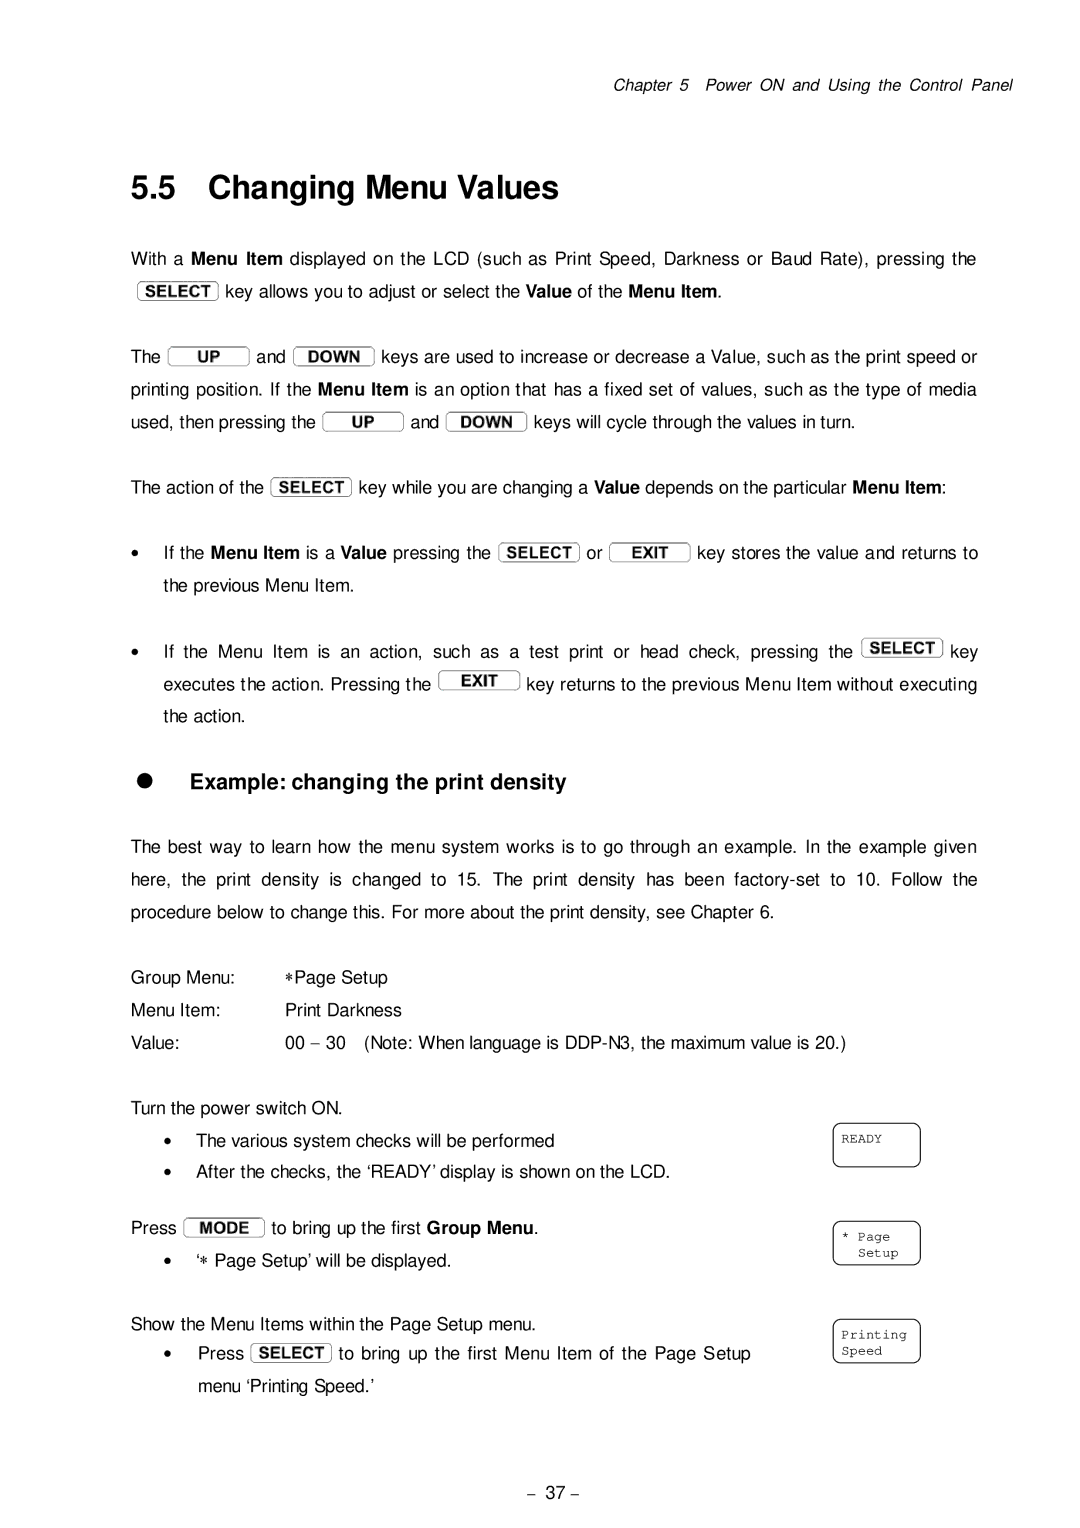
Turn the power switch ON.
·The various system checks will be performed
·After the checks, the ‘READY’ display is shown on the LCD.
Press![]() to bring up the first Group Menu.
to bring up the first Group Menu.
·‘* Page Setup’ will be displayed.
Show the Menu Items within the Page Setup menu.
·Press![]() to bring up the first Menu Item of the Page Setup menu ‘Printing Speed.’
to bring up the first Menu Item of the Page Setup menu ‘Printing Speed.’
READY
*Page Setup
Printing Speed
- 37 -
