Step 8 (Option)
Connect the type A connector of USB A-B cable to the USB port of the host system, while using remote mass storage control. USB type A plug of USB A-B cable to the computer.
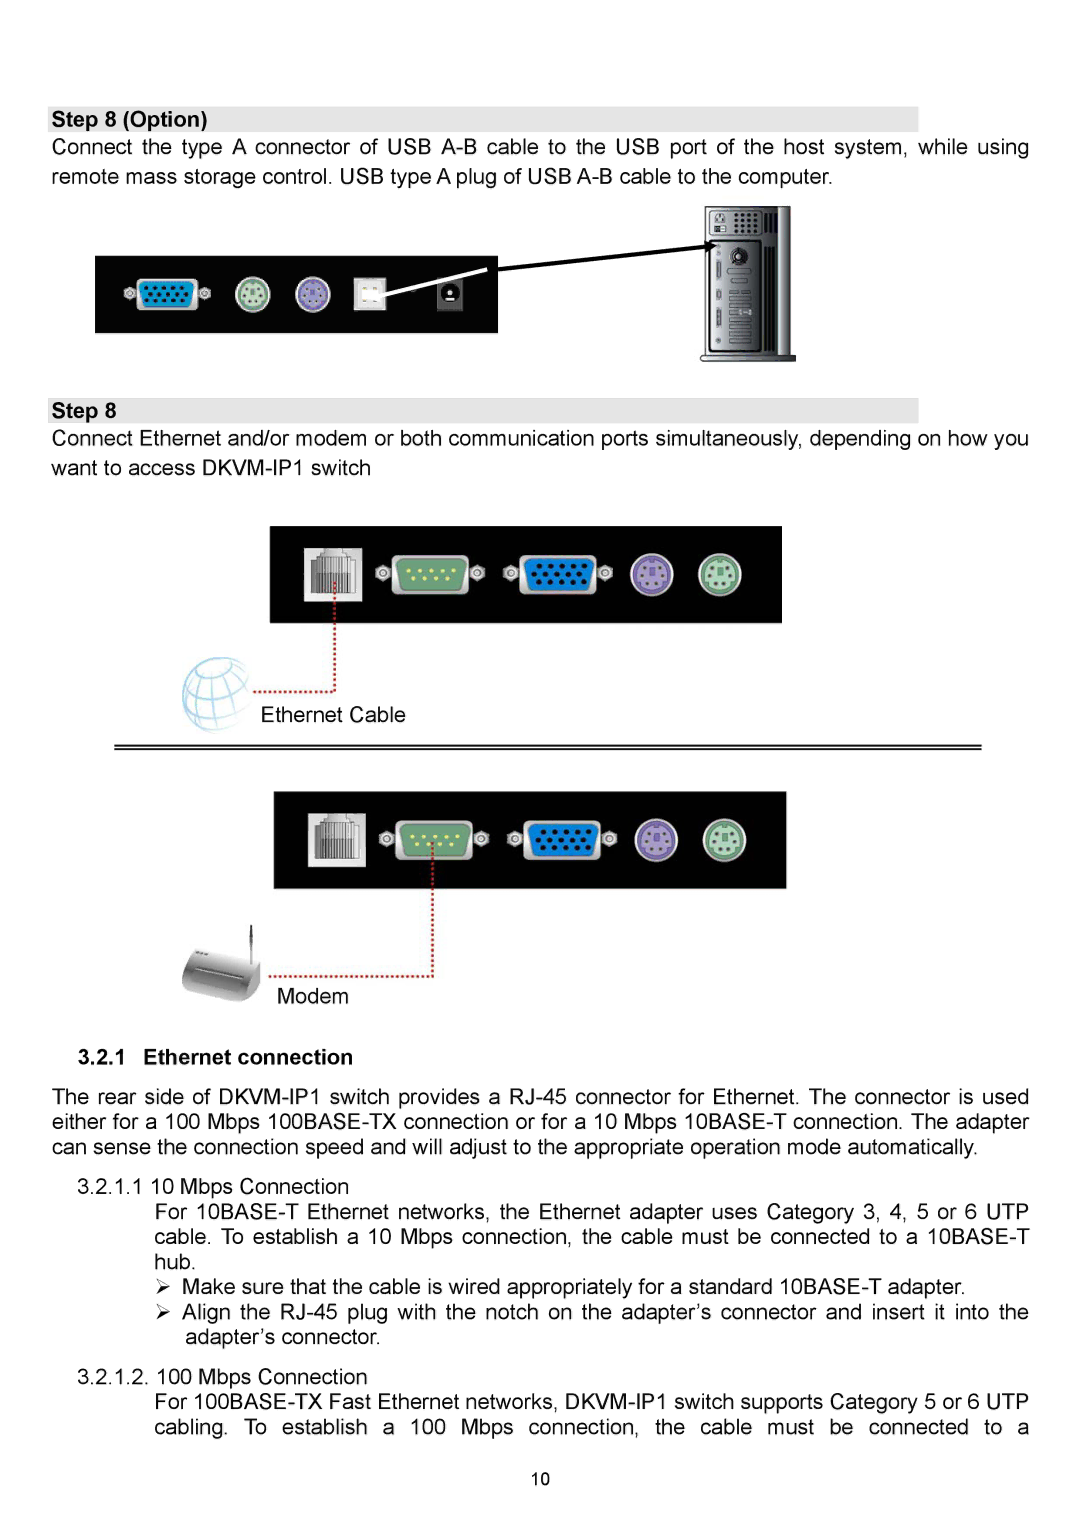
Step 8
Connect Ethernet and/or modem or both communication ports simultaneously, depending on how you want to access DKVM-IP1 switch
Ethernet Cable
Modem
3.2.1 Ethernet connection
The rear side of DKVM-IP1 switch provides a RJ-45 connector for Ethernet. The connector is used either for a 100 Mbps 100BASE-TX connection or for a 10 Mbps 10BASE-T connection. The adapter can sense the connection speed and will adjust to the appropriate operation mode automatically.
3.2.1.1 10 Mbps Connection
For 10BASE-T Ethernet networks, the Ethernet adapter uses Category 3, 4, 5 or 6 UTP cable. To establish a 10 Mbps connection, the cable must be connected to a 10BASE-T hub.
¾Make sure that the cable is wired appropriately for a standard 10BASE-T adapter.
¾Align the RJ-45 plug with the notch on the adapter’s connector and insert it into the adapter’s connector.
3.2.1.2.100 Mbps Connection
For 100BASE-TX Fast Ethernet networks, DKVM-IP1 switch supports Category 5 or 6 UTP cabling. To establish a 100 Mbps connection, the cable must be connected to a
10