Getting Started
Setting Up the Imager
Follow the steps provided in this section to connect and get your imager up and commu- nicating with its host:
1.Install the Interface Cable
2.Select the Interface Type
3.Configure Interface Settings (only if not using factory settings for that interface)
4.Configure Other Features (if modifications are needed from factory settings)
Install the Interface Cable
The imager kit you ordered to match your interface should provide a compatible cable for your installation. If not, contact Technical Support.
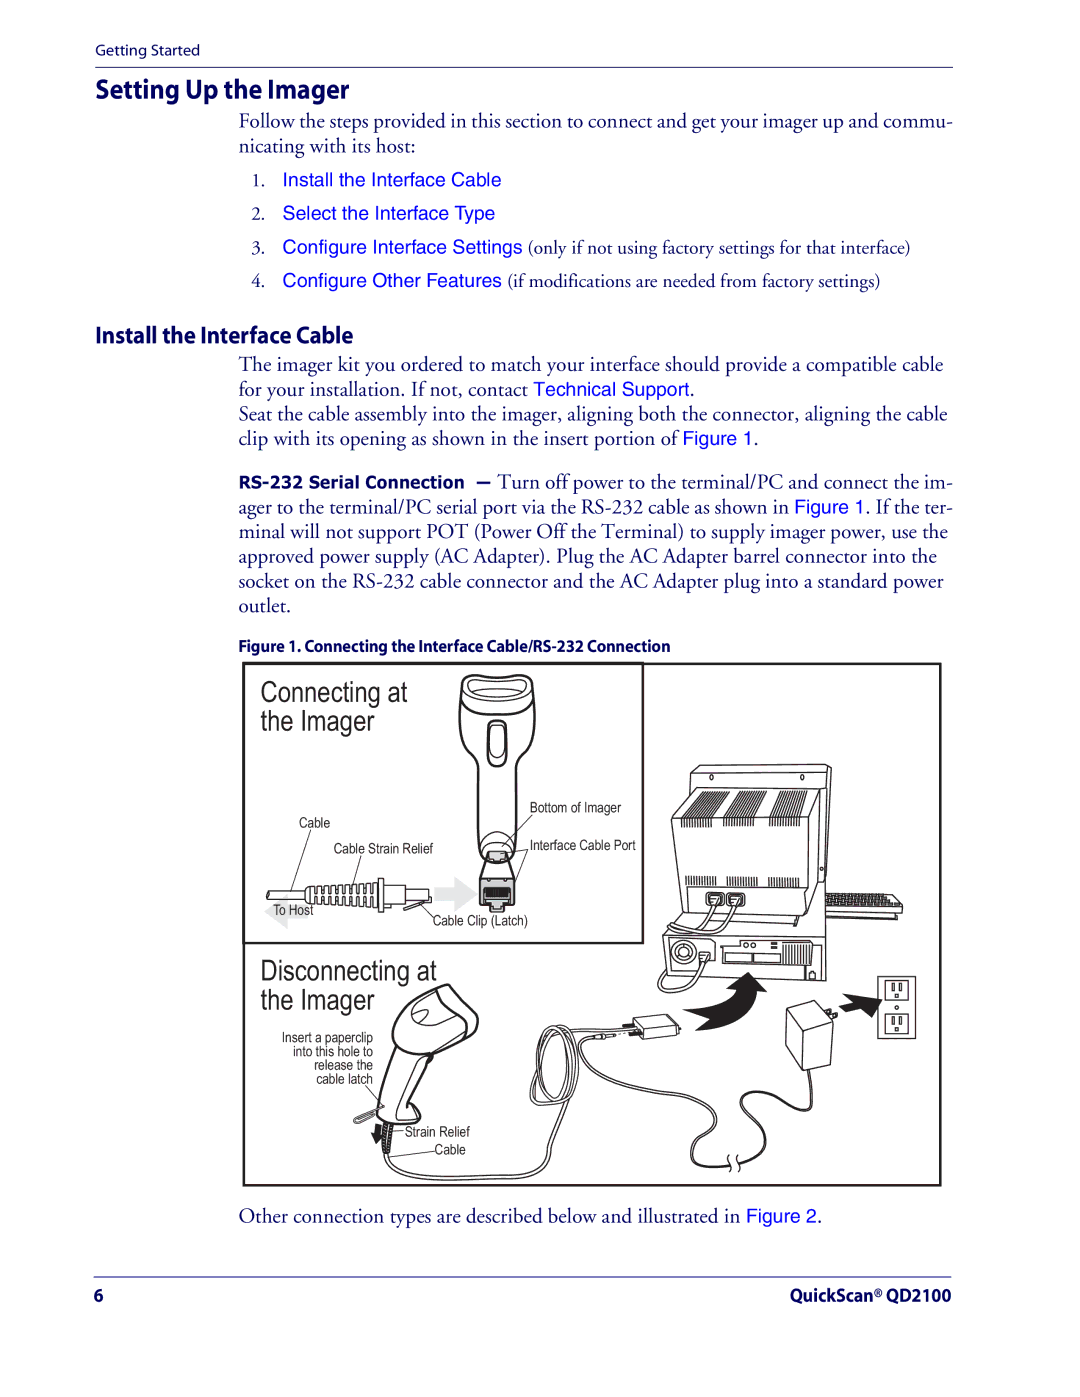
Seat the cable assembly into the imager, aligning both the connector, aligning the cable clip with its opening as shown in the insert portion of Figure 1.
Figure 1. Connecting the Interface Cable/RS-232 Connection
Connecting at |
|
the Imager |
|
Cable | Bottom of Imager |
| |
Cable Strain Relief | Interface Cable Port |
To Host |
|
Cable Clip (Latch) |
|
Disconnecting at |
|
the Imager |
|
Insert a paperclip |
|
into this hole to |
|
release the |
|
cable latch |
|
Strain Relief |
|
Cable |
|
Other connection types are described below and illustrated in Figure 2.
6 | QuickScan® QD2100 |