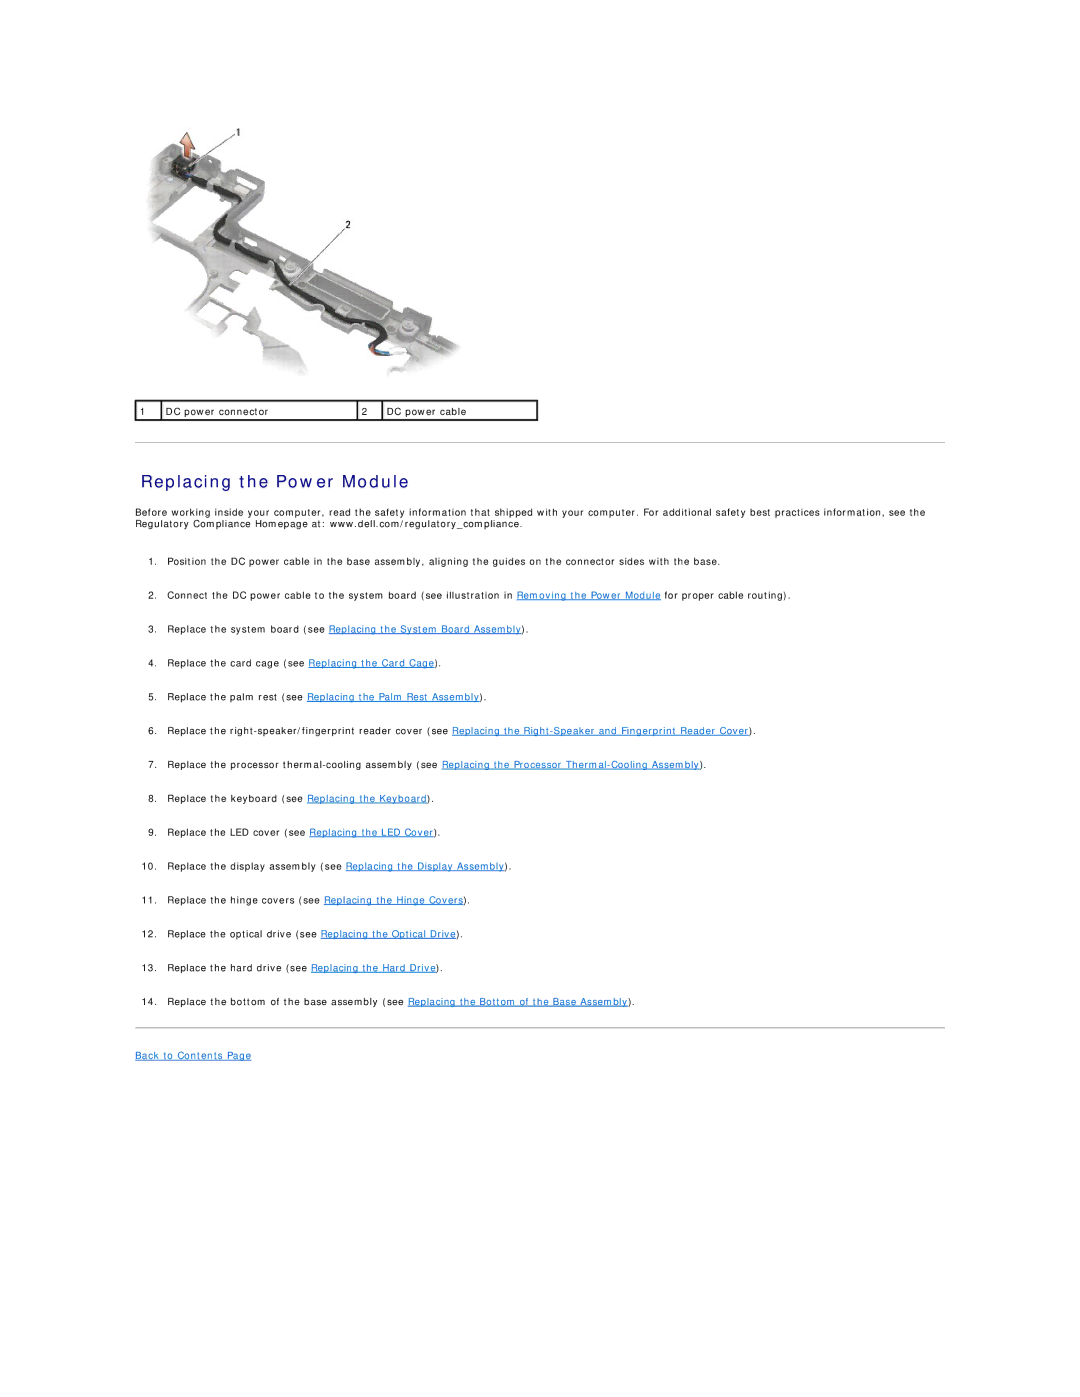
1 | DC power connector | 2 | DC power cable |
|
|
|
|
|
|
|
|
|
|
|
Replacing the Power Module
Before working inside your computer, read the safety information that shipped with your computer. For additional safety best practices information, see the Regulatory Compliance Homepage at: www.dell.com/regulatory_compliance.
1.Position the DC power cable in the base assembly, aligning the guides on the connector sides with the base.
2.Connect the DC power cable to the system board (see illustration in Removing the Power Module for proper cable routing).
3.Replace the system board (see Replacing the System Board Assembly).
4.Replace the card cage (see Replacing the Card Cage).
5.Replace the palm rest (see Replacing the Palm Rest Assembly).
6.Replace the
7.Replace the processor
8.Replace the keyboard (see Replacing the Keyboard).
9.Replace the LED cover (see Replacing the LED Cover).
10.Replace the display assembly (see Replacing the Display Assembly).
11.Replace the hinge covers (see Replacing the Hinge Covers).
12.Replace the optical drive (see Replacing the Optical Drive).
13.Replace the hard drive (see Replacing the Hard Drive).
14.Replace the bottom of the base assembly (see Replacing the Bottom of the Base Assembly).