SC1435 specifications
The Dell SC1435 is a versatile and reliable 1U rack server designed specifically for enterprise applications, virtualization, and cloud computing environments. Targeted towards businesses that require high performance and scalability, the SC1435 is an ideal choice for organizations looking to maximize their data center efficiency while minimizing their physical footprint.One of the main features of the Dell SC1435 is its powerful processing capabilities. It supports up to two AMD Opteron processors, which can provide up to 12 cores per CPU, enabling robust multi-threaded performance. This allows businesses to run multiple applications simultaneously without compromising on speed or efficiency. The server also supports a range of AMD processors, offering flexibility to meet various workload requirements.
The SC1435 is equipped with significant memory capacity, supporting up to 128GB of DDR2 RAM. This high memory capacity allows for improved data management and processing, making it suitable for memory-intensive applications such as database management and virtualization. The server features eight DIMM slots, providing businesses the ability to scale memory as their workloads grow.
Storage is another critical aspect of the Dell SC1435, offering a range of options that cater to different needs. The server can be equipped with up to four hot-swappable 3.5-inch SATA or SAS drives, providing enterprises with the flexibility to balance performance needs and cost-efficiency. Additionally, it features support for RAID configurations, which enhances data protection and availability.
The SC1435 also integrates advanced management technologies, including Dell's OpenManage, which simplifies server management and allows for remote monitoring. This toolset provides administrators with the ability to easily configure, update, and monitor the server's health and performance metrics.
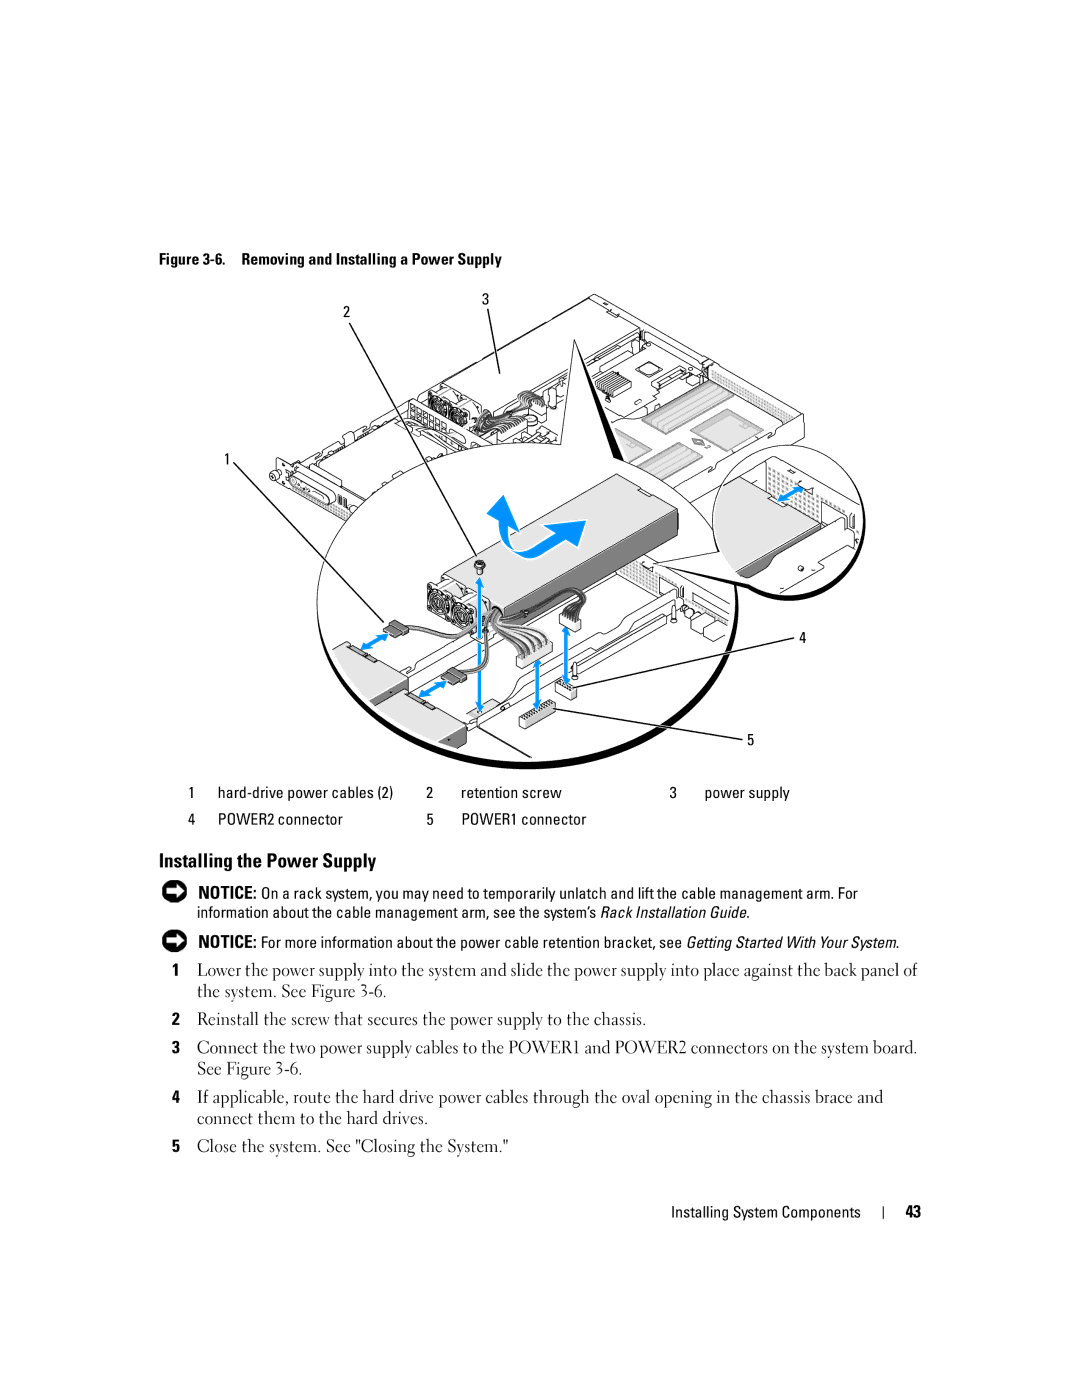
One of the standout characteristics of the SC1435 is its energy-efficient design. It incorporates power management features that help lower overall energy consumption, contributing to reduced operating costs and a smaller carbon footprint. The server’s compact size allows it to fit into standard 19-inch racks, making it an excellent option for space-constrained environments.
In summary, the Dell SC1435 is a robust 1U rack server that combines powerful processing capabilities, extensive memory support, flexibility in storage options, and advanced management features. Its energy-efficient design further enhances its appeal in modern data centers, making it a smart choice for organizations seeking to optimize their IT infrastructure.

