Hardware Installation
2.SECC processor:
Position the SECC processor above Slot 1 with the “notch” in the processor aligned with the “key” on the slot. Push the processor down firmly, with even pressure on both sides of the top, until it is completely seated. Push the latches located on the top sides of the processor outward until they click into place in the URM.
SECC2 or SEPP processor:
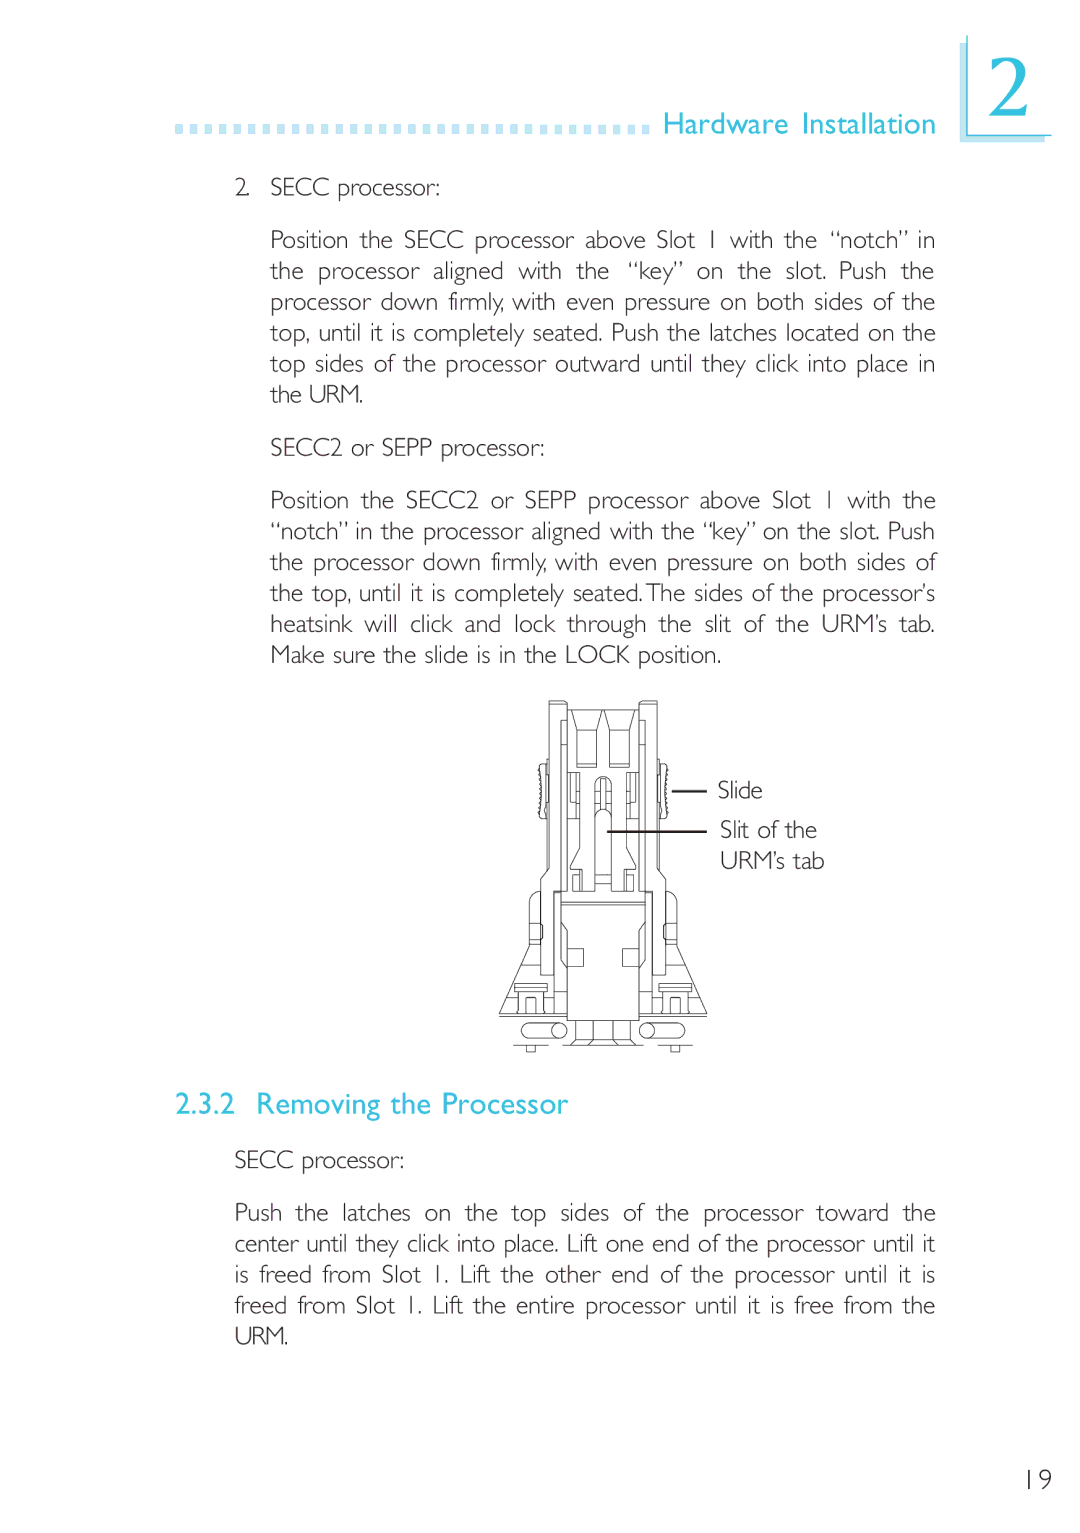
Position the SECC2 or SEPP processor above Slot 1 with the “notch” in the processor aligned with the “key” on the slot. Push the processor down firmly, with even pressure on both sides of the top, until it is completely seated.The sides of the processor’s heatsink will click and lock through the slit of the URM’s tab. Make sure the slide is in the LOCK position.
2
Slide
Slit of the
URM’s tab
2.3.2 Removing the Processor
SECC processor:
Push the latches on the top sides of the processor toward the center until they click into place. Lift one end of the processor until it is freed from Slot 1. Lift the other end of the processor until it is freed from Slot 1. Lift the entire processor until it is free from the URM.
19