Guided Setup
Now that your equipment is all hooked up and plugged in, you’re ready to complete setup to begin enjoy- ing your DIRECTV service.
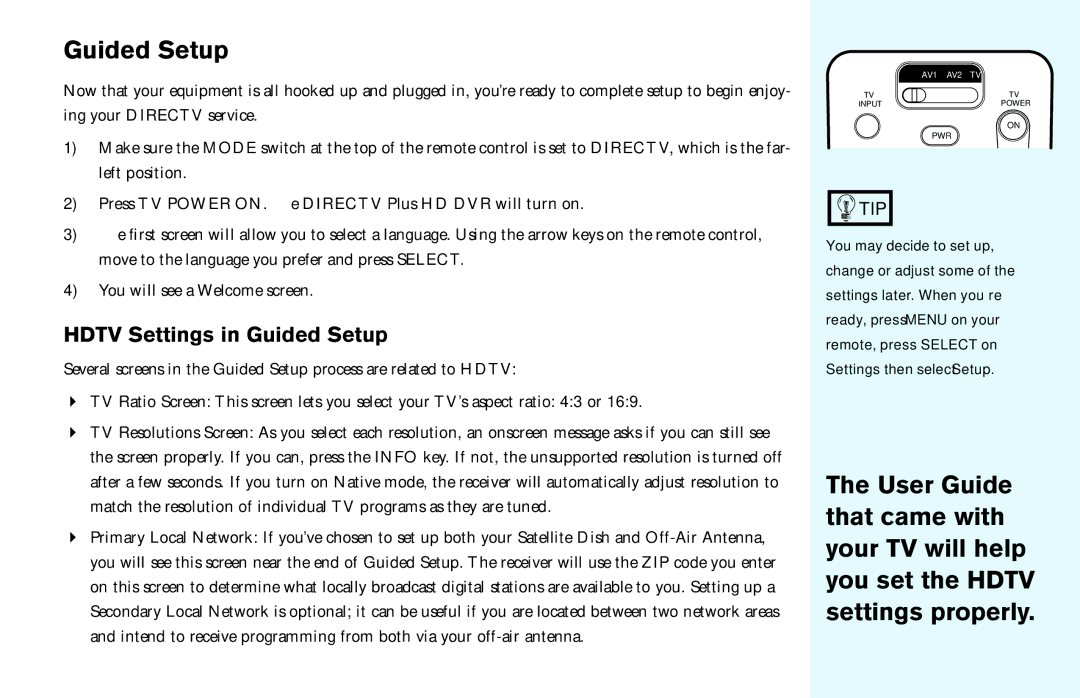
1)Make sure the MODE switch at the top of the remote control is set to DIRECTV, which is the far- left position.
2)Press TV POWER ON. The DIRECTV Plus HD DVR will turn on.
3)The first screen will allow you to select a language. Using the arrow keys on the remote control, move to the language you prefer and press SELECT.
4)You will see a Welcome screen.
HDTV Settings in Guided Setup
Several screens in the Guided Setup process are related to HDTV:
4TV Ratio Screen: This screen lets you select your TV’s aspect ratio: 4:3 or 16:9.
4TV Resolutions Screen: As you select each resolution, an onscreen message asks if you can still see the screen properly. If you can, press the INFO key. If not, the unsupported resolution is turned off after a few seconds. If you turn on Native mode, the receiver will automatically adjust resolution to match the resolution of individual TV programs as they are tuned.
4Primary Local Network: If you’ve chosen to set up both your Satellite Dish and
AV1 | AV2 TV |
TV | TV |
INPUT | POWER |
ON
PWR
![]()
![]() TIP
TIP
You may decide to set up, change or adjust some of the settings later. When you’re ready, press MENU on your remote, press SELECT on Settings then select Setup.
The User Guide that came with your TV will help you set the HDTV settings properly.
74