Sawgrass Technologies, Inc. SubliJet IQ® Getting Started Guide for the EPSON Stylus D88
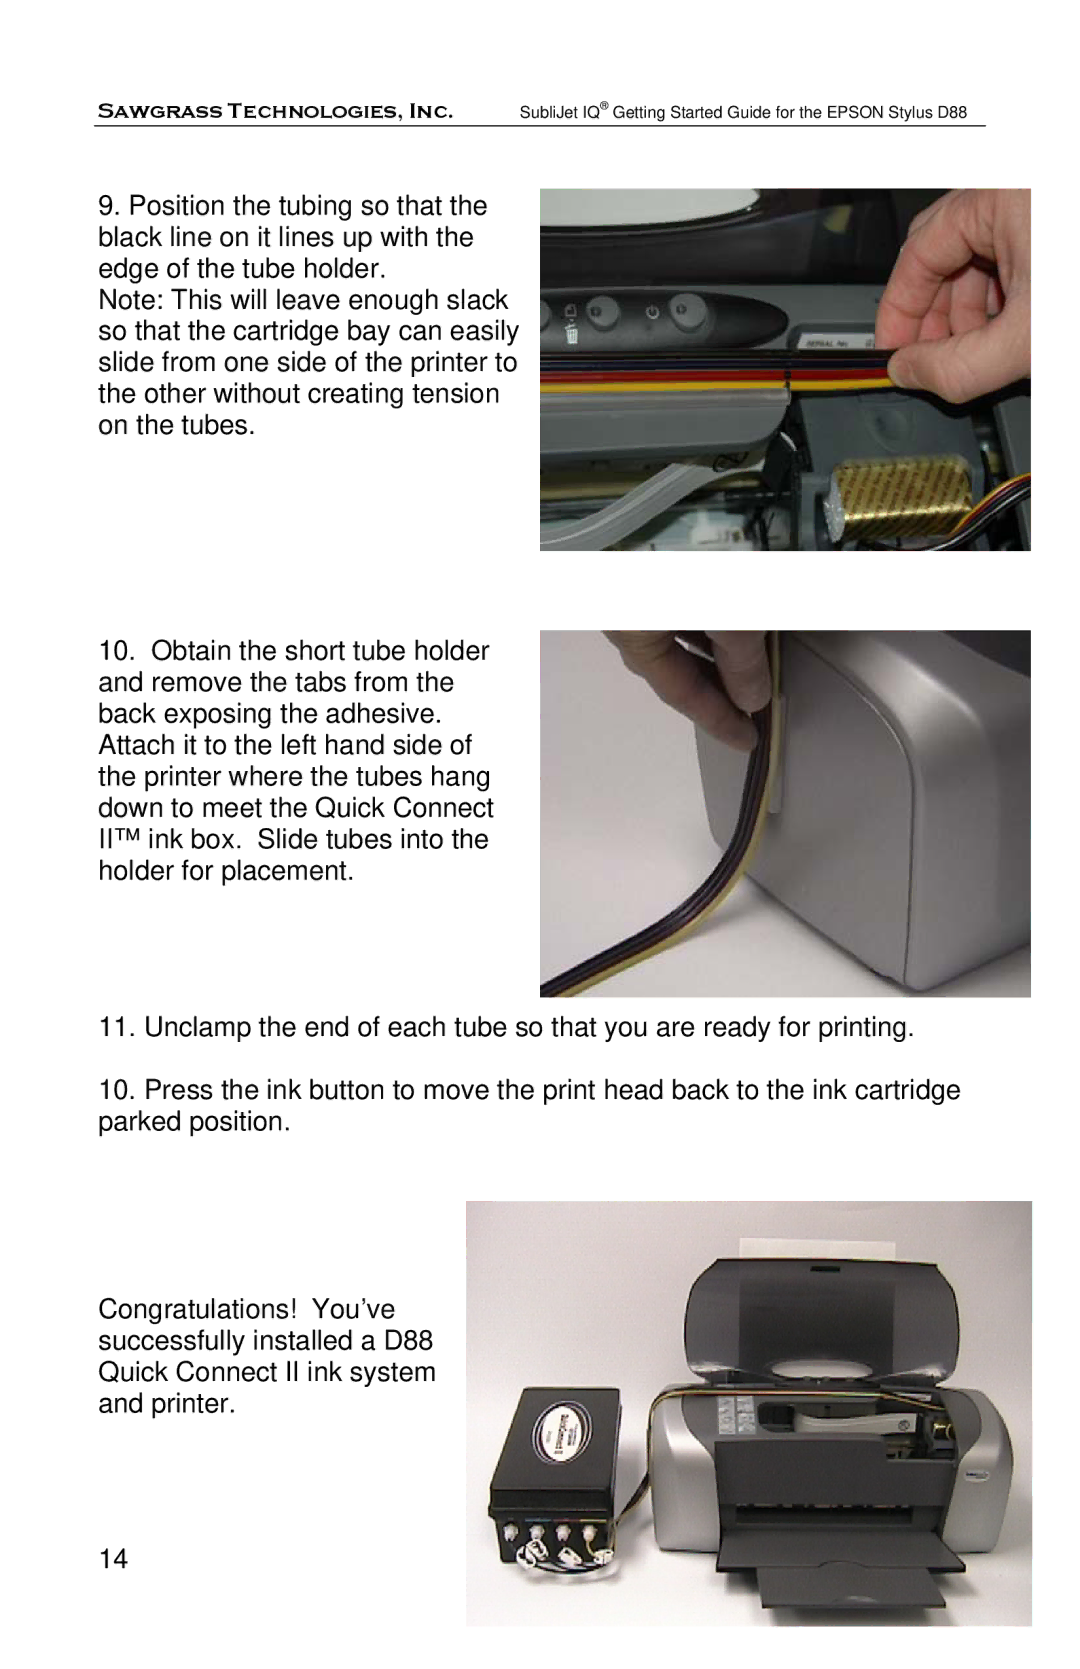
9.Position the tubing so that the black line on it lines up with the edge of the tube holder.
Note: This will leave enough slack so that the cartridge bay can easily slide from one side of the printer to the other without creating tension on the tubes.
10.Obtain the short tube holder and remove the tabs from the back exposing the adhesive. Attach it to the left hand side of the printer where the tubes hang down to meet the Quick Connect II™ ink box. Slide tubes into the holder for placement.
11.Unclamp the end of each tube so that you are ready for printing.
10.Press the ink button to move the print head back to the ink cartridge parked position.
Congratulations! You’ve successfully installed a D88 Quick Connect II ink system and printer.
14