c)Lubricate caster pivots once a year. Remove hex plug and cap. Thread grease zerk in hole and pump with grease until it oozes out around top bearing. Remove grease zerk and thread plug back in. Place cap back on.
5.1.12Lubricate rear caster wheel hub:
Service Interval: Once Yearly
a)Stop engine, wait for all moving parts to stop, and remove key.
b)Remove caster wheel from caster forks.
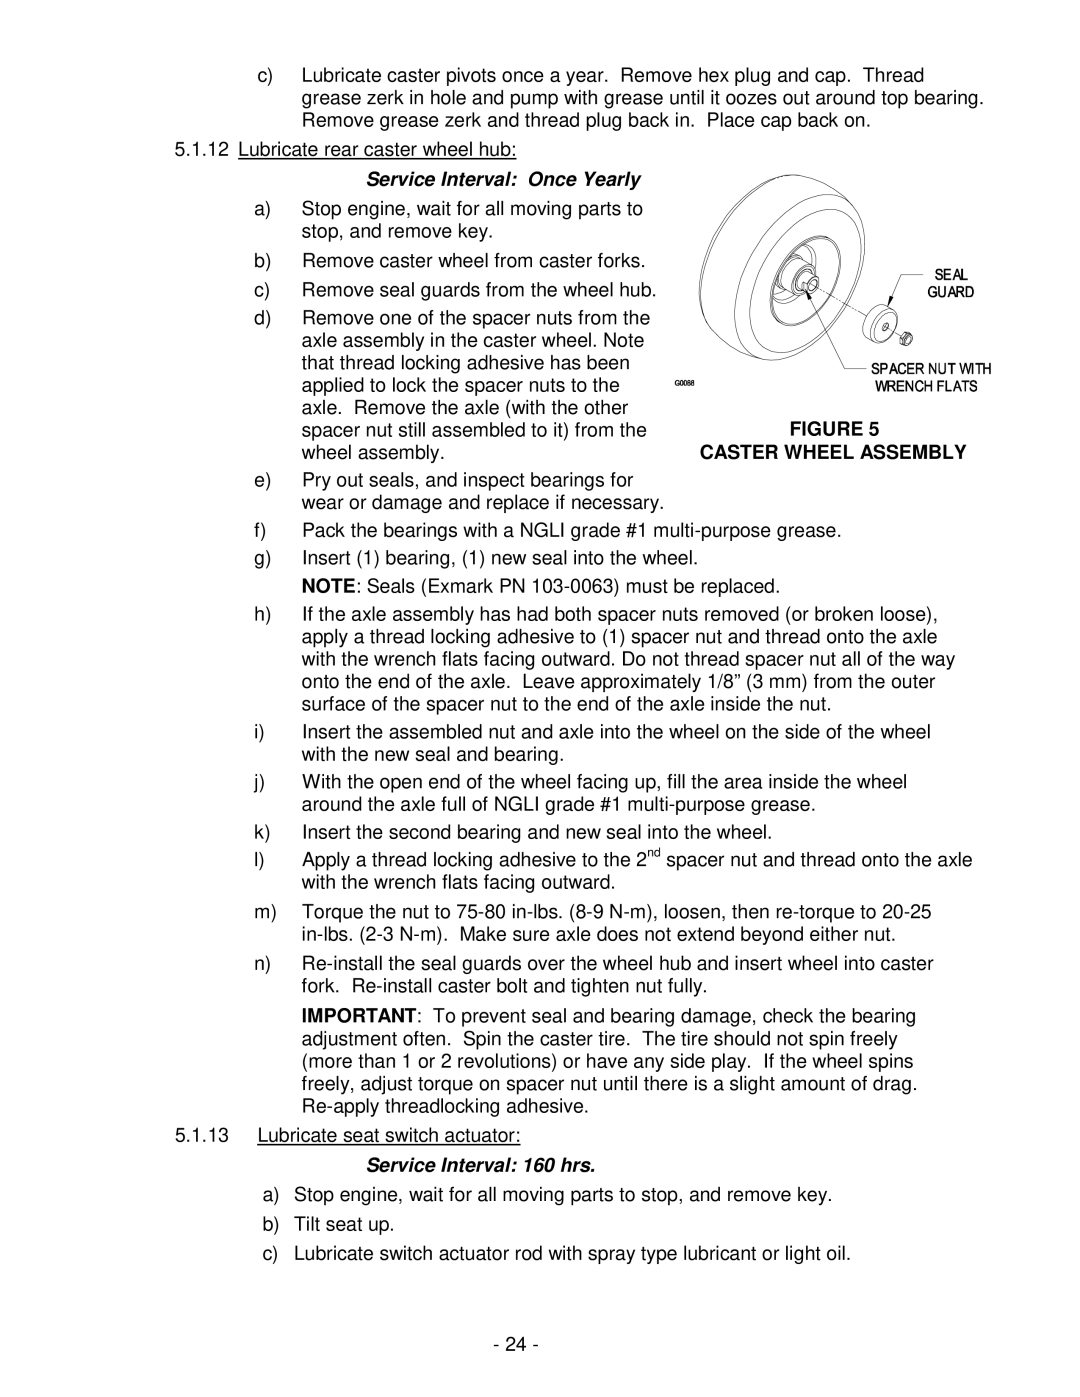
c) Remove seal guards from the wheel hub.
d)Remove one of the spacer nuts from the axle assembly in the caster wheel. Note
that thread locking adhesive has been |
|
applied to lock the spacer nuts to the |
|
axle. Remove the axle (with the other | FIGURE 5 |
spacer nut still assembled to it) from the | |
wheel assembly. | CASTER WHEEL ASSEMBLY |
e)Pry out seals, and inspect bearings for wear or damage and replace if necessary.
f)Pack the bearings with a NGLI grade #1
g)Insert (1) bearing, (1) new seal into the wheel.
NOTE: Seals (Exmark PN
h)If the axle assembly has had both spacer nuts removed (or broken loose), apply a thread locking adhesive to (1) spacer nut and thread onto the axle with the wrench flats facing outward. Do not thread spacer nut all of the way onto the end of the axle. Leave approximately 1/8” (3 mm) from the outer surface of the spacer nut to the end of the axle inside the nut.
i)Insert the assembled nut and axle into the wheel on the side of the wheel with the new seal and bearing.
j)With the open end of the wheel facing up, fill the area inside the wheel around the axle full of NGLI grade #1
k)Insert the second bearing and new seal into the wheel.
l)Apply a thread locking adhesive to the 2nd spacer nut and thread onto the axle with the wrench flats facing outward.
m)Torque the nut to
n)
IMPORTANT: To prevent seal and bearing damage, check the bearing adjustment often. Spin the caster tire. The tire should not spin freely (more than 1 or 2 revolutions) or have any side play. If the wheel spins freely, adjust torque on spacer nut until there is a slight amount of drag.
5.1.13Lubricate seat switch actuator:
Service Interval: 160 hrs.
a)Stop engine, wait for all moving parts to stop, and remove key.
b)Tilt seat up.
c)Lubricate switch actuator rod with spray type lubricant or light oil.
- 24 -
